Our fuel gauge stopped working at the end of last (2025) season. The needle just pointed to a place far beyond full – which obviously was not a good idea to believe!
So at the start of this season, I embarked on a plan to identify what had gone wrong.
Step 1 – Check the gauge is getting a 12V supply.
On Molia (Dufour 325 GL) the fuel gauge is powered from the domestic supply, and it also has its own switch on the instrument panel.
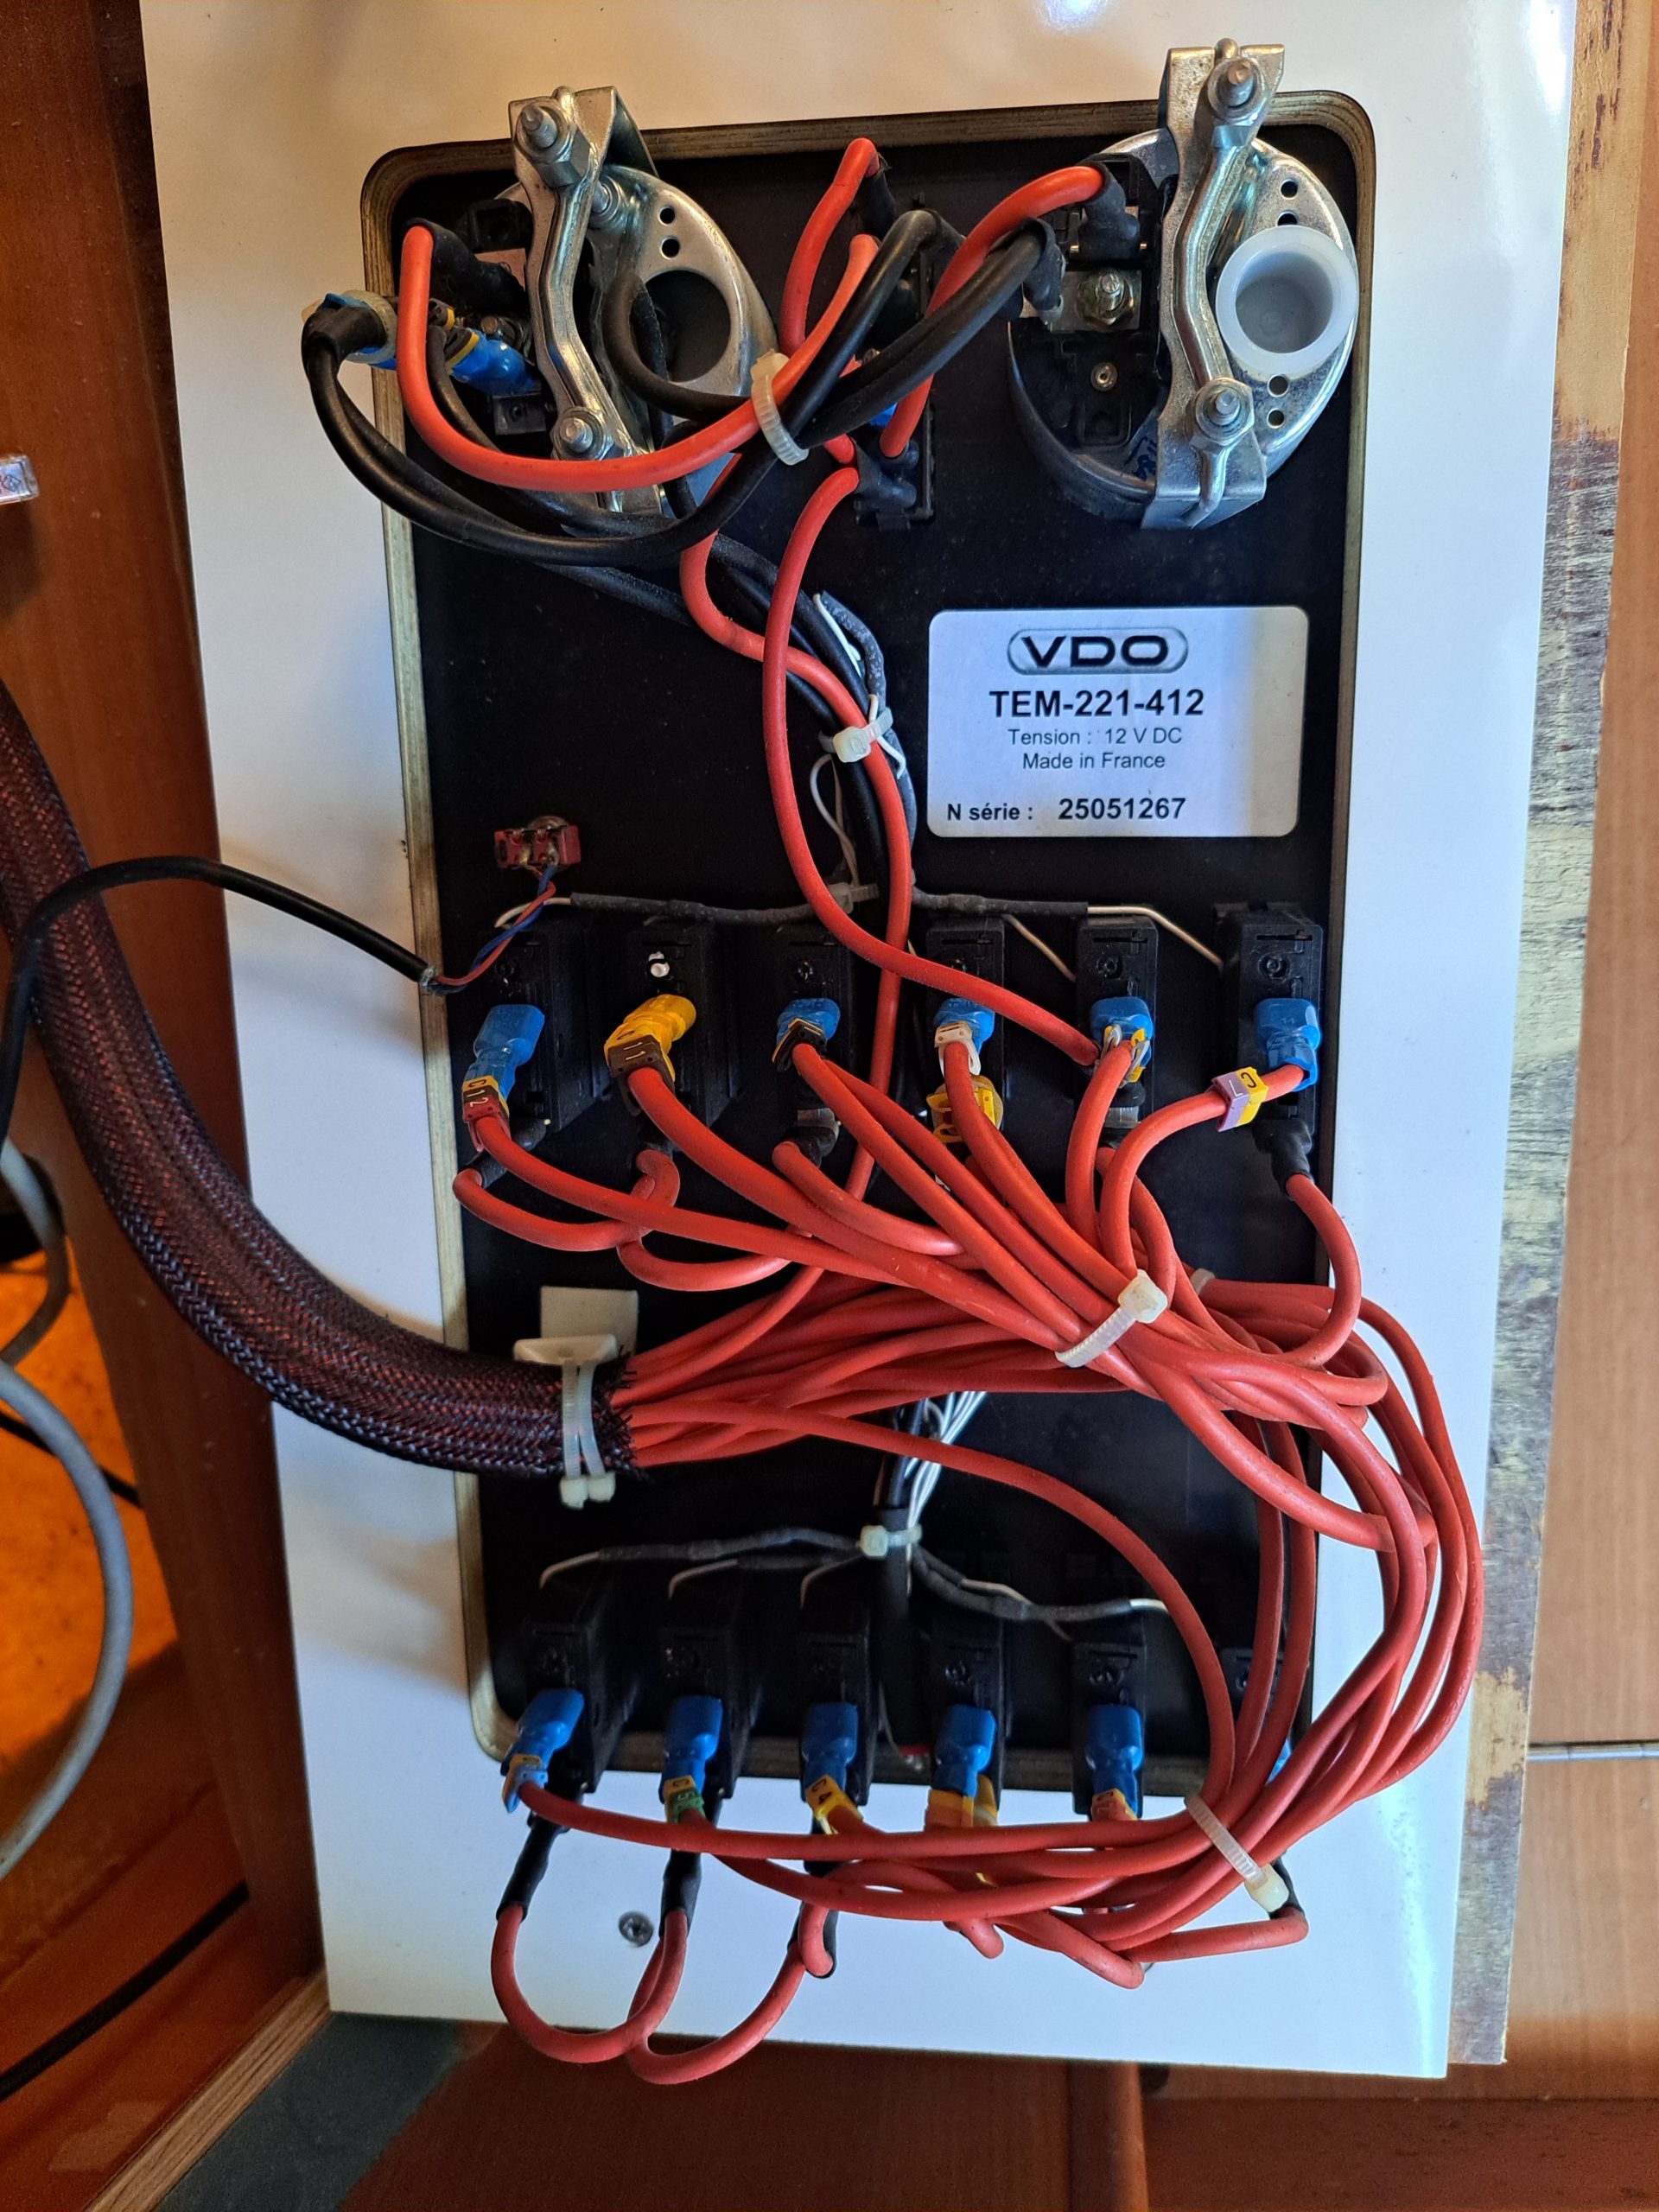
So with the power on, and the panel detached – locate the connections to the gauge (top-left in this photo).
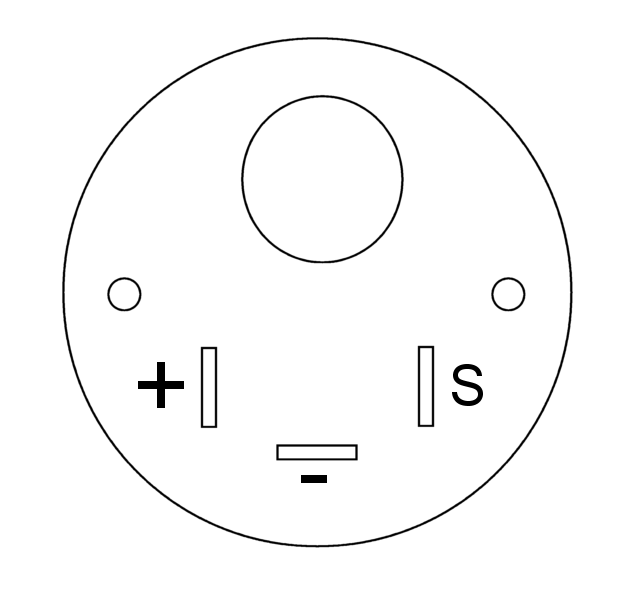
Using a multi-meter check the voltage across the power supply terminals. These are marked + and – on the back of the gauge, but this is not really visible with all the wires in the way – this sketch will help.
In the photo above, the red wire is the positive (+) supply, and the double black wire is the negative (-).
I found that the power supply was OK.
Step 2 – Check the gauge works
You can do this in place. Remove the sensor wire (it has a blue cover in the photo above). This should cause the gauge to show full. Then using a jump wire, connect the sensor (S) terminal to the negative (-). This should cause the gauge to show empty.
I found that our gauge worked OK. So it was either the wires connecting the sender, or the sender itself that had gone wrong.
Step 3 – Test the wires to the sender.
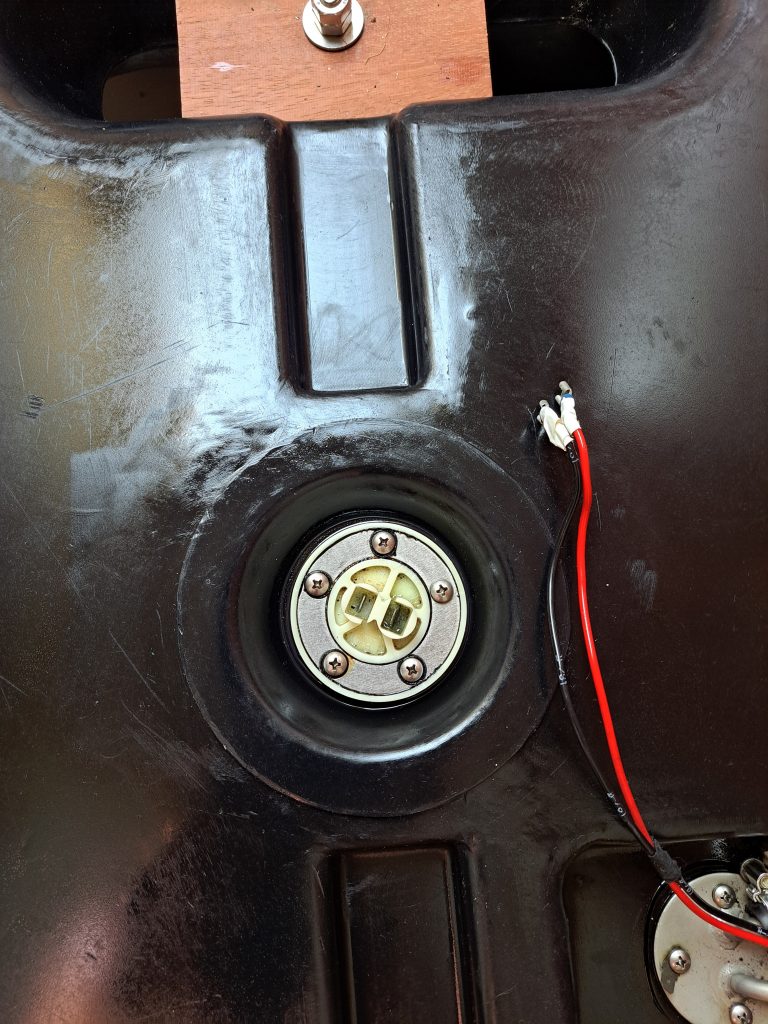
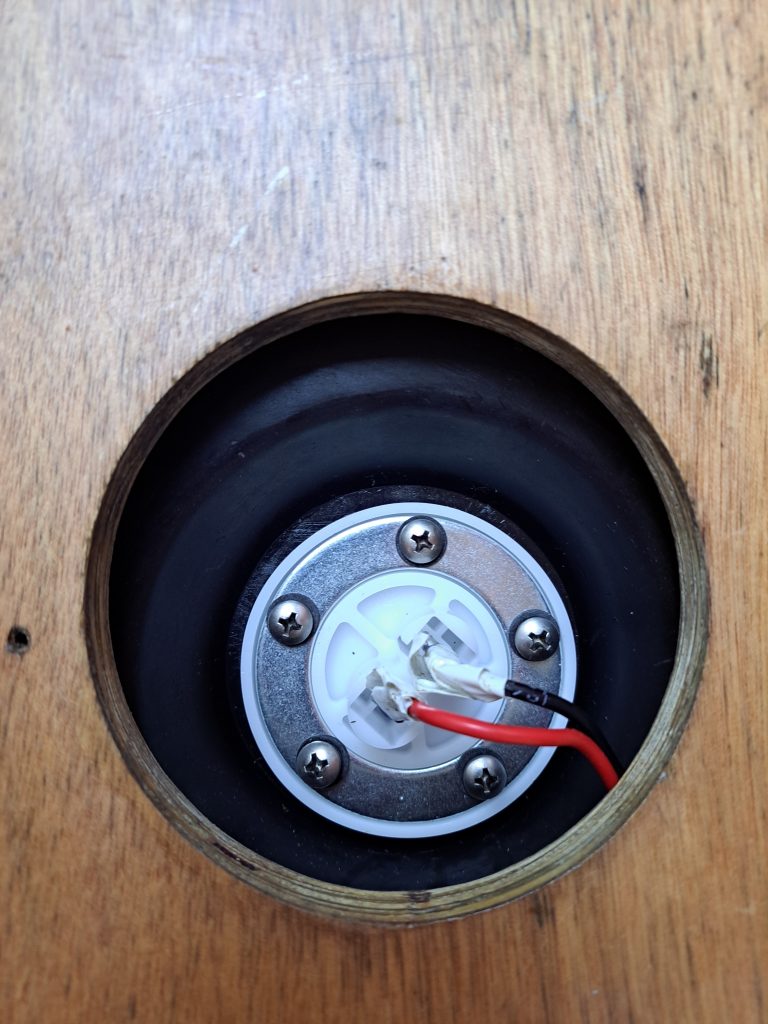
On Molia the sender lives below a little cover in the floor of the aft locker. Locate and detach the connections to the two wires. Repeat the gauge test using the ends: with the ends apart, the gauge will read full, and when they are touched together it will show empty.
This test passed – so it was the sender itself that was malfunctioning.
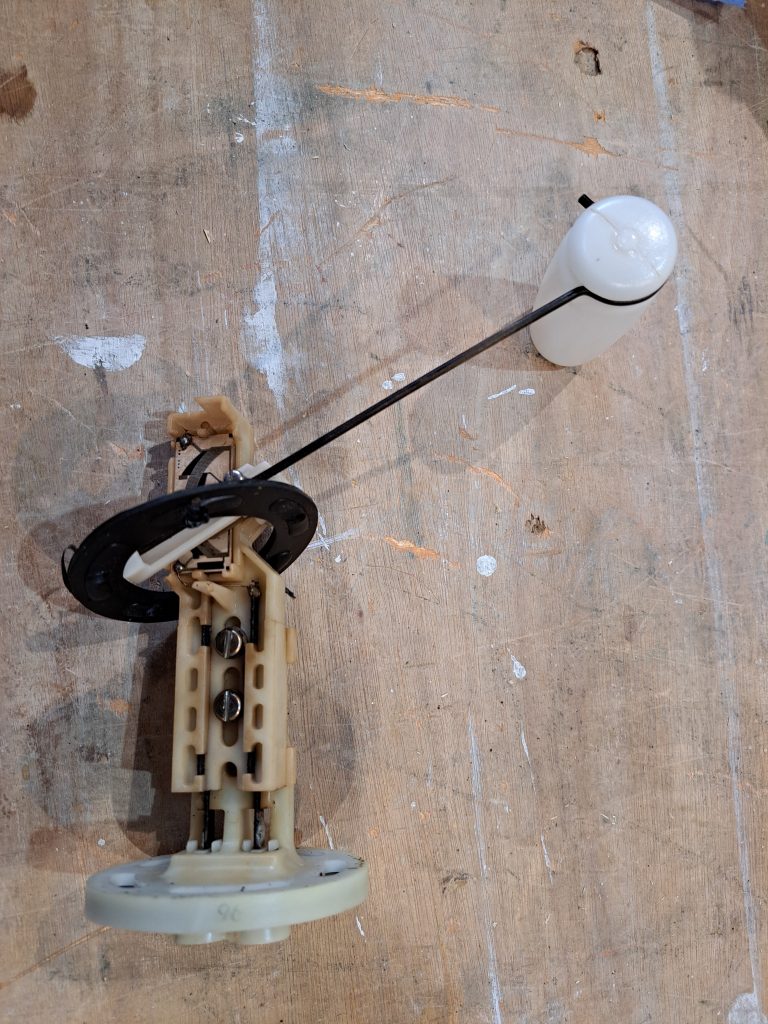
Therefore at his point I removed the floorboard, and then the sender. I also removed the gauge itself so I could properly identify it.
Back at the workshop it was now possible to positively identify the parts.
Our VDO fuel gauge has printed on the side: 3 – 180 OHM 12V and the model number 301 030 001.
A quick internet search for ‘VDO fuel sender 3-180 ohm’ produced some results which looked like our old one.
Prices vary a lot! As it turns out this sender also fits several VW camper vans and some older VW car models – so we could use a motor parts website, which is cheaper than a specialist marine supplier.

This is quite pleasing – my first car was a classic Beetle, so it could have had the same sender in it! Our chosen supplier was a company called ‘demon tweeks’ https://www.demon-tweeks.co.uk located in Wrexham. The delivery was efficient and well packaged.
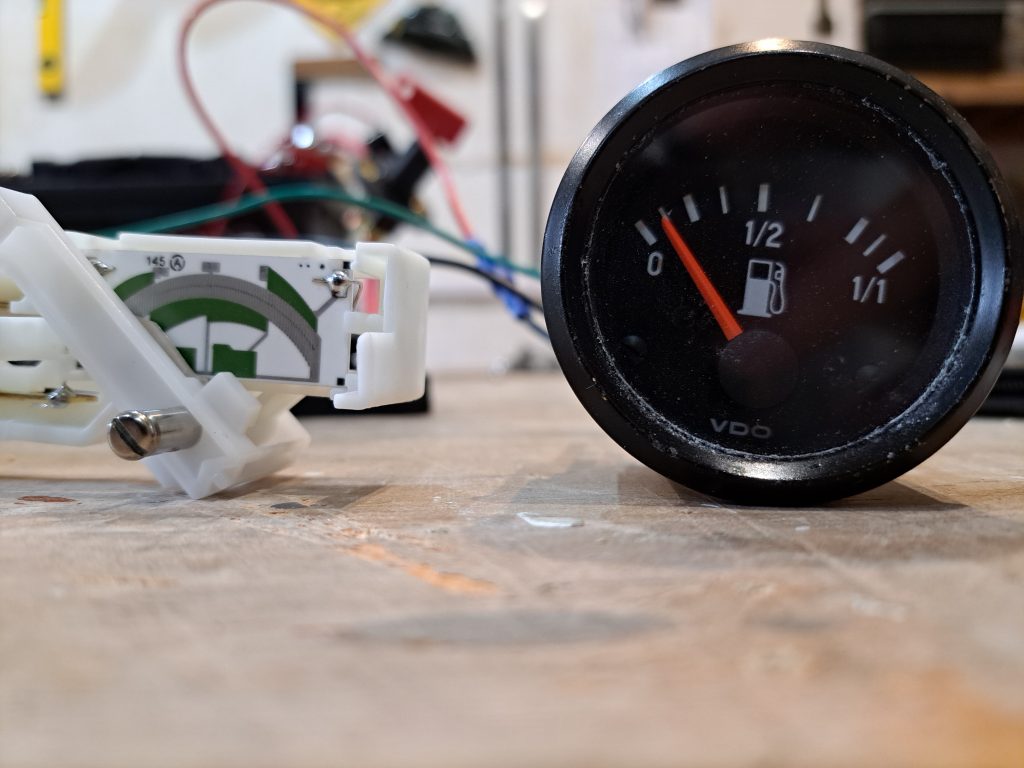
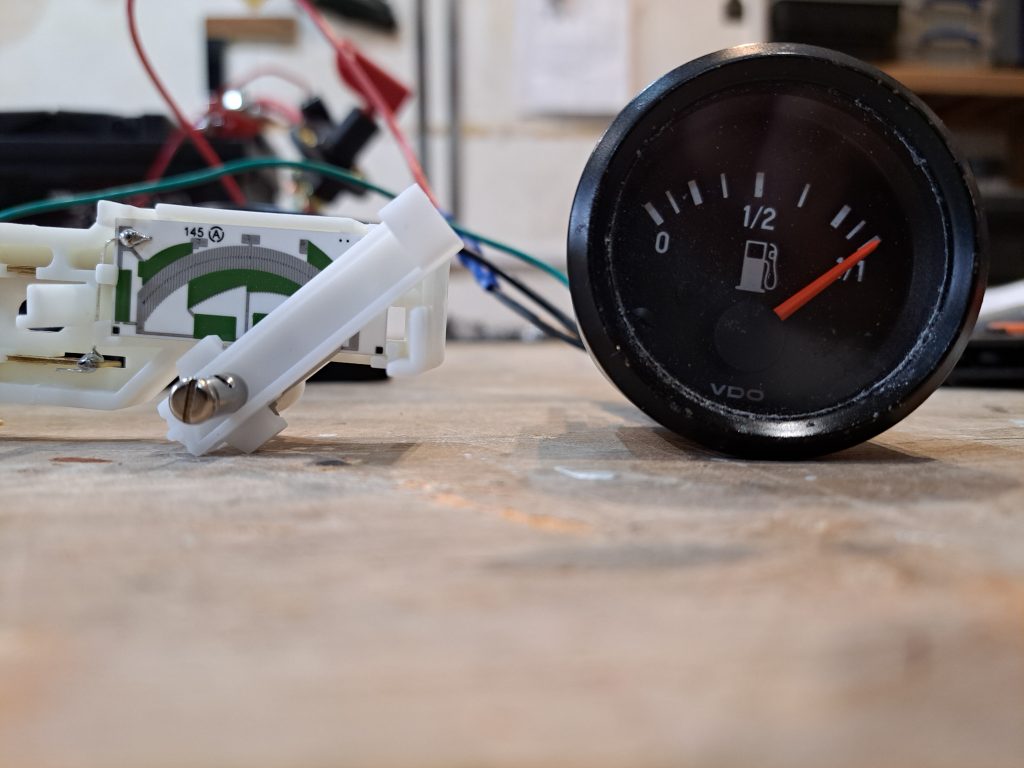
Just for interest at this stage, I connected the gauge and sender up to my test battery on the workbench, and tried it out.
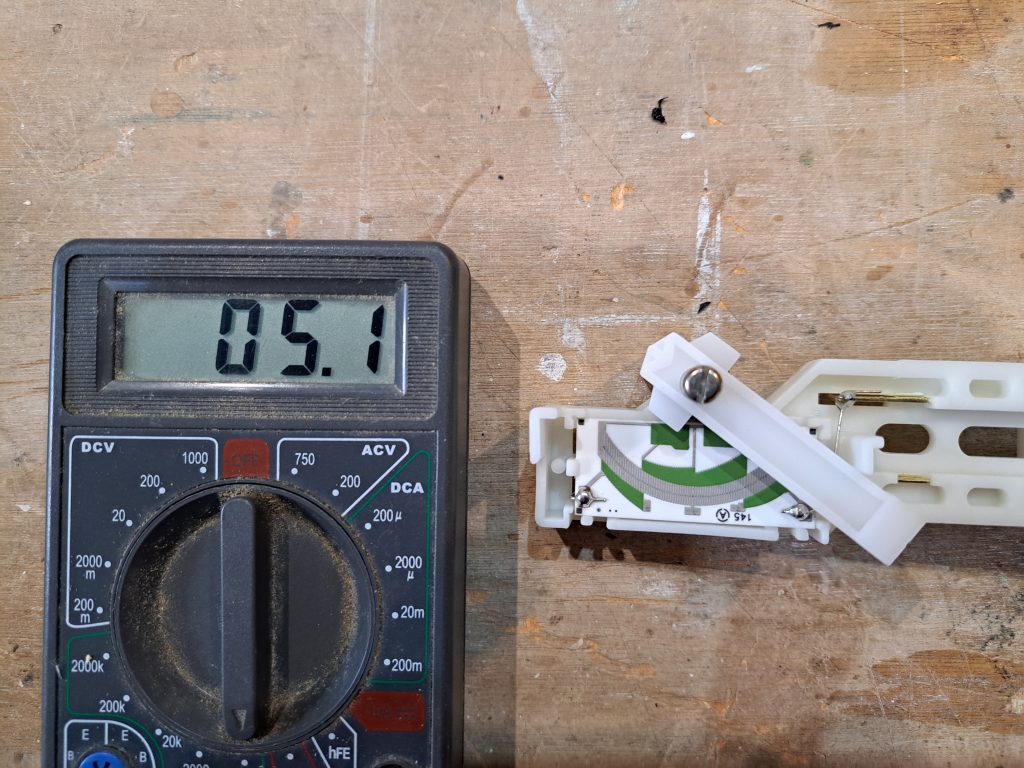
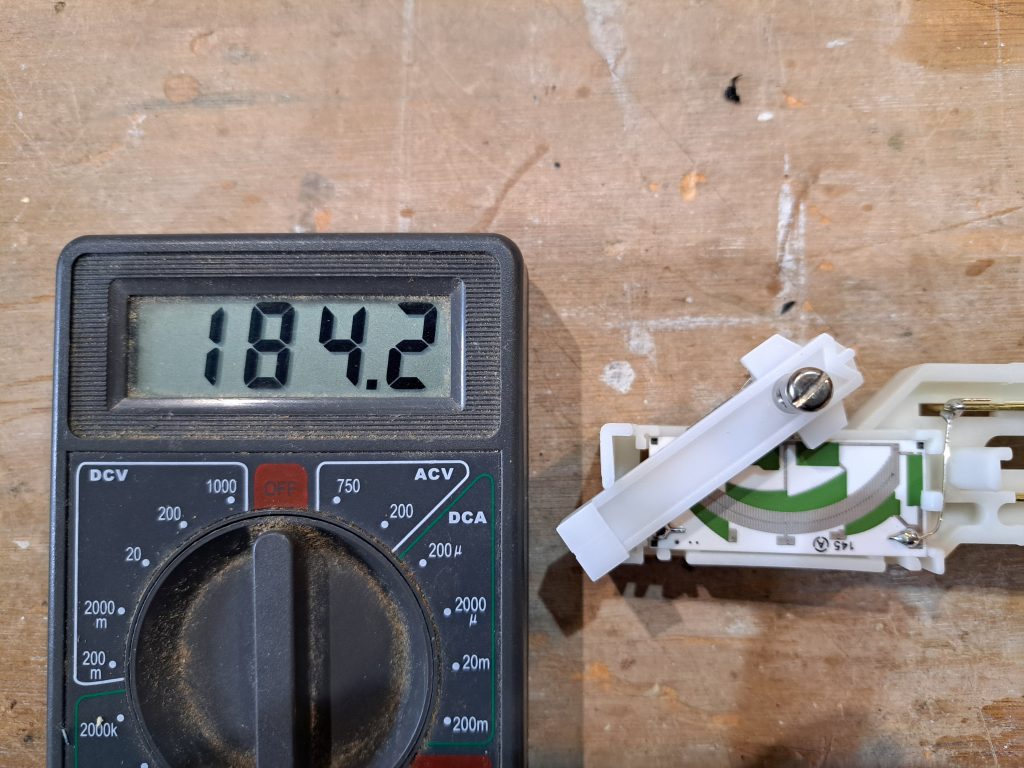
Then with the new sender attached to the multimeter on the resistance range, you can see the difference between empty (low resistance – left) and full (high resistance – right).
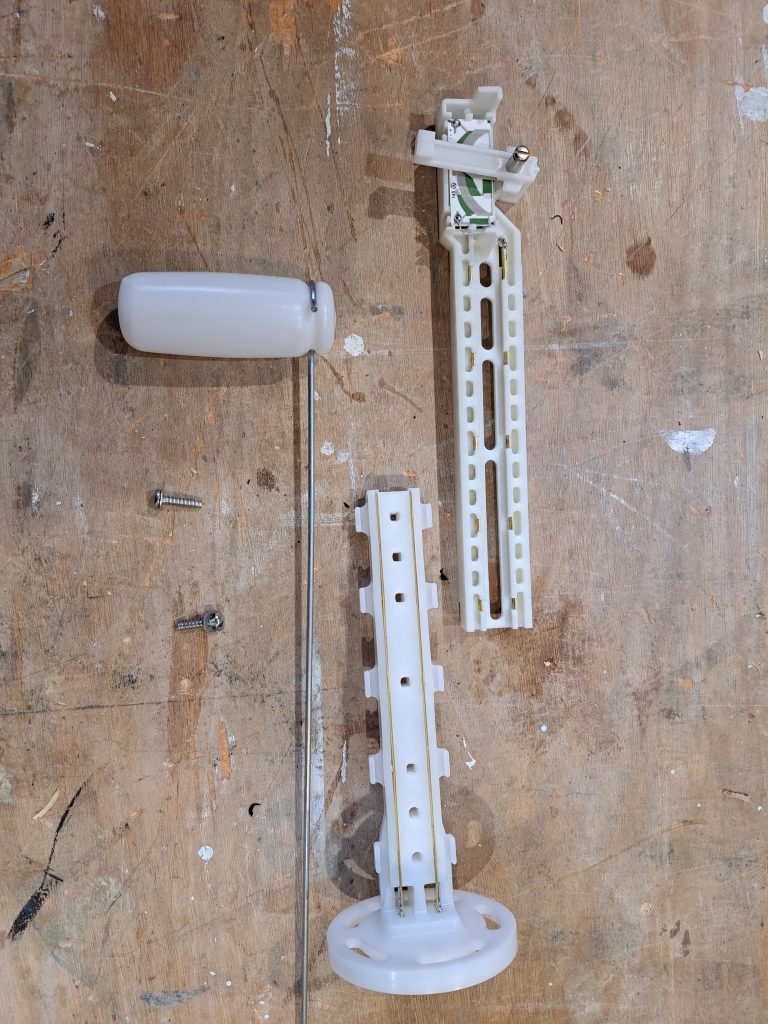
The sender is designed to cover a wide range of tank sizes – so it is manufactured a lot longer than we need in a Dufour 325.
This means that the scary part was cutting the (expensive) parts to size. Luckily we had the original, so with careful marking and cutting I was able to reproduce what I had taken out.
I recommend a full size hacksaw (not the junior version) and a vice for this job.
Back at the boat – the fitting went smoothly, and we now have a functioning fuel gauge once again.