Travels and boat care
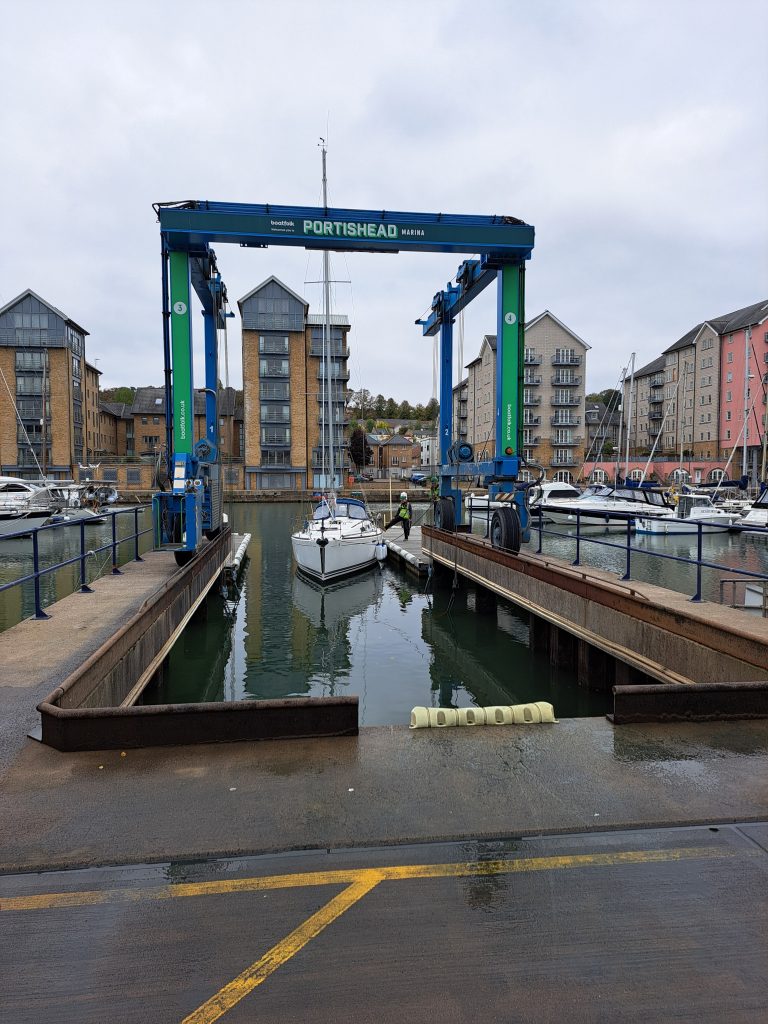

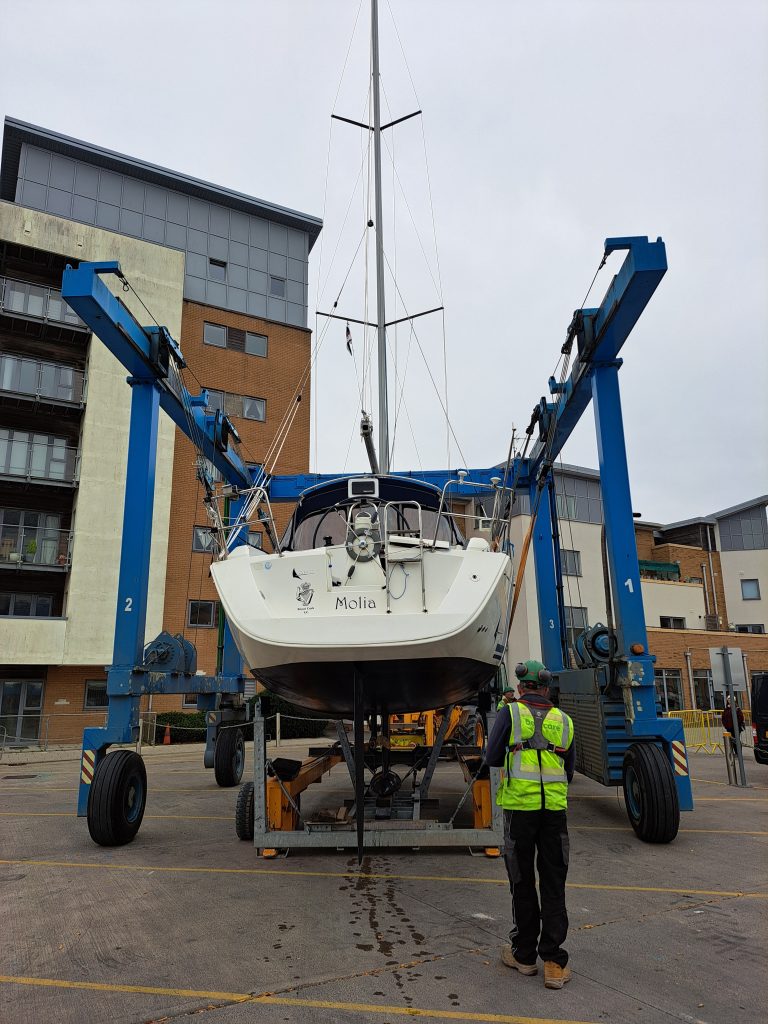
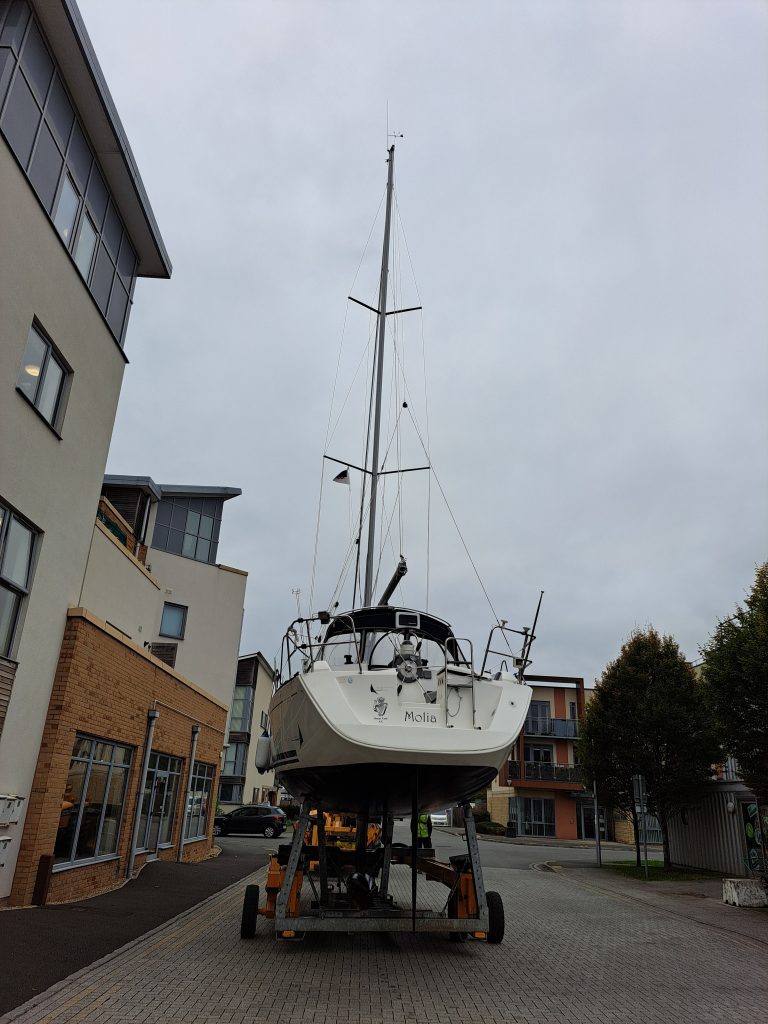
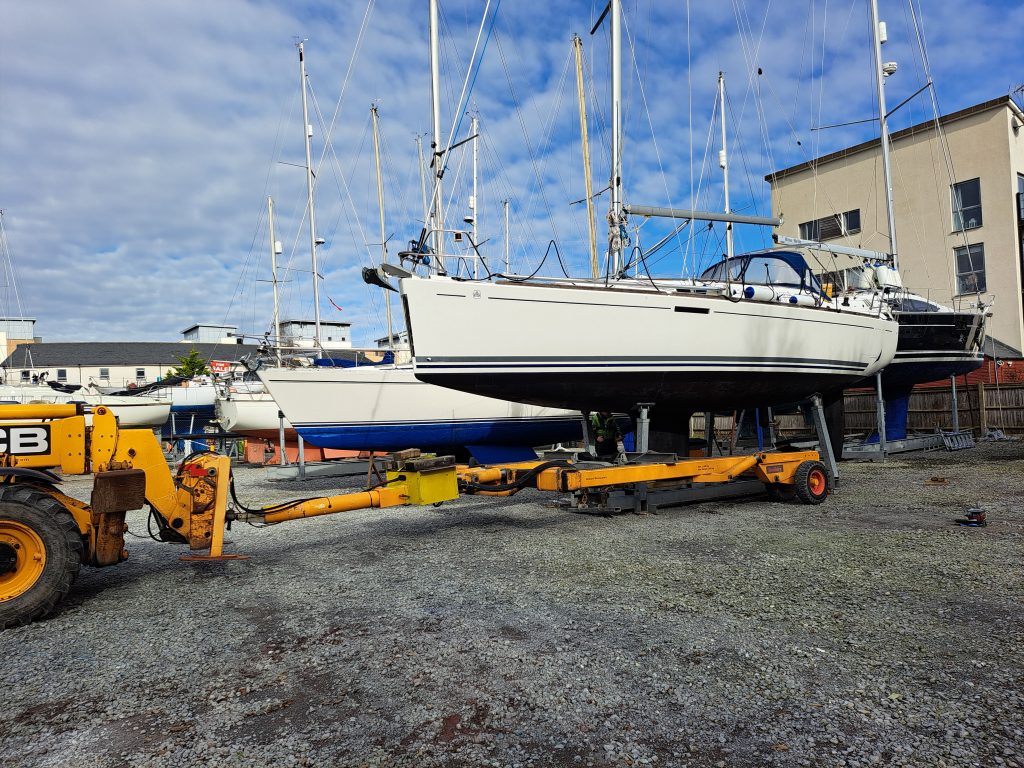
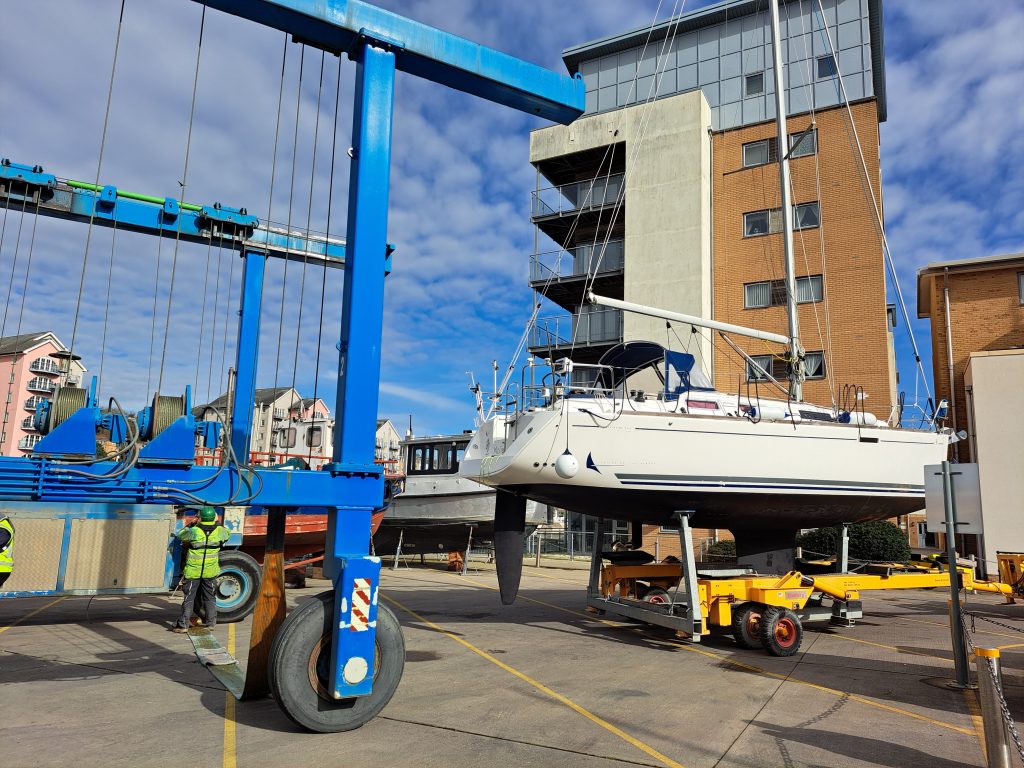
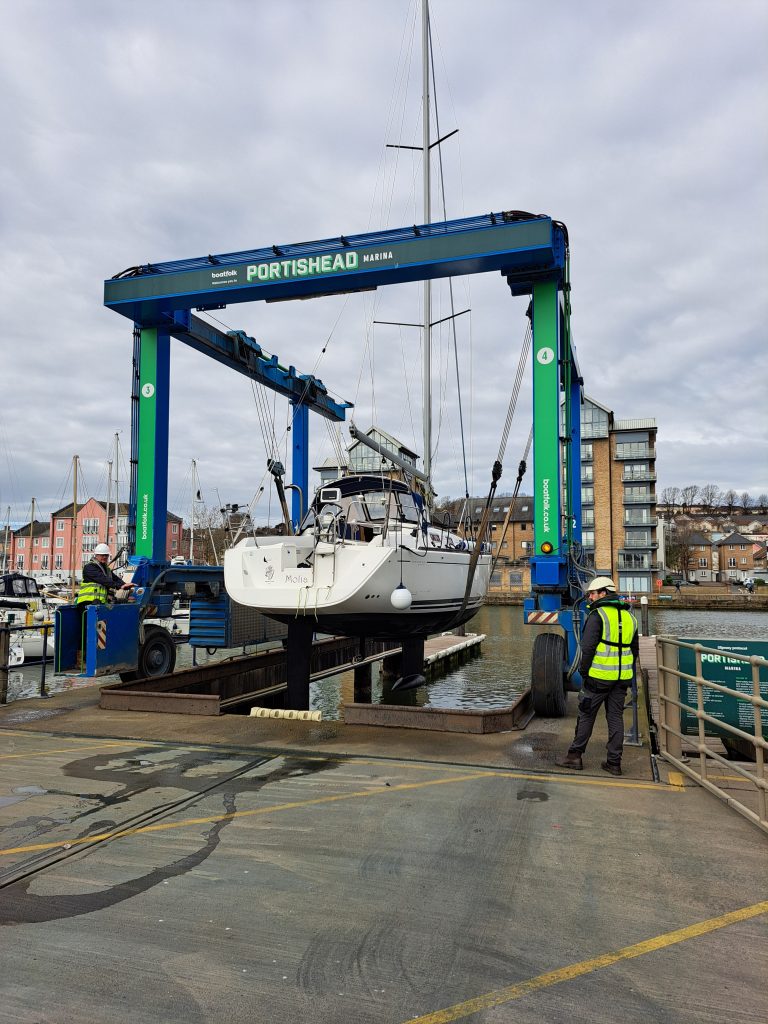
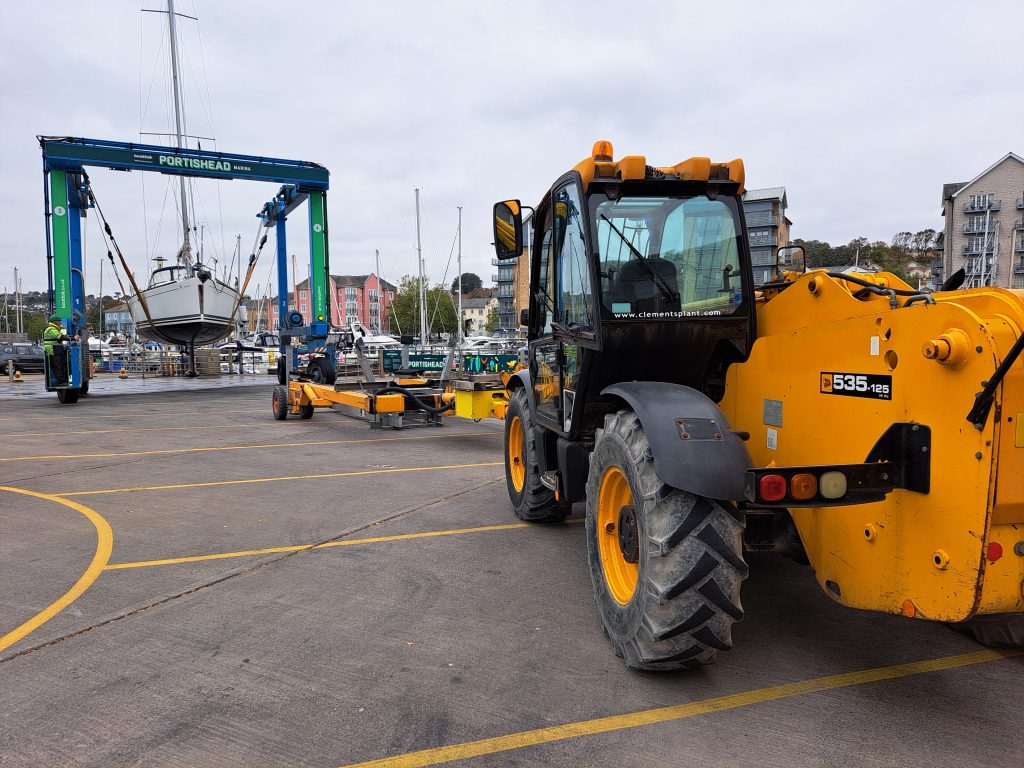
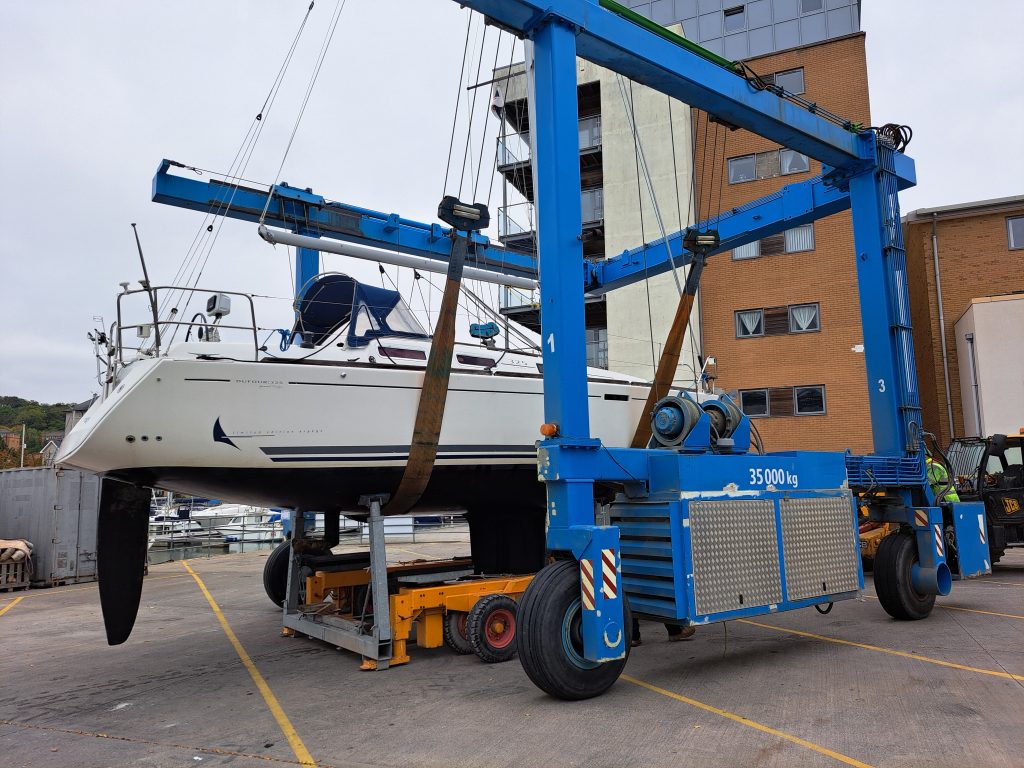
Boatfolk are using the latest tractor and cradle gear this year.
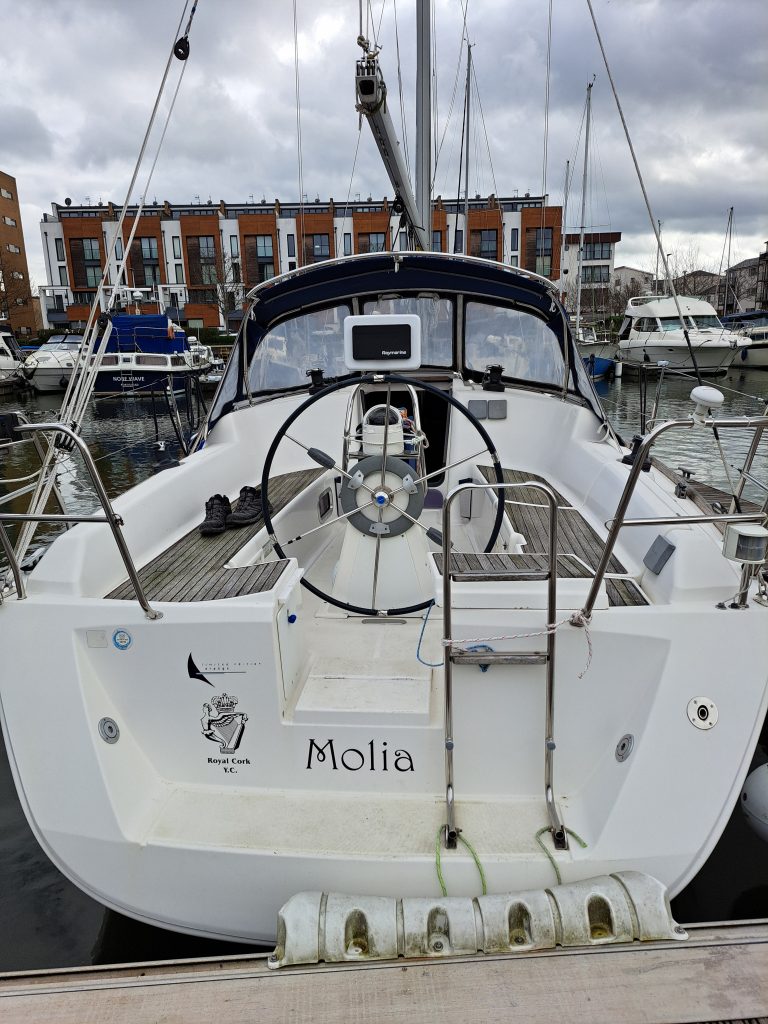
We stayed on Molia the night before setting off round the Holms islands with Kate and Simon.

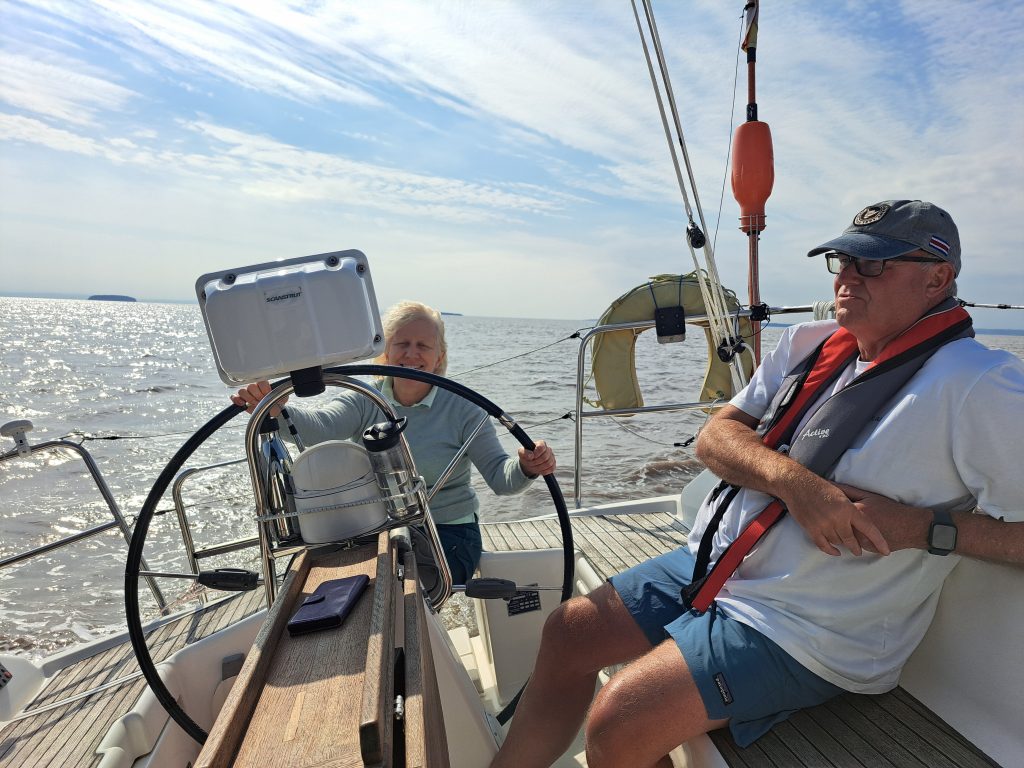
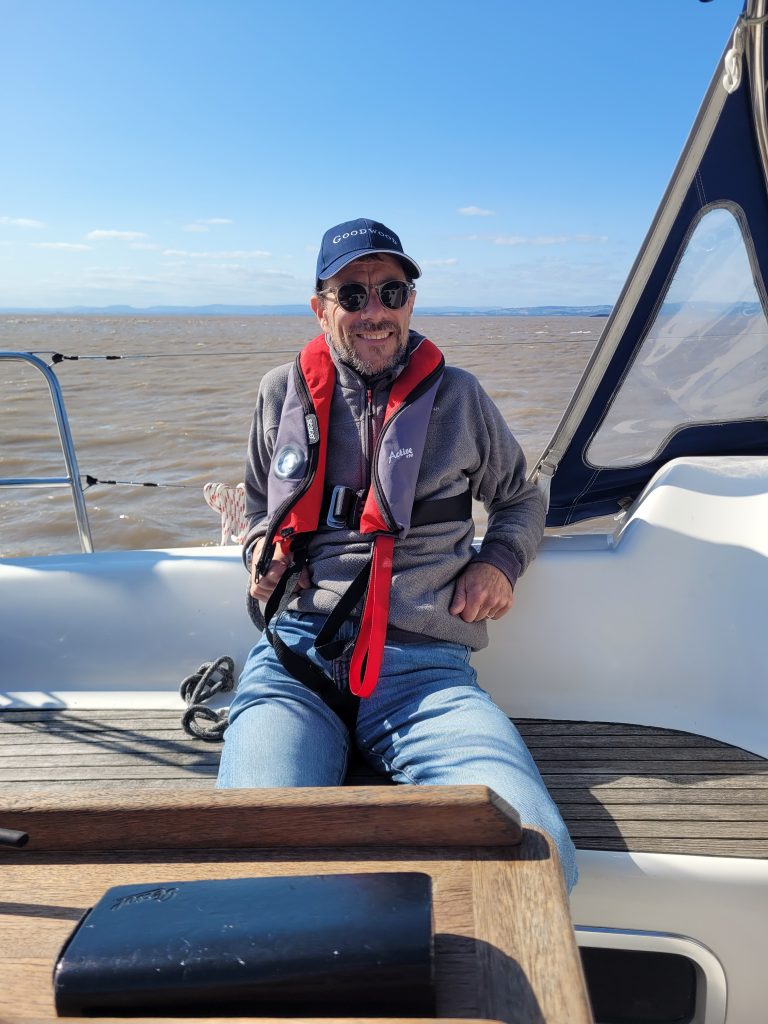
Another sunny day on the River Severn.
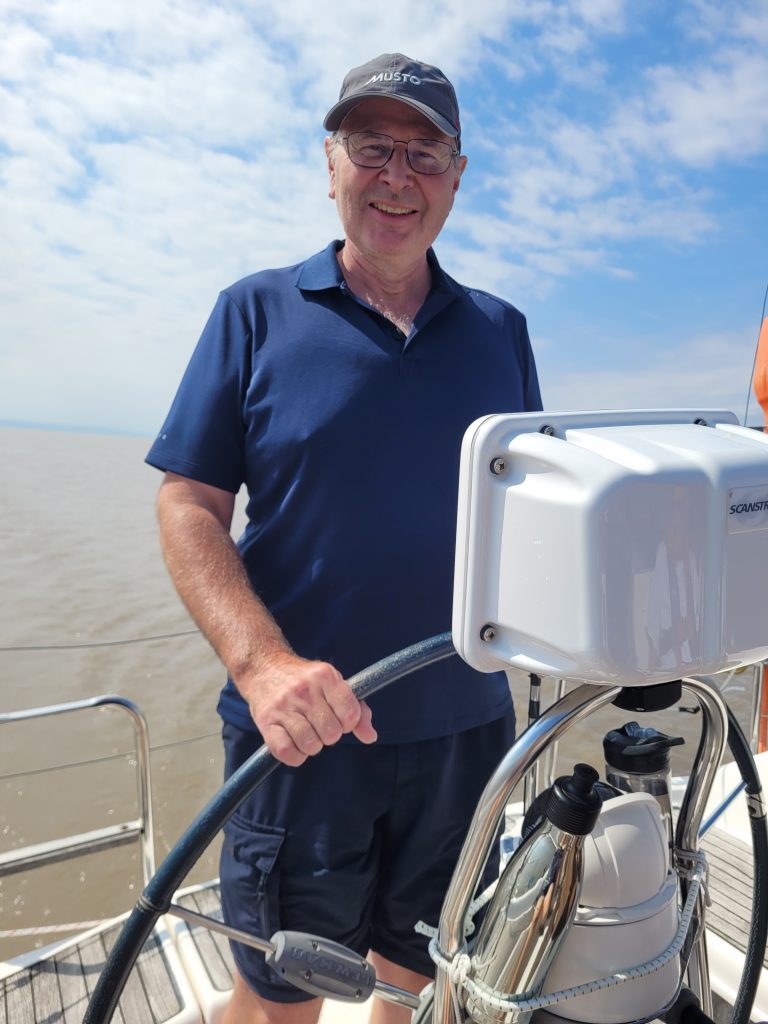
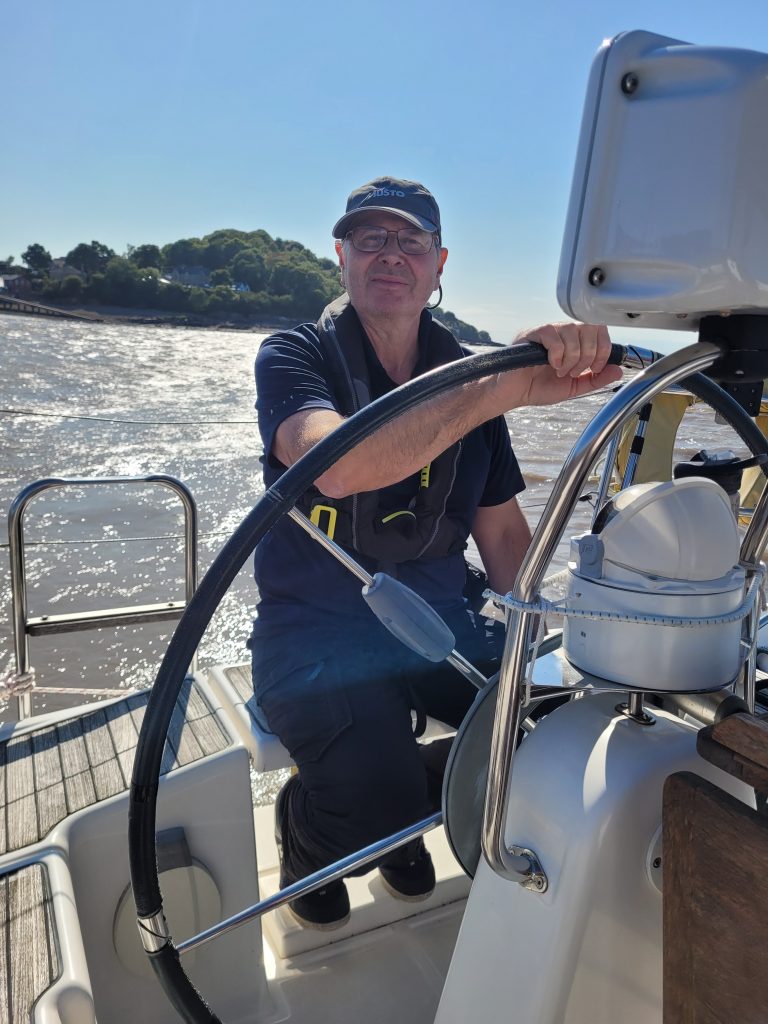
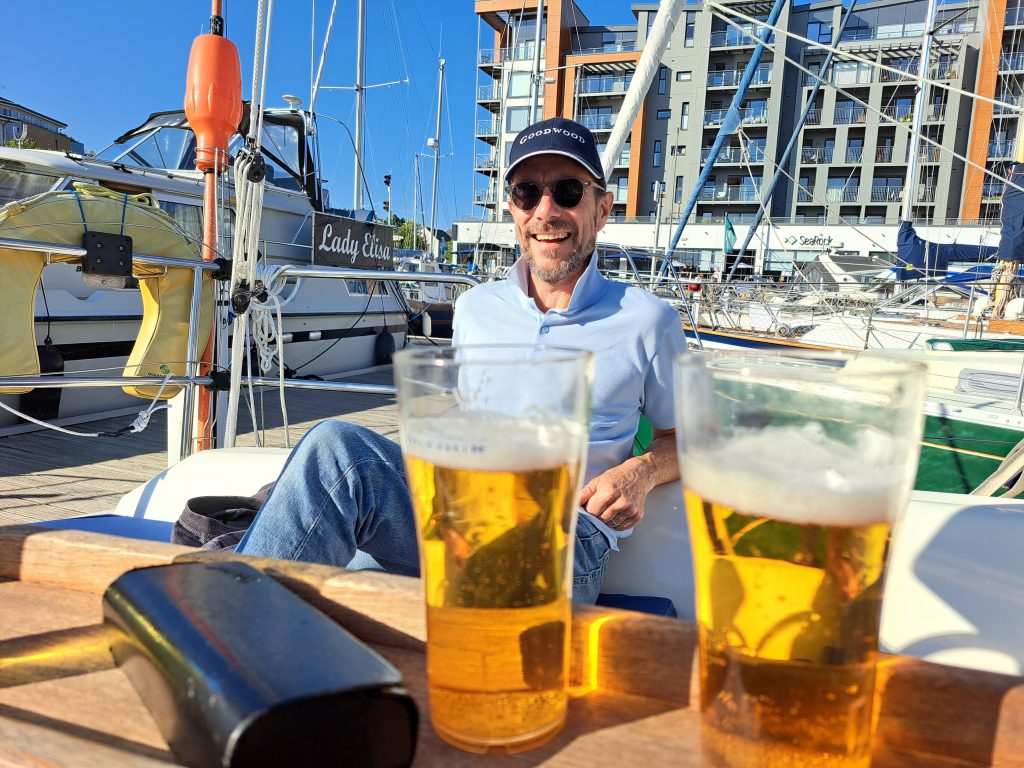
Another sunny day to welcome Richard onboard. We sailed up to the second Severn crossig and back – for a beer!
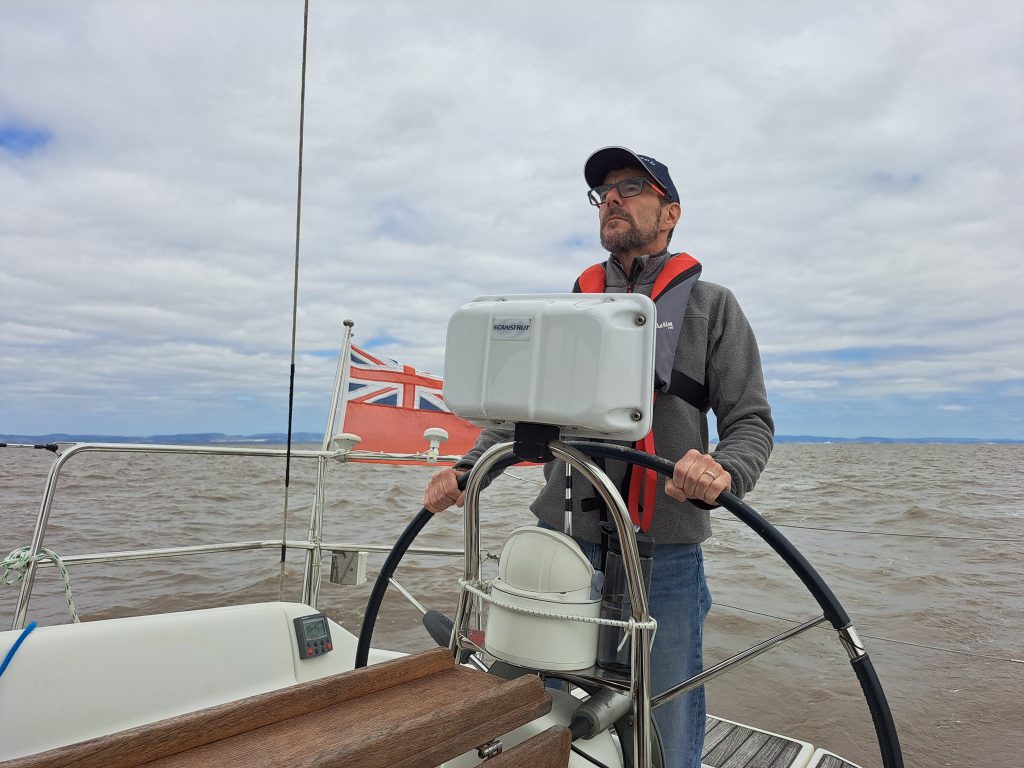
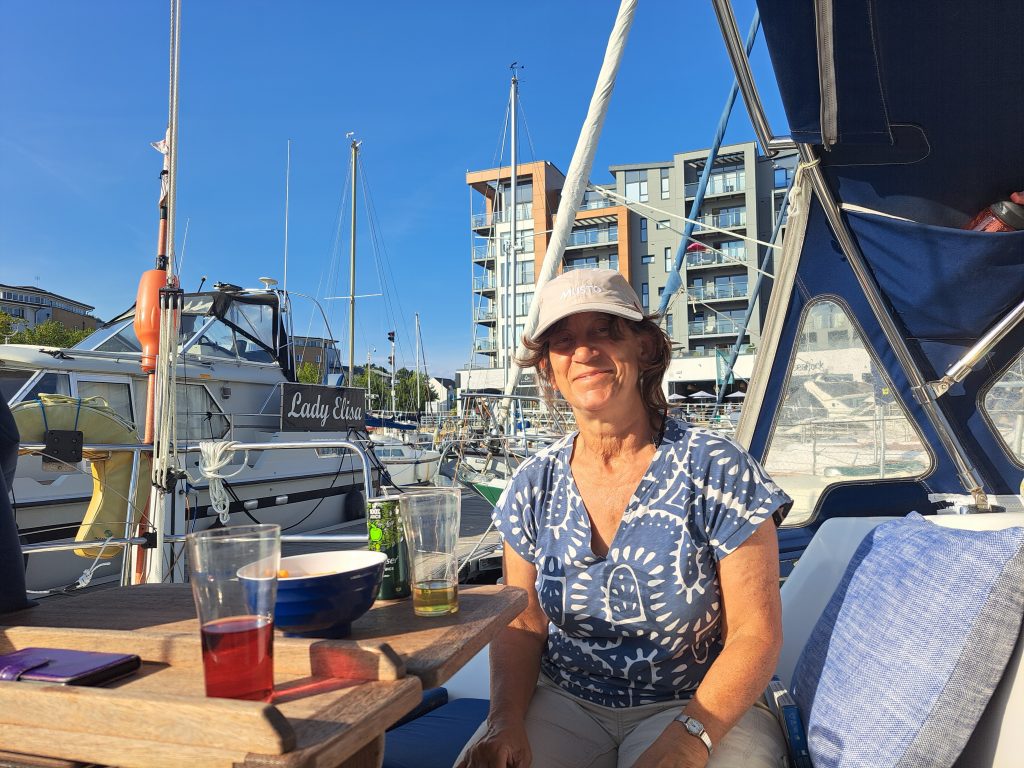
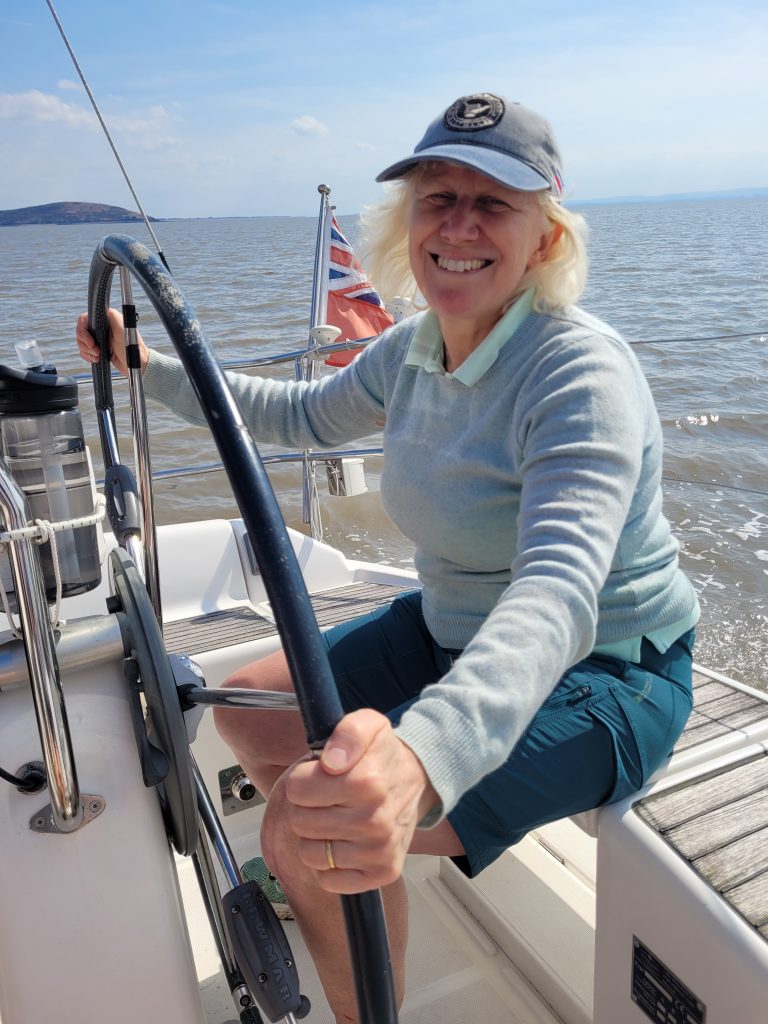
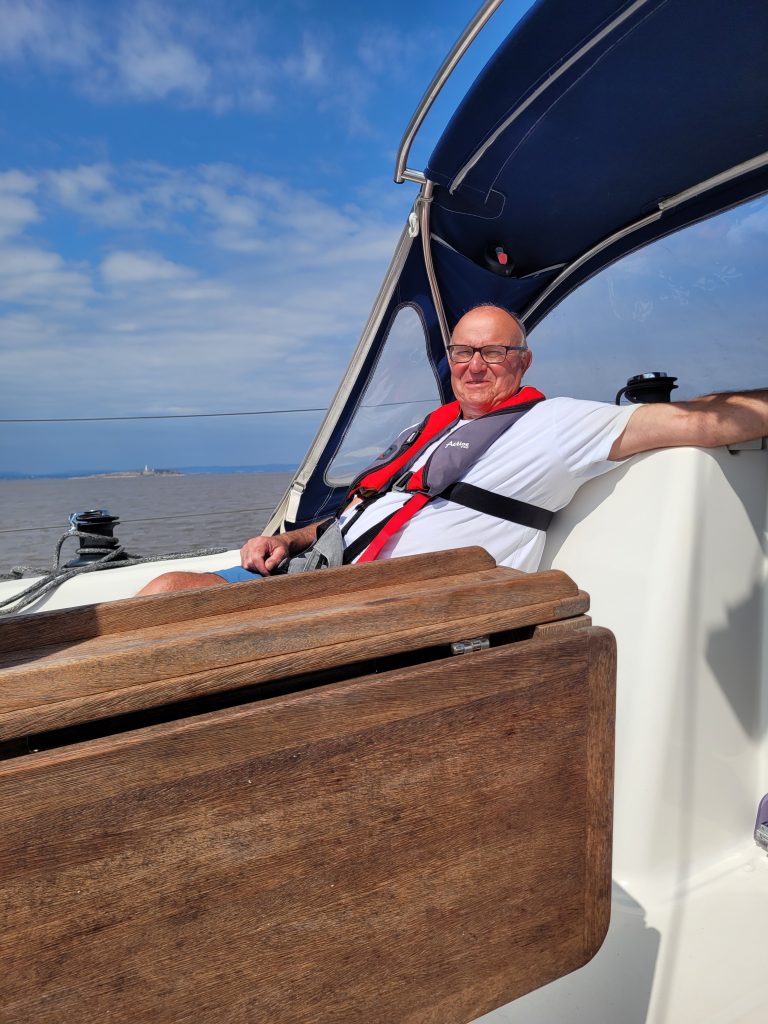
It was great weather to welcome Teresa for her first trip on Molia, and Andy making his return trip to the second Severn crossing.


There was enough wind to sail both ways, and not too much to enjoy a picnic lunch onboard on the way back.
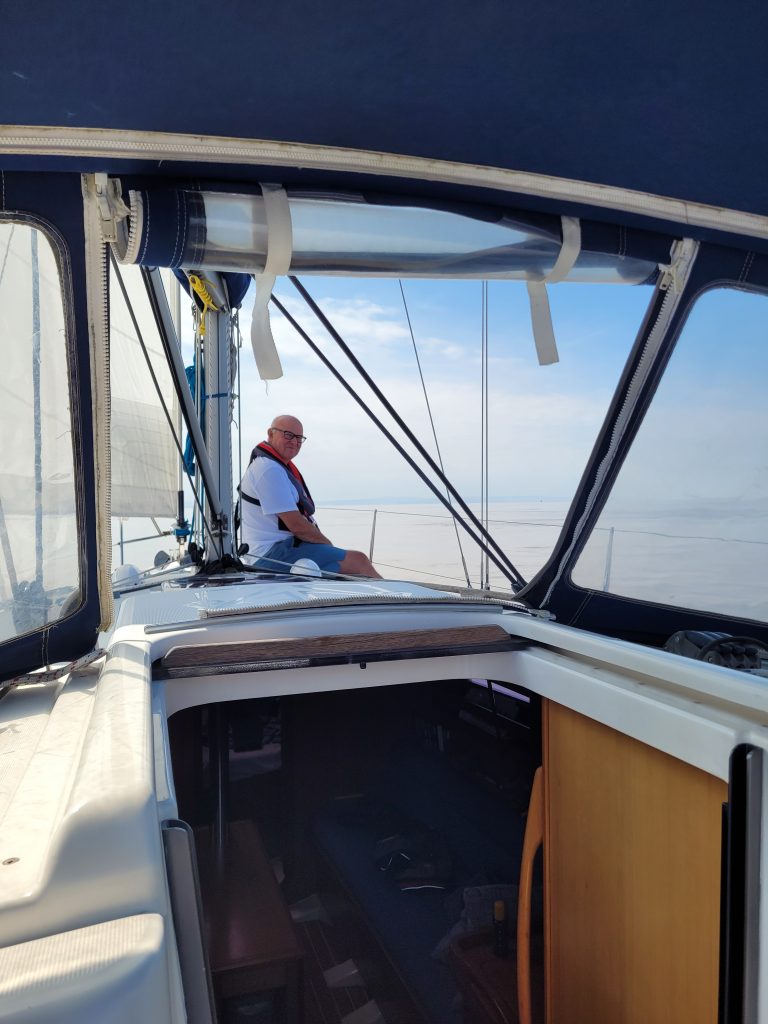
With another very hot day forecast, we set off down tide again. This time we managed to sail around both the Holms islands before slack water.
Then Anna and I tied ourselves to the boat and went for a dip in the brown water!


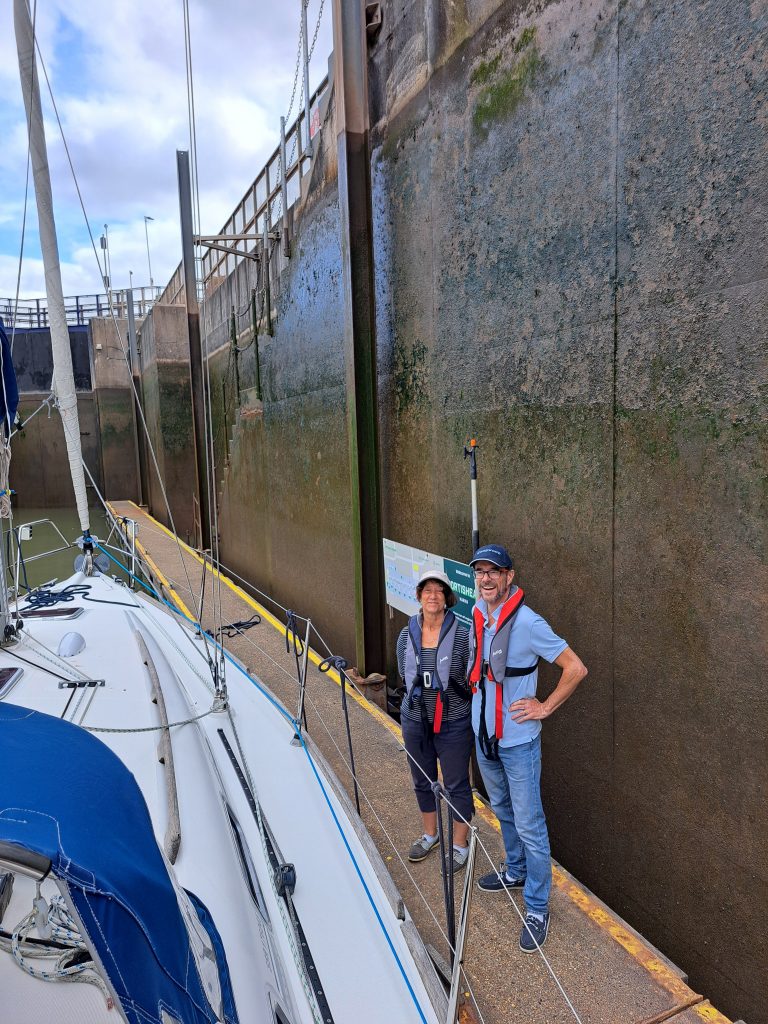
Another very hot day! We set off just before high water at Portishead and got into Cardiff in good time. An excellent lunch at Hub Box Cardiff, then a rest shade waiting for the tide to come back in. We left Cardiff 2 hours after low water.

We drifted down the Severn with the tide on one of the hottest days so far this year. Caroline, Nick and Anna were onboard for this family-based cruise.


Our last leg, on the first day of July.


The local wildlife is being watched!