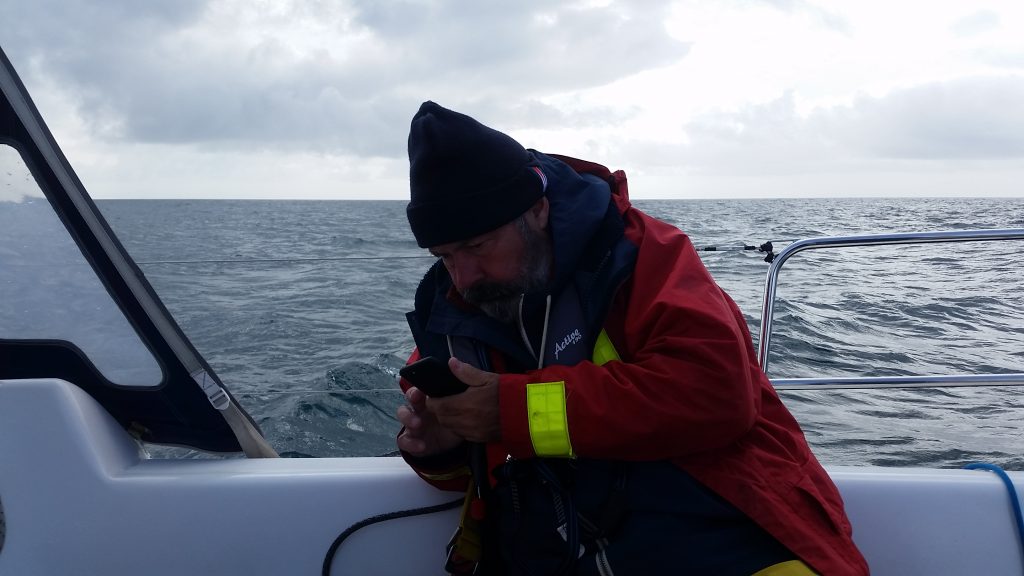
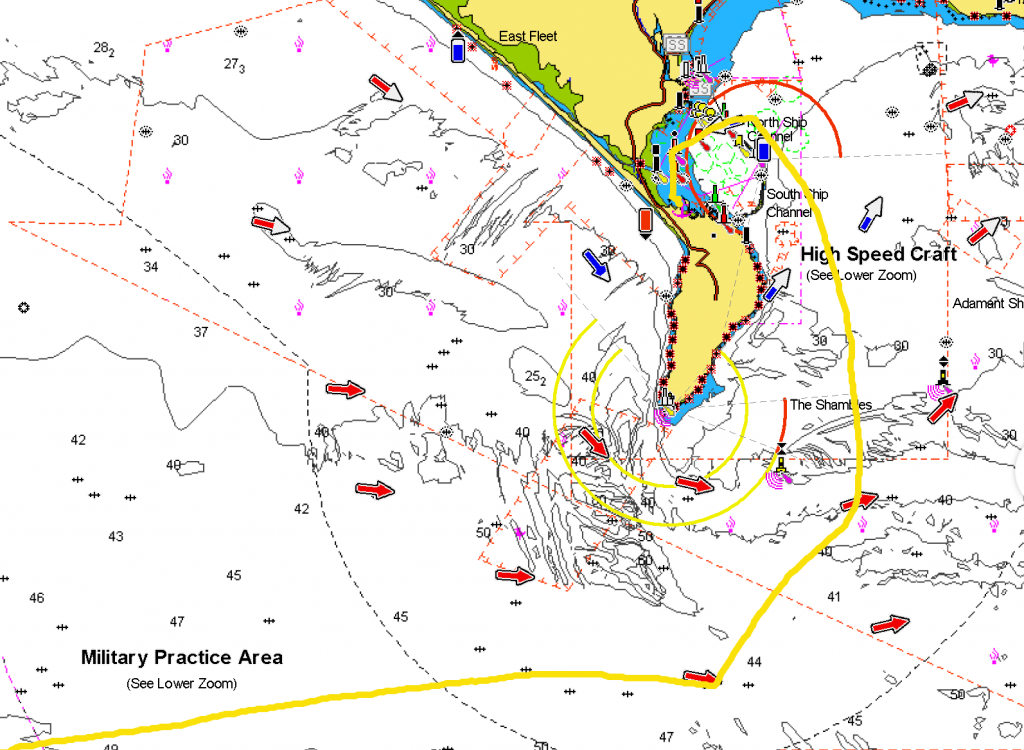
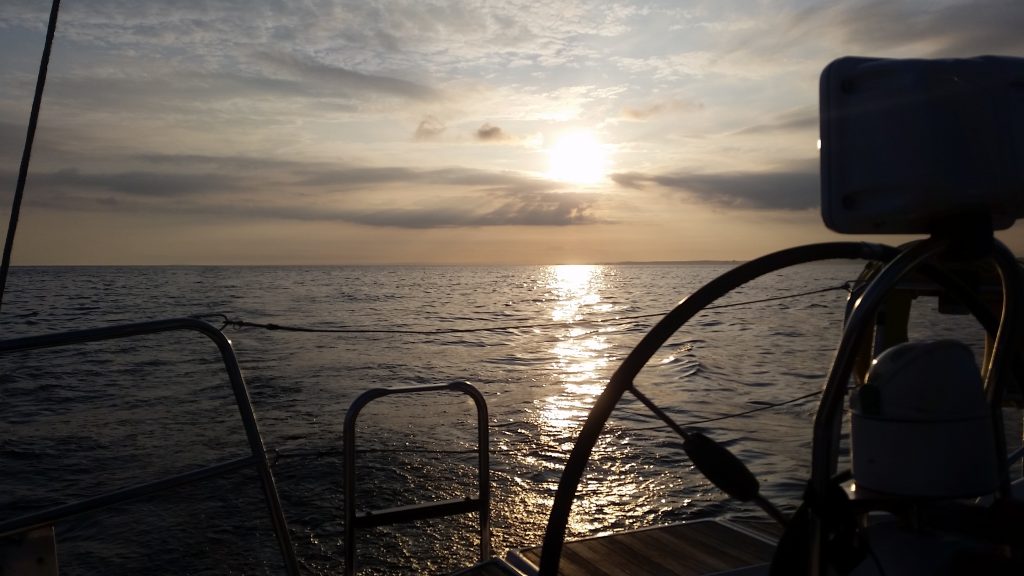
With a good tide in the evening and in the daylight I was keen to get round the Bill of Portland today if possible. This is a long sail (90NM) and took us 15 hours. The sea was still quite rough around the Bill – perhaps we could have stood off further, but that would have made the passage even longer.
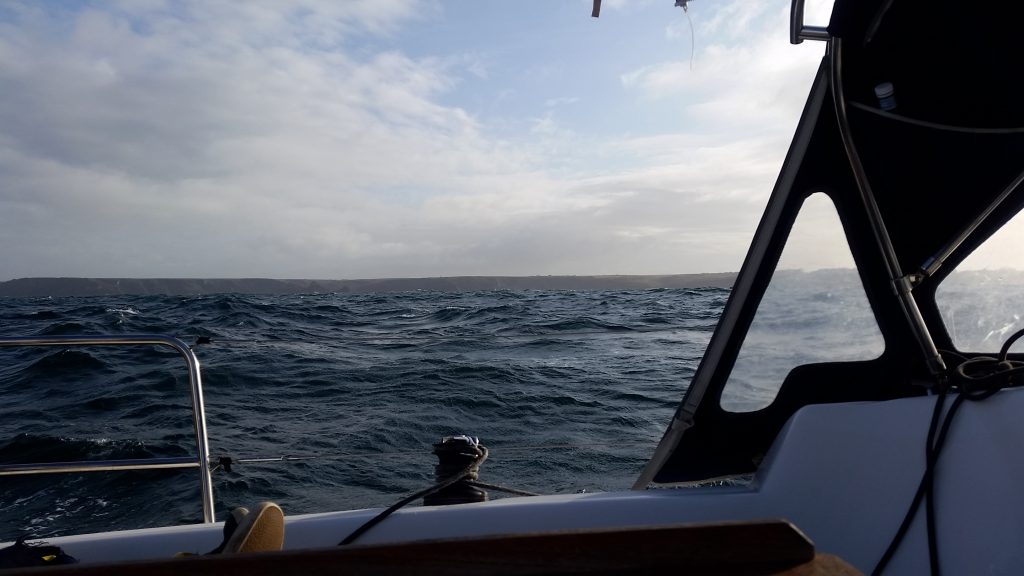
We passed about 4.5NM from the lighthouse and then turned towards the Shambles bank. Once in the lee of the headland, the sea was much calmer.
We had lost the days for a gentle cruise to Portland because of the strong winds. So we made a long passage (71 NM) in 13 hours round the Lizard and directly to Plymouth.
The wind was moderate, but the previous days had left quite a big sea state.
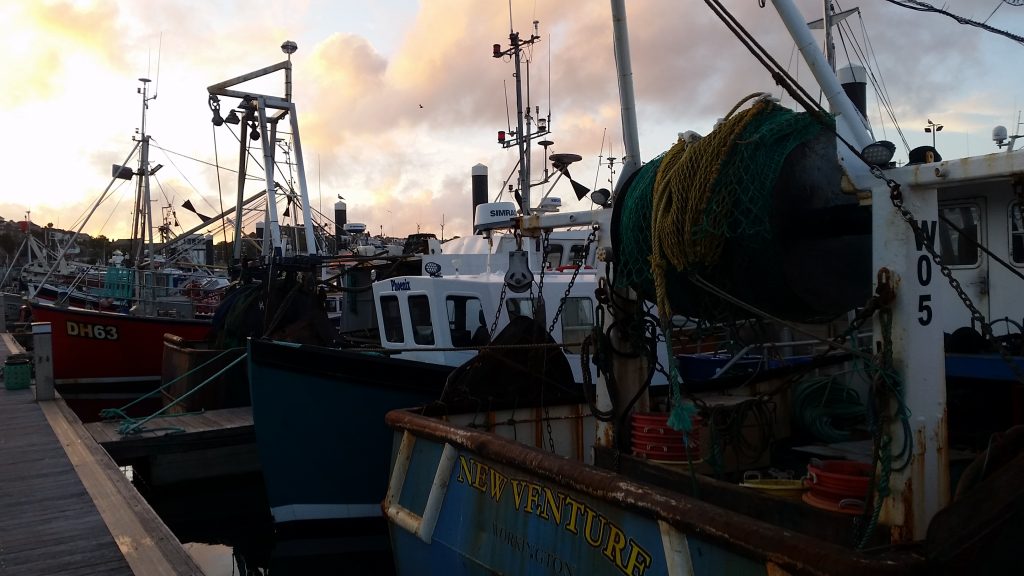
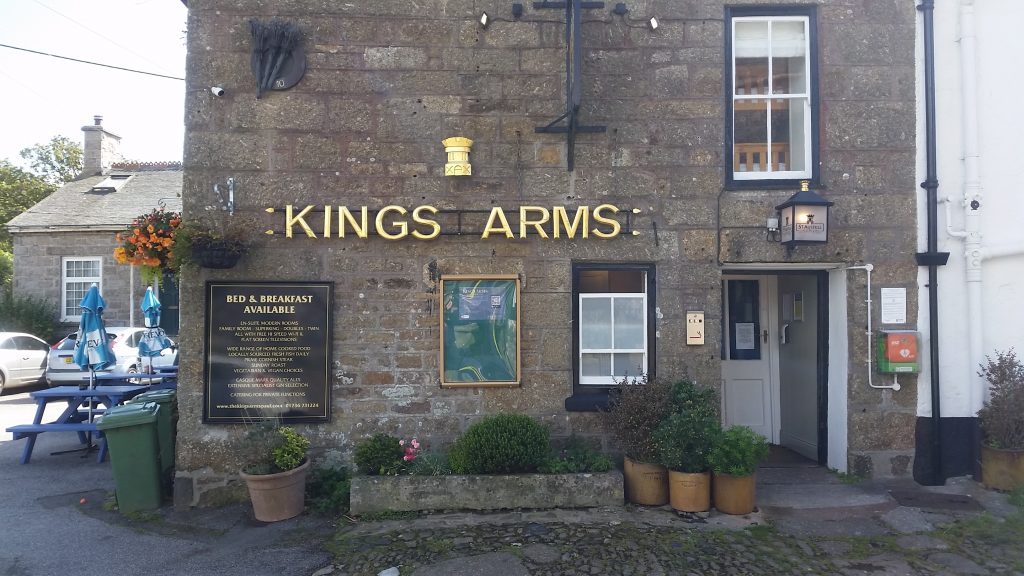
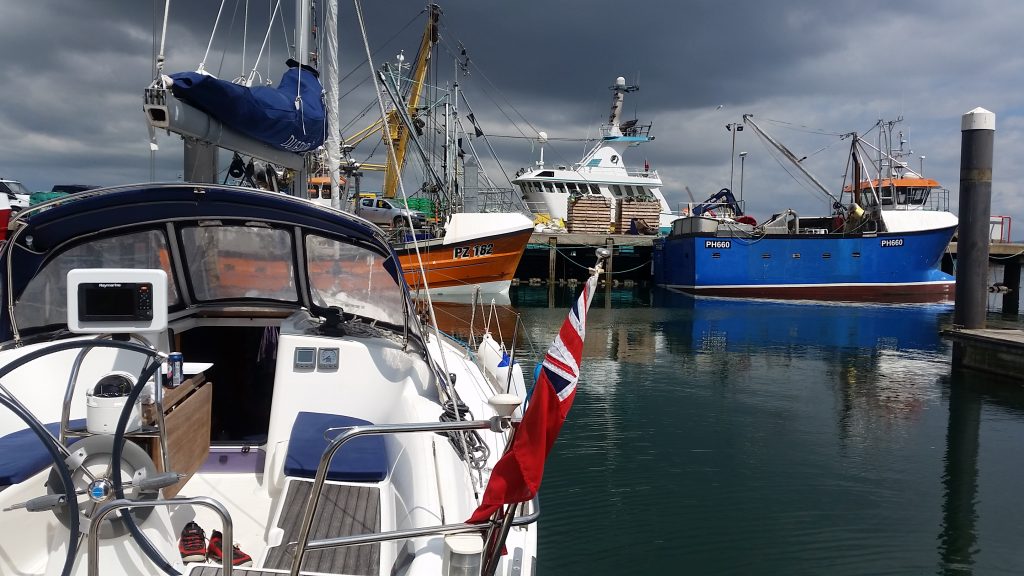
We were waiting for better weather in Newlyn for 4 nights. George joined us by train, and we explored the area while the strong winds passed by. Newlyn is a great place to wait out bad weather, the harbour is very sheltered from the west and south west.
Thursday 5 August 2021
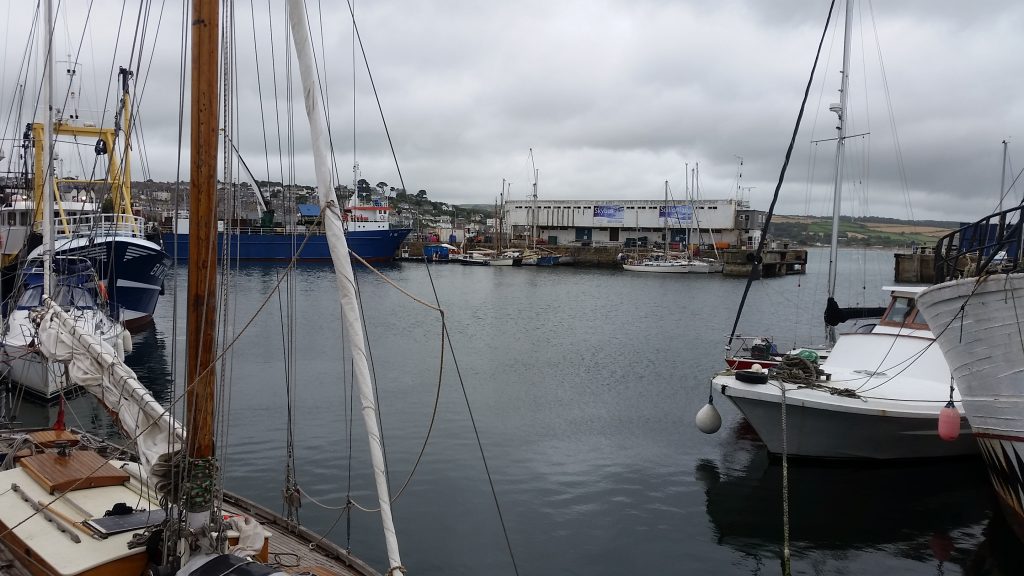
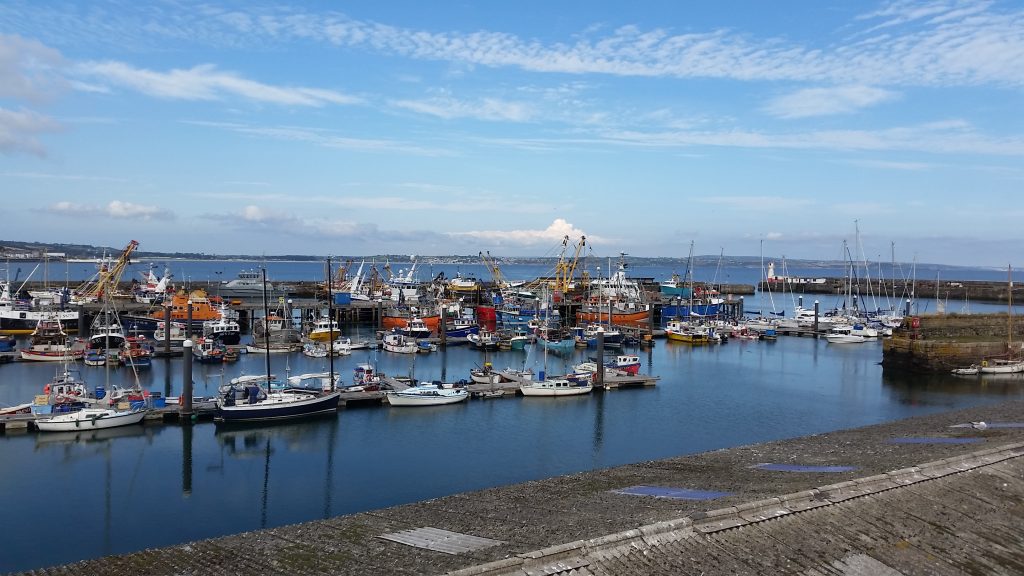
We walked to Mousehole via the old Penlee Lifeboat Station and then took the bus to Penzance and walked back. We looked in on Penzance harbour on the way.
Friday 6 August 2021
The forecast was still showing very rough sea state and occasional force 7 winds, so we stayed put. Steve and George walked to Marizion and got the bus back. I stayed onboard and did a little remote work!
Newlyn is so sheltered from the wind that you would not know what was going on out at sea! George and Steve reported much more wind over the other side of Mounts Bay.
Saturday 6 August 2021
We are still here! Our criteria for leaving to round the Lizard have not been met – and the harbourmaster said that we had made a “good decision” – as the lifeboat had just towed a yacht into Newlyn with a torn mainsail.
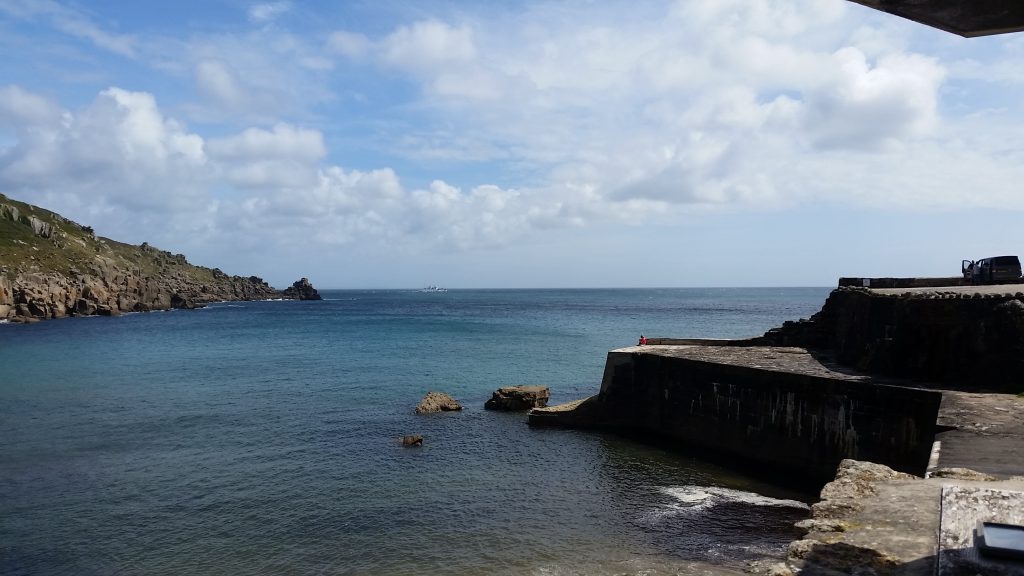
We walked to Lamorna Cove and back via Paul to Newlyn. Weather conditions for Sunday look acceptable.
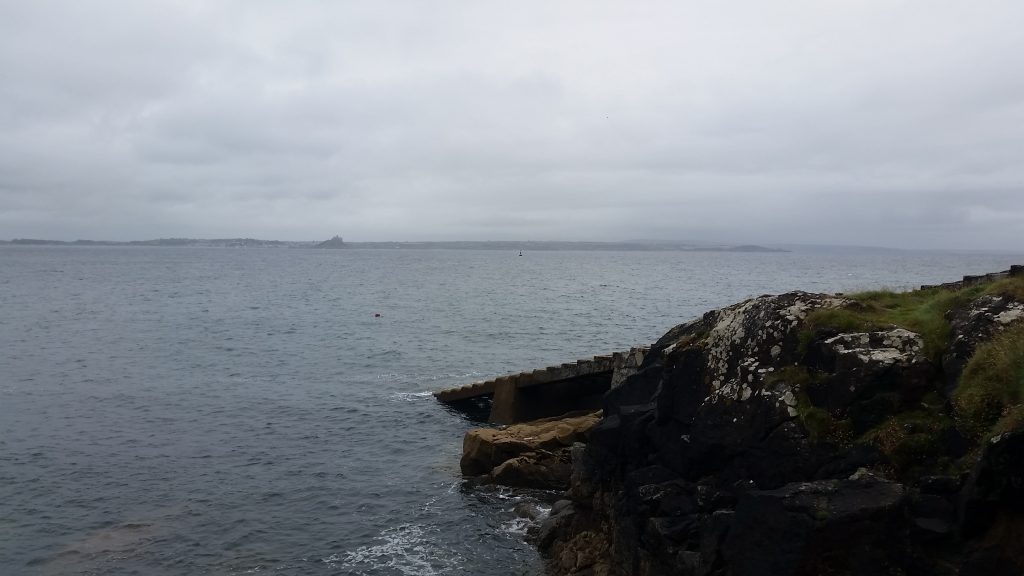
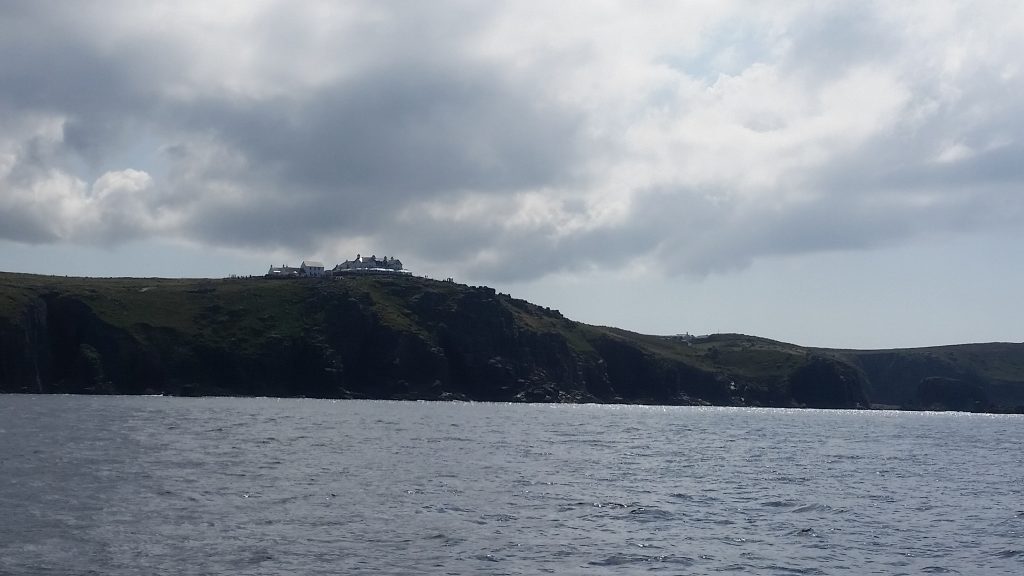
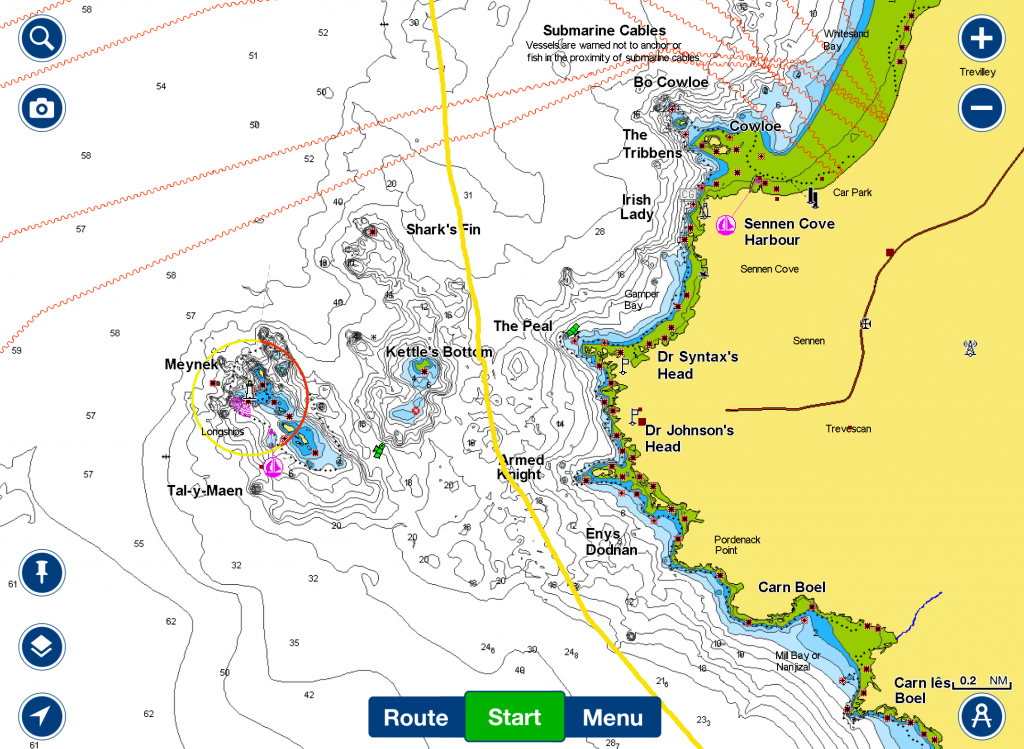
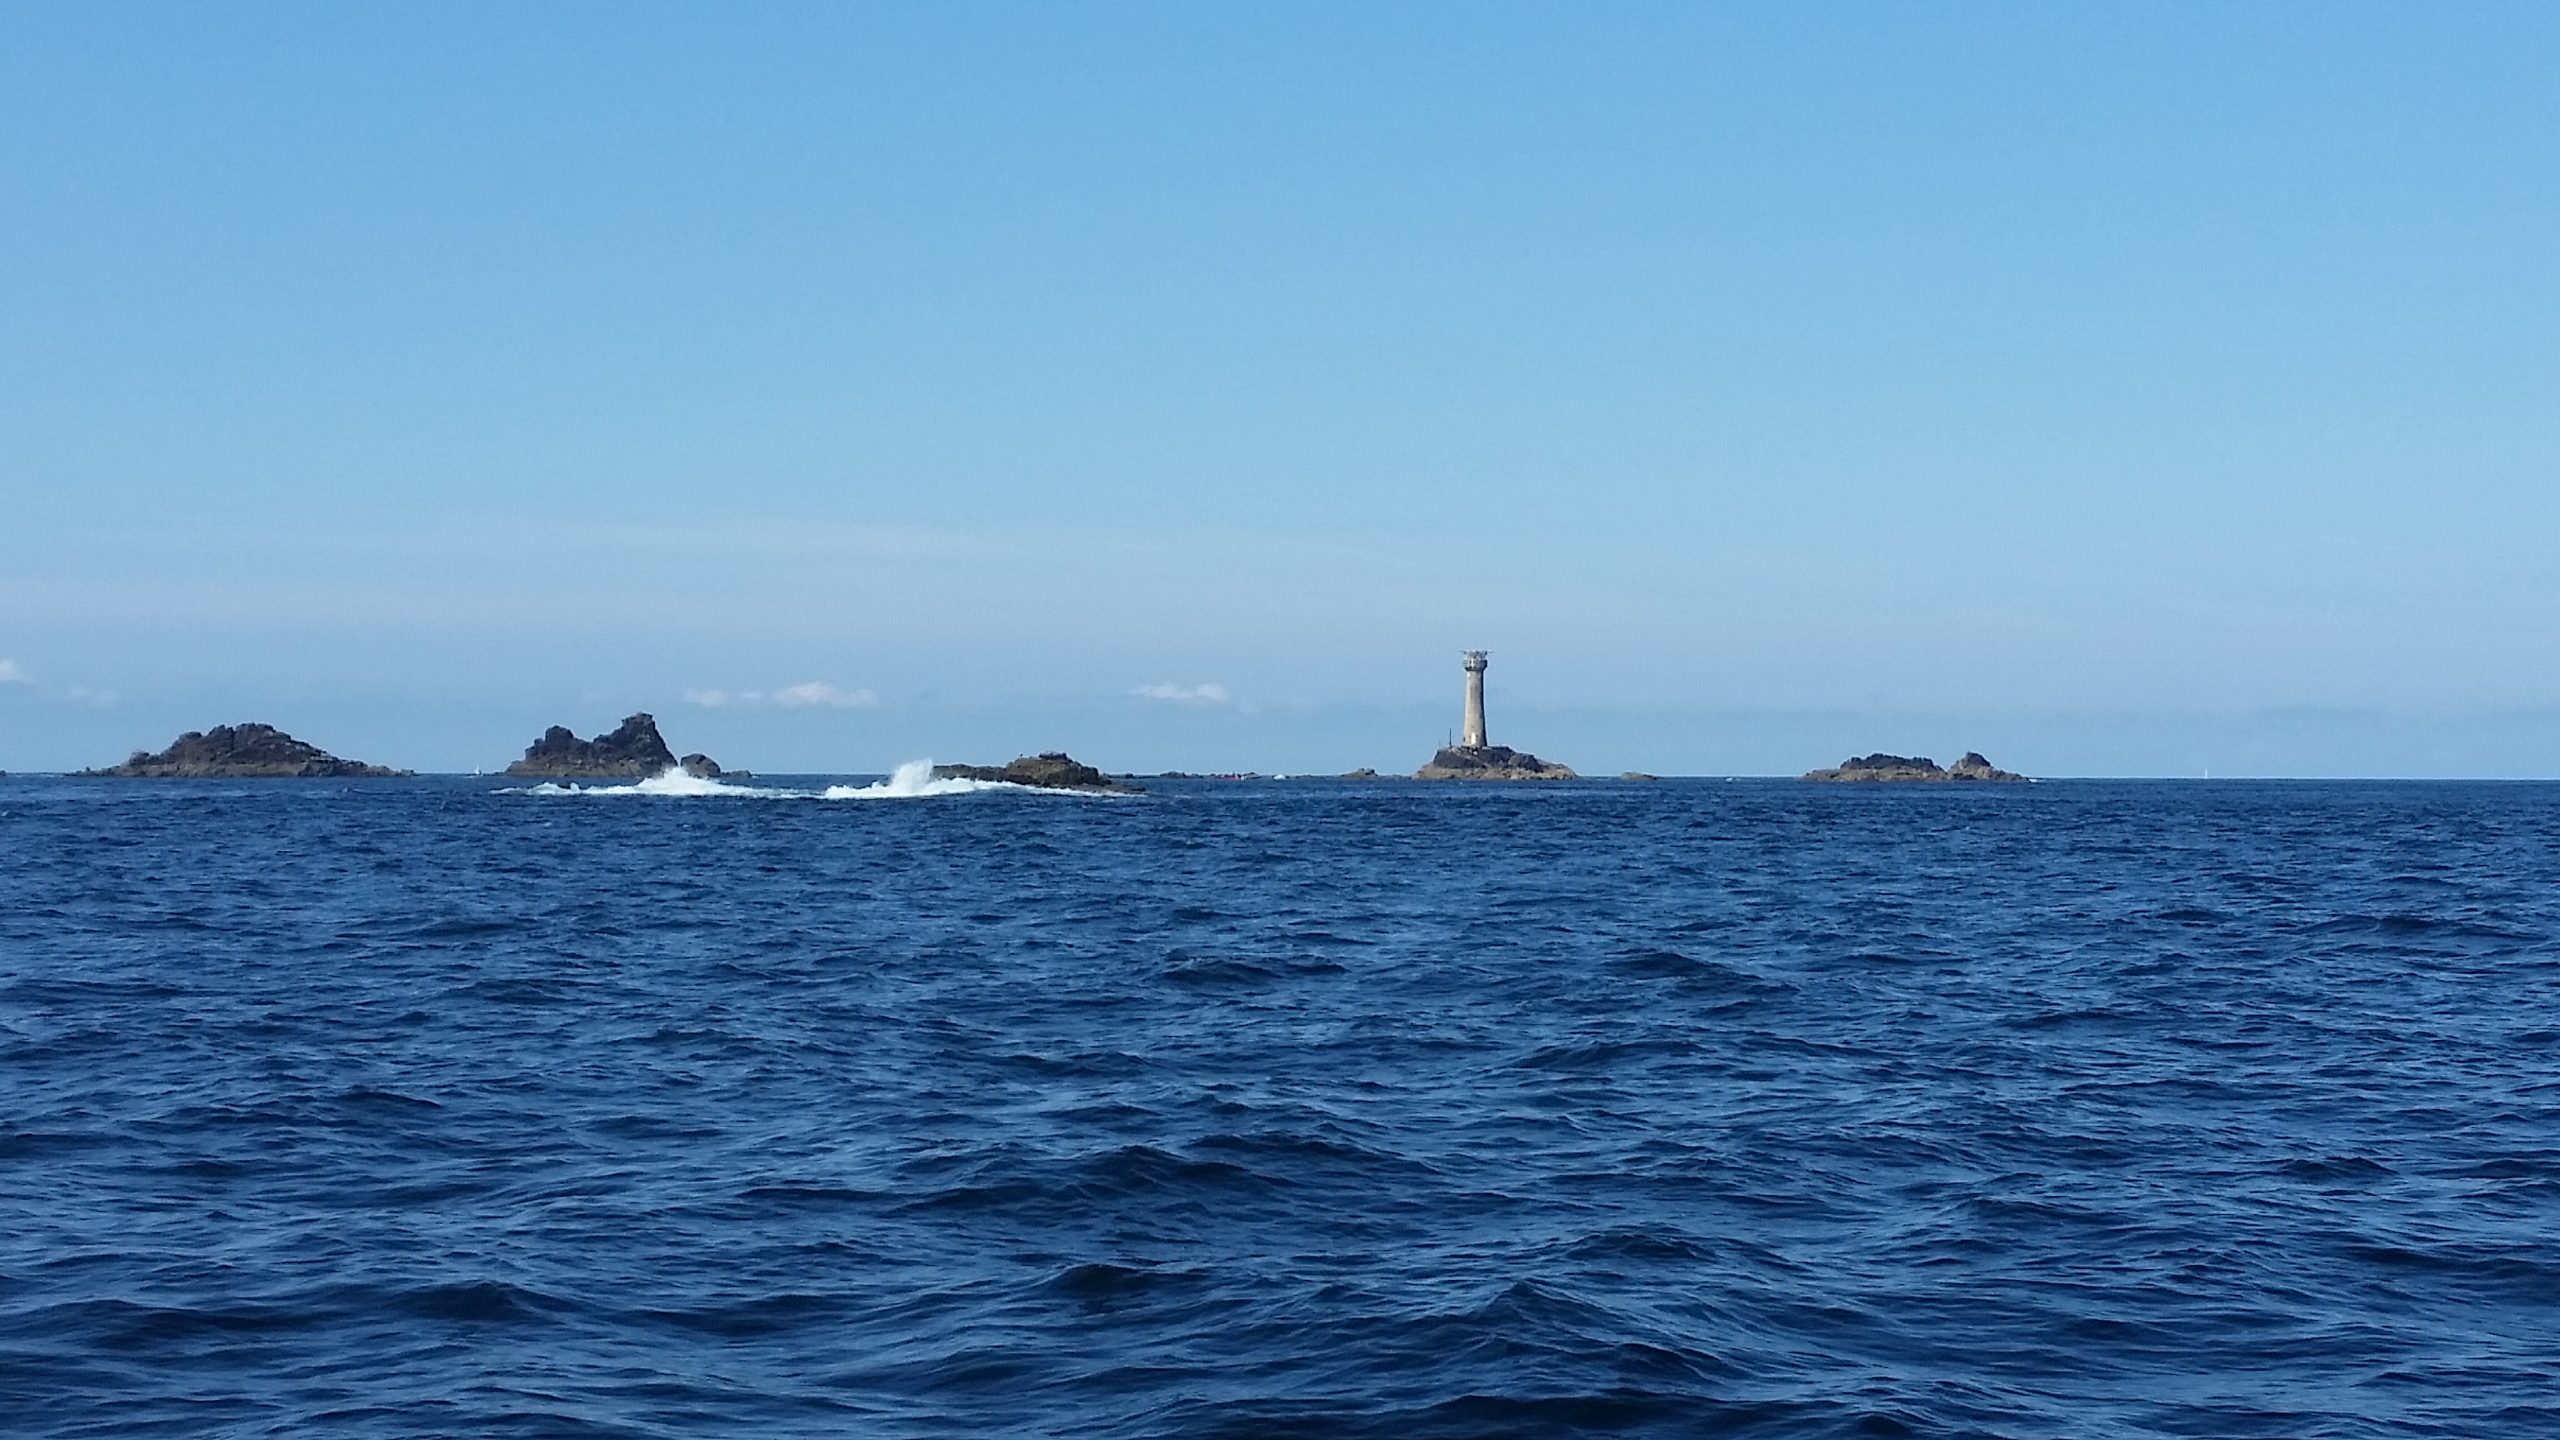
Due to the weather forecast we decided to cut our stay in Padstow short and use the remaining good weather to round Landsend. We therefore left the harbour in Padstow at high water at 0300. We arrived at Newlyn at about 1400 having motor-sailed in light airs most of the way.
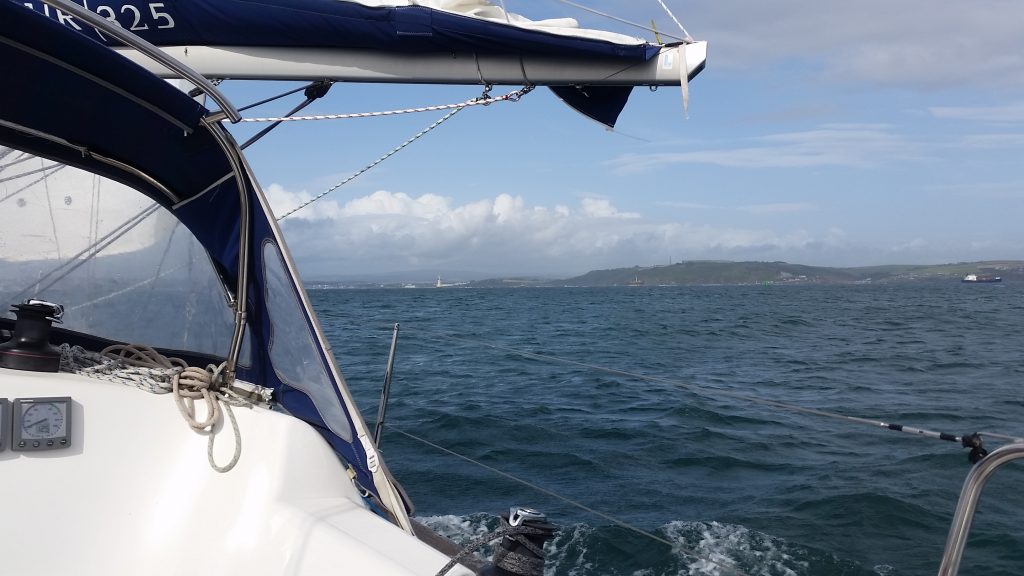
As we had good weather we took the inside track past the Longships and related hazards. So this is a view I had not seen before:
We set off from Portishead on the lunchtime tide and reached Penarth after a fast sail against the wind. In addition to the first leg crew (Mark and Steve M) we had Pete and Josh M onboard.
Val and Pam drove across to meet us for dinner, and to take Pete and josh home.
We had an excellent meal at The Pilot up on Queens Road above the marina.
Day 2 – Cardiff to Swansea
1st August 2021
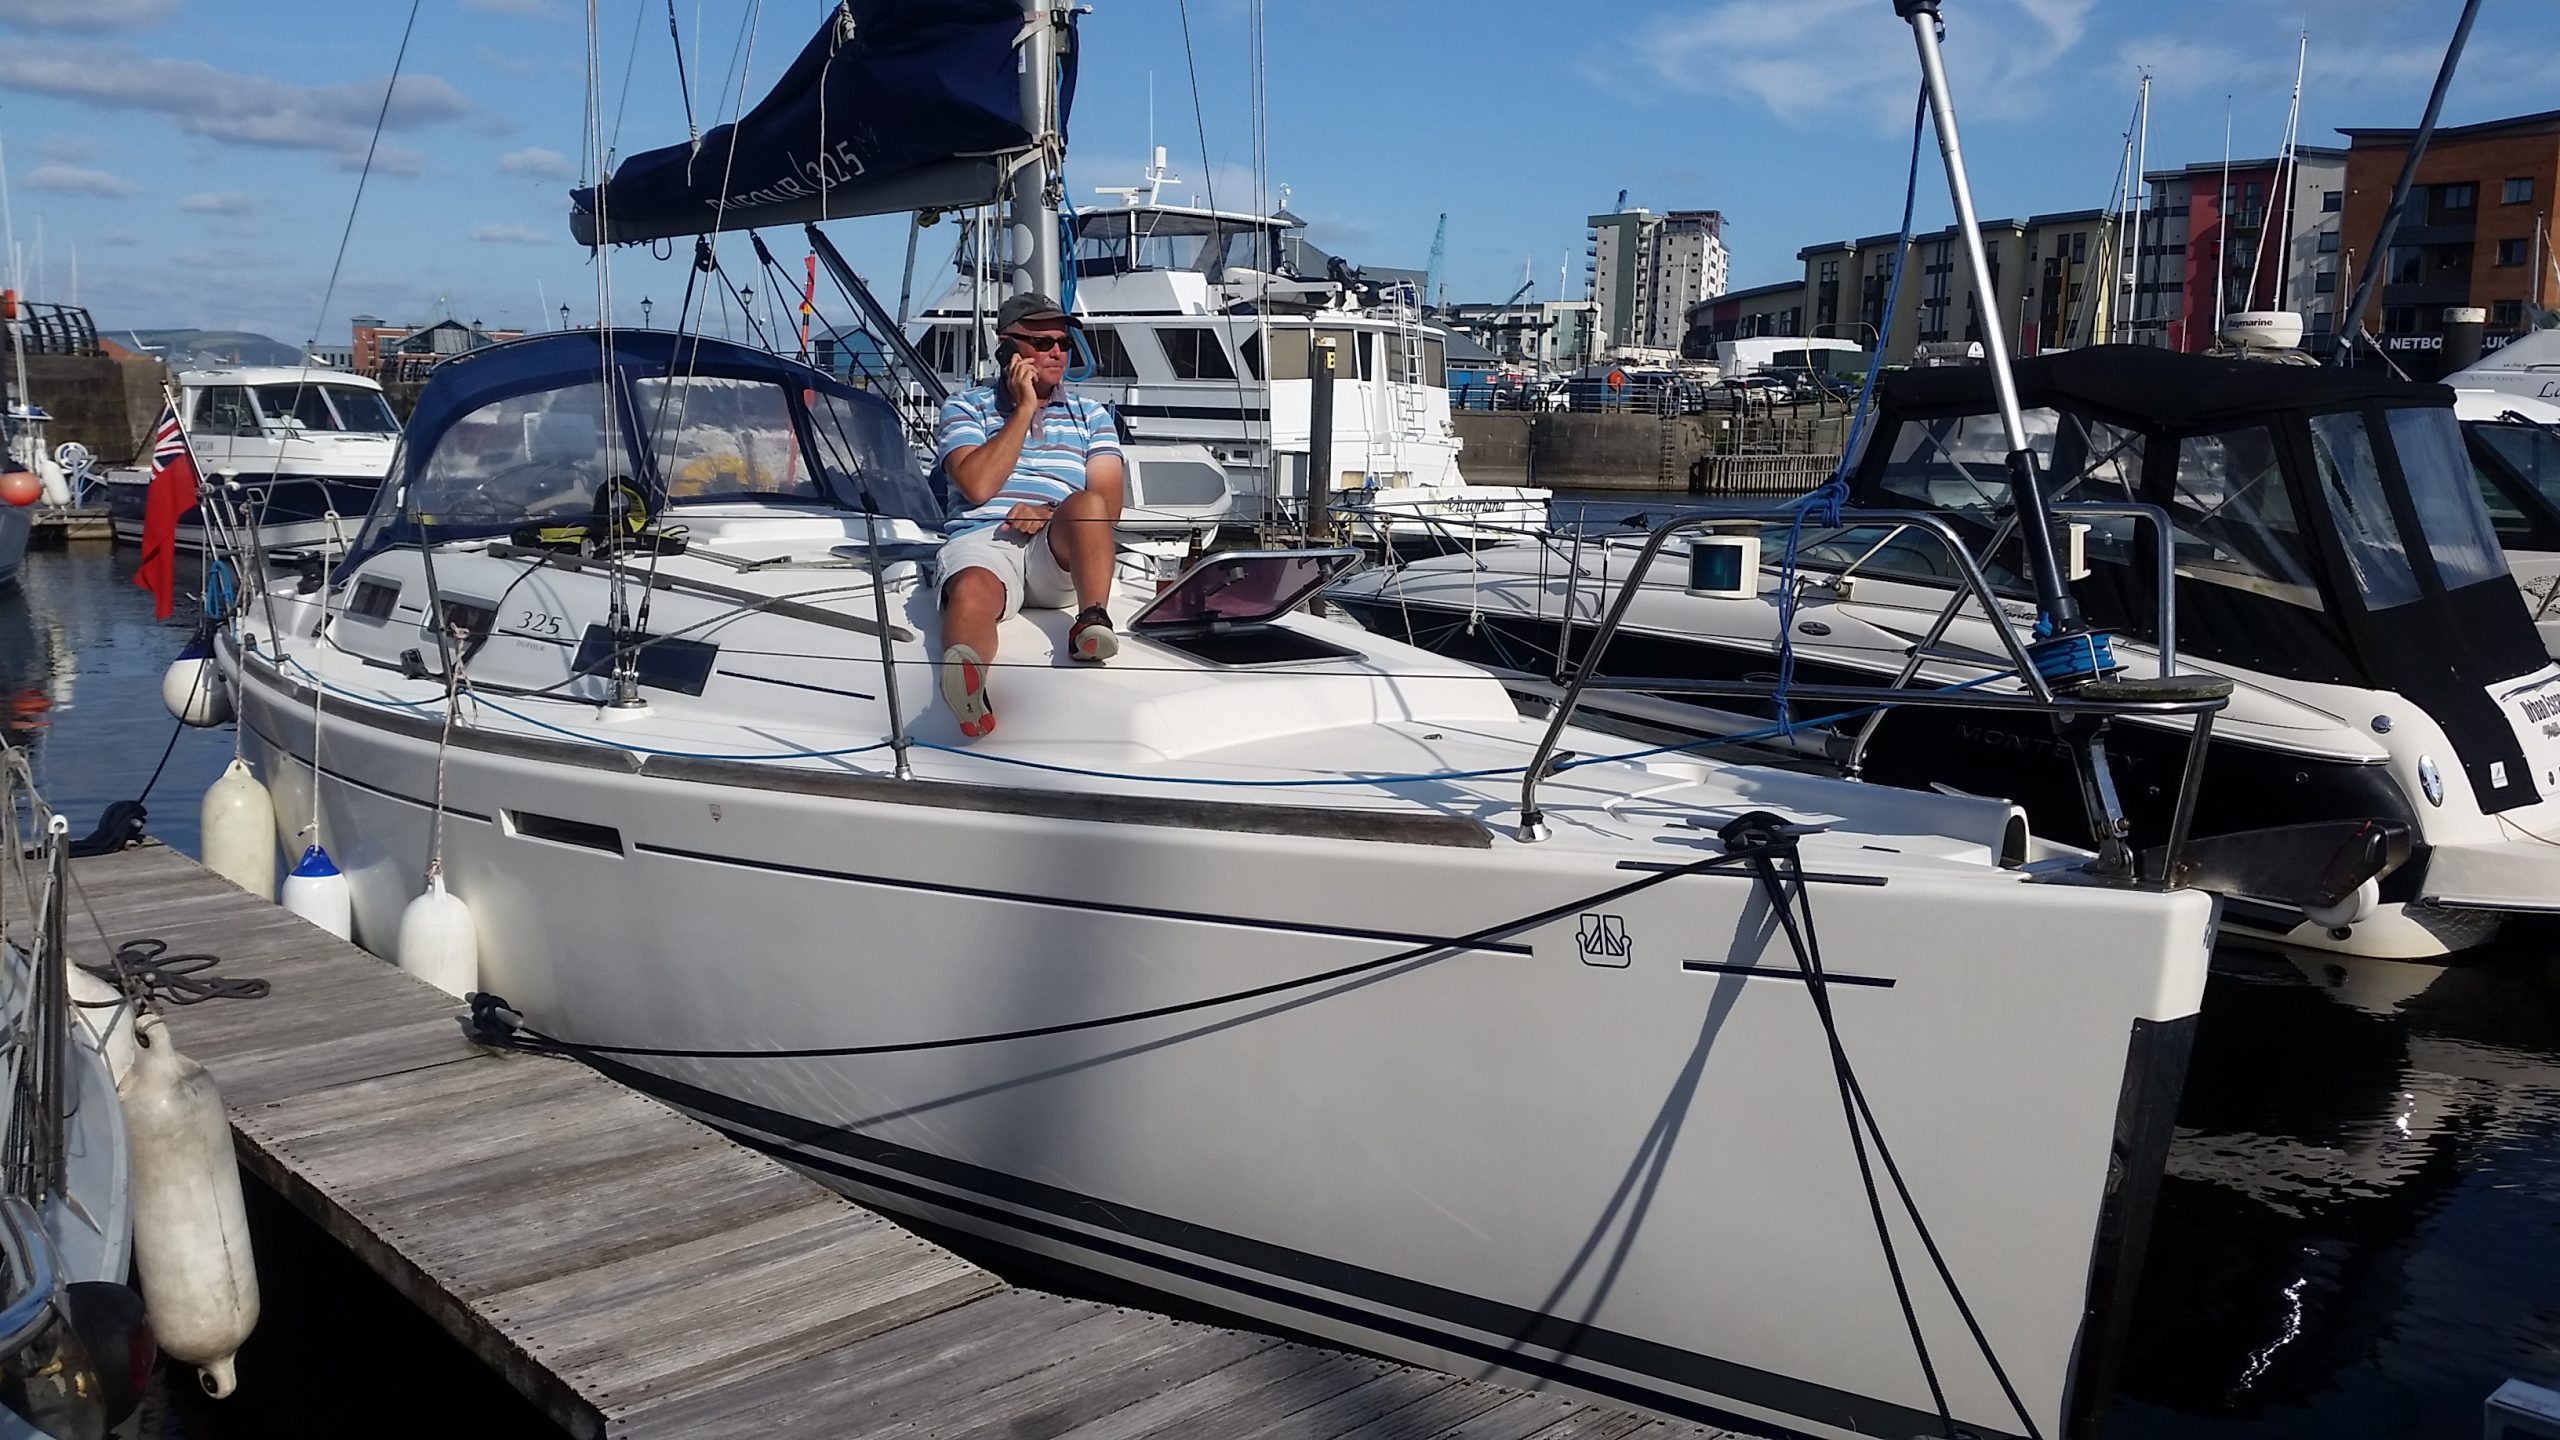
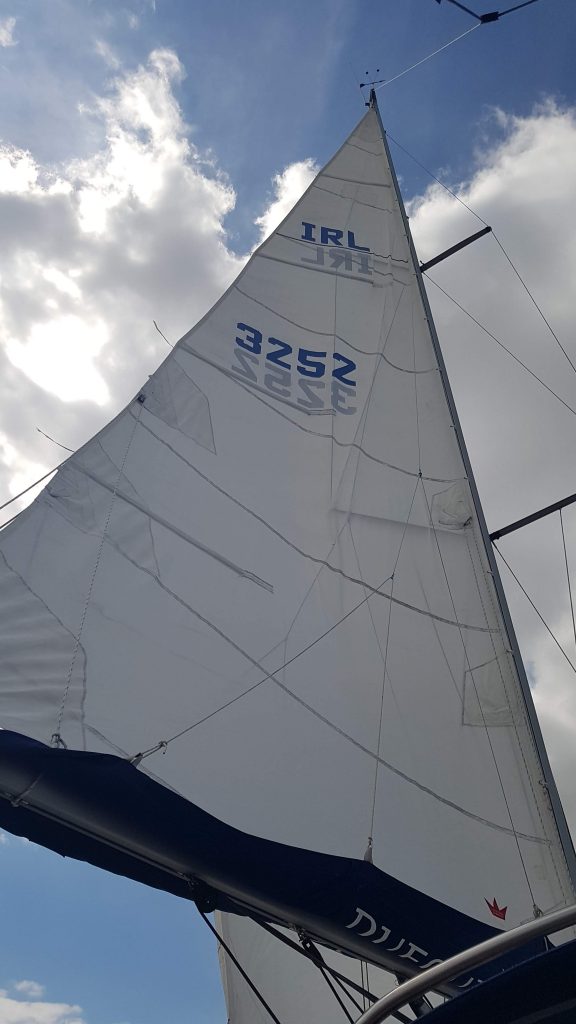
A very smooth sail to Swansea on the morning tide. We noticed about half way there that the jib had a couple of sizeable holes in it from yesterday’s trip. After taking the jib down for an inspection, there was some relief that it was a couple of seems that had come undone. Unfortunately we had taken the spare jib off the boat to make more space – so a phone call home and many thanks to Jo and Caroline for driving to Swansea with the other sail in the evening.
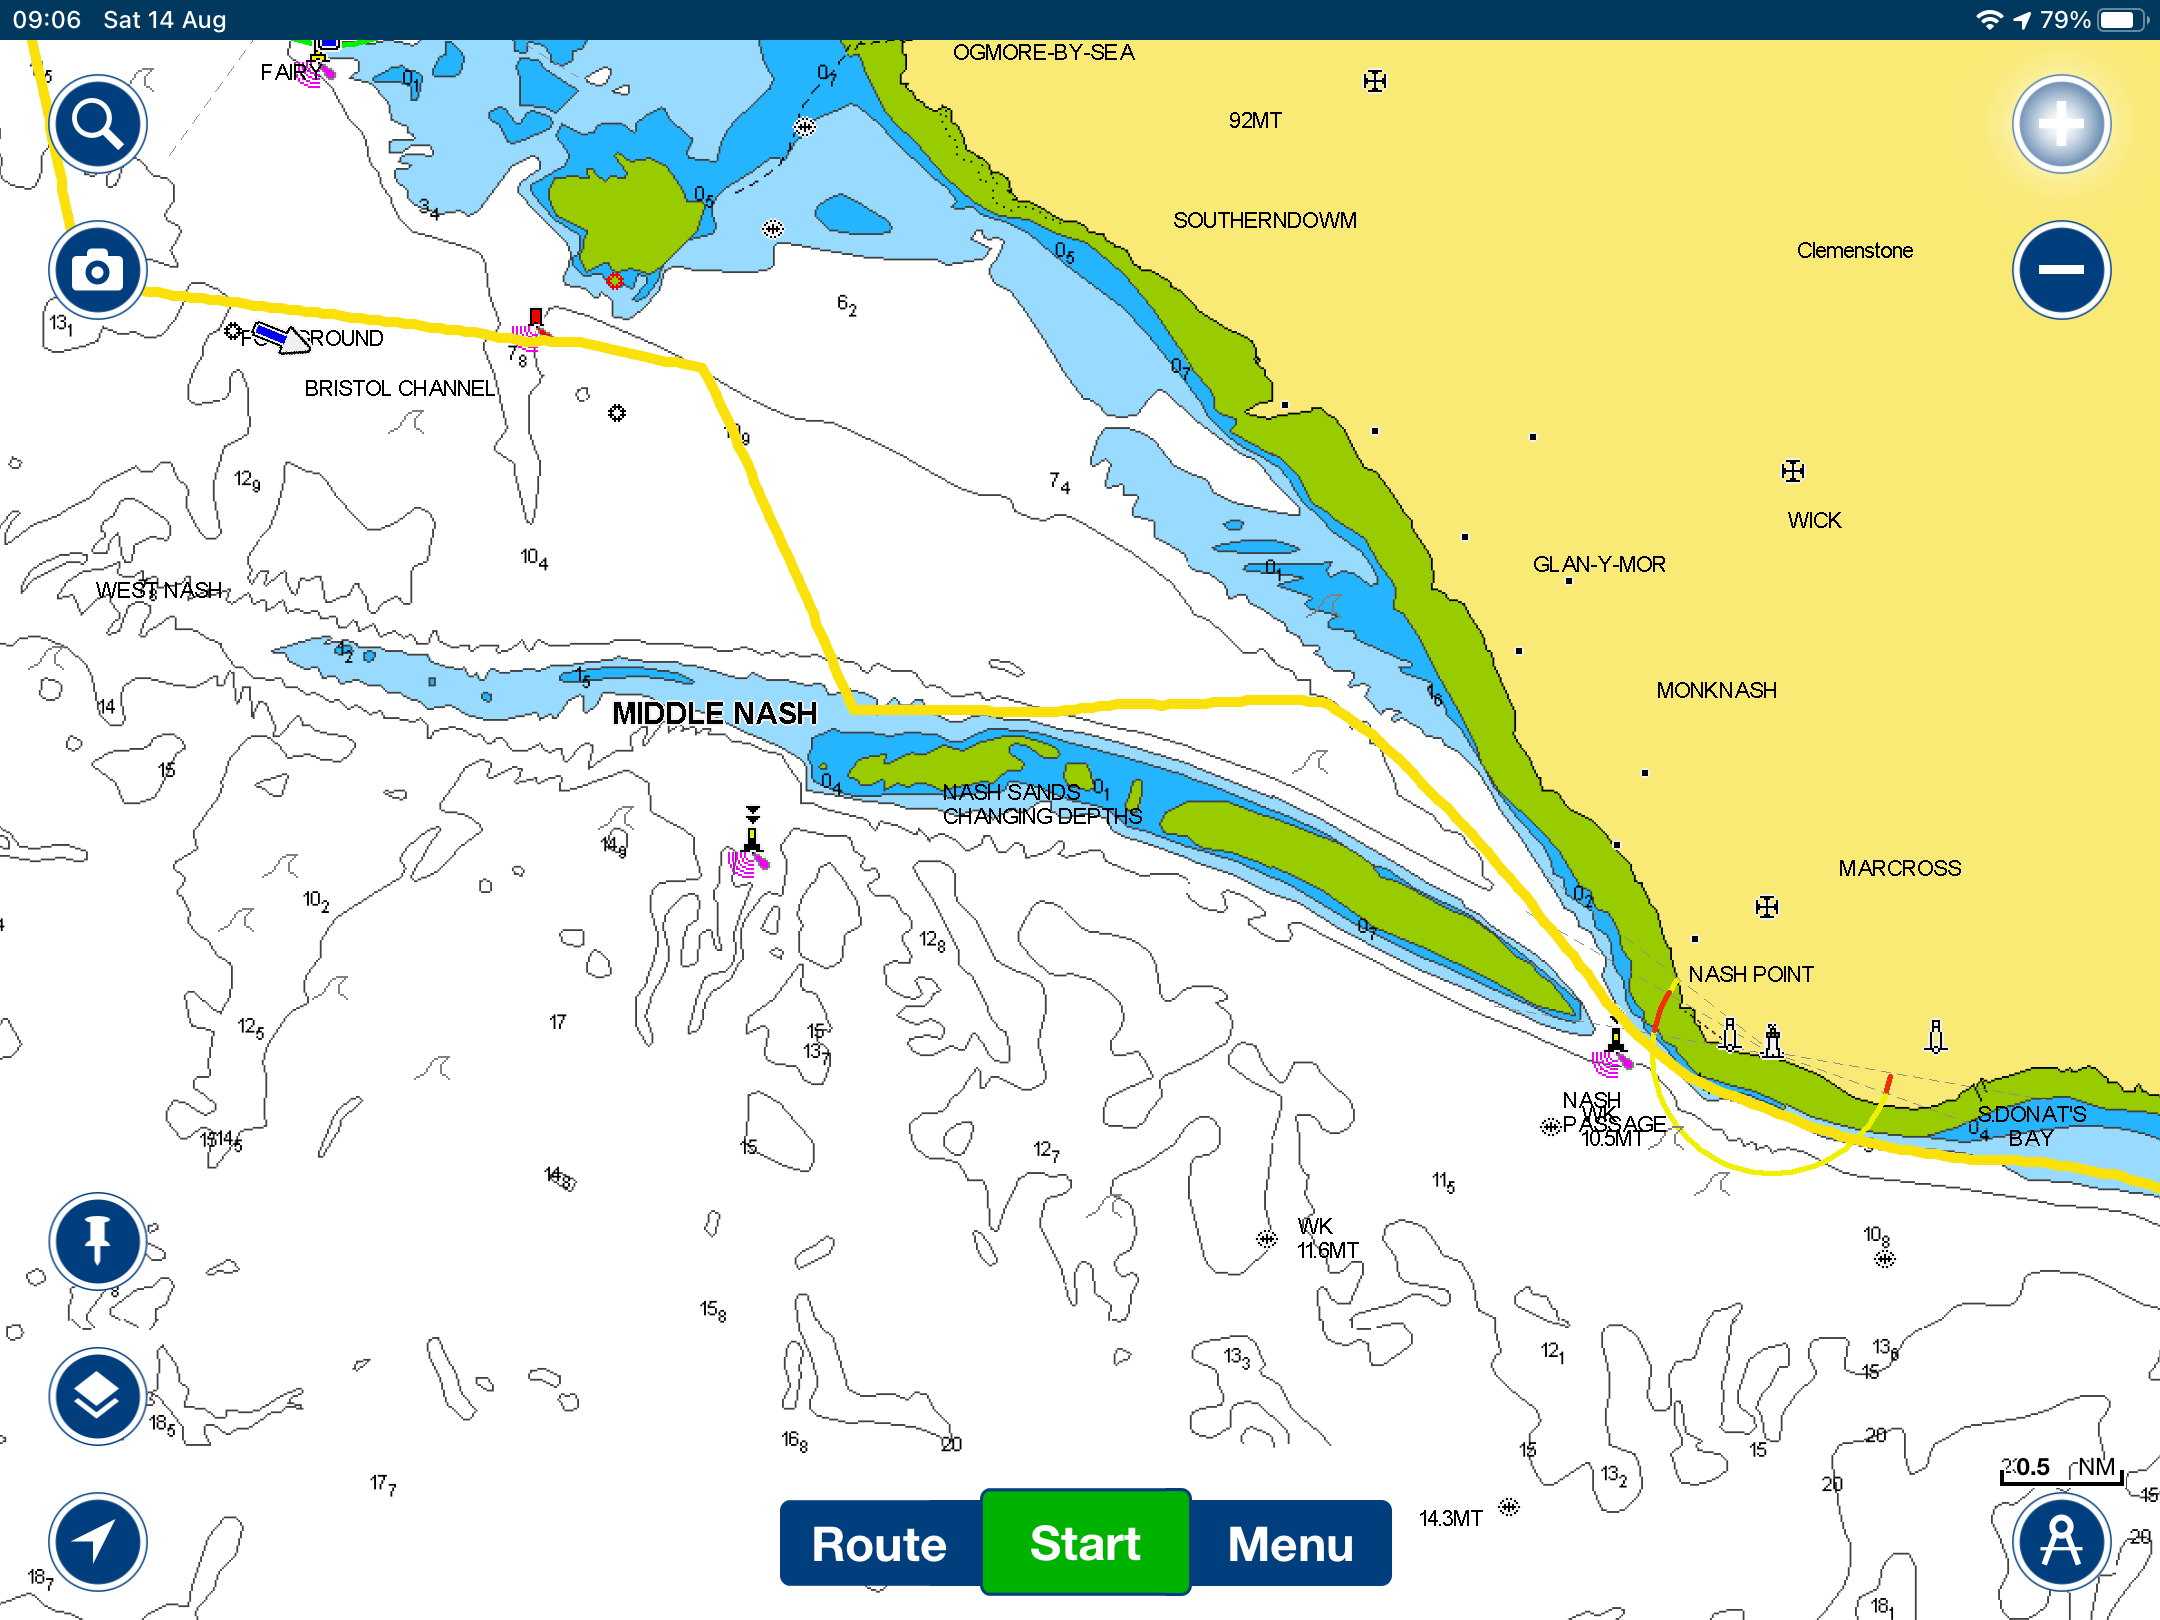
As the conditions were good, and the tide was with us, we sailed in the Nash passage inshore of the Nash sands.
Great weather in Swansea.
Day 3 – Swansea to Padstow
2nd August 2021
On another fine day with light winds we left Swansea in the first lock (0700) and motor-sailed across the mouth of the Bristol Channel, past Lundy and arrived in Padstow Bay before dark, just after low tide.
The wind had some north in it, so as we were after low water we tucked ourselves right behind Stepper Point in calm water. However such waves as there were reflected in the bay and rolled Molia during our wait for enough water to enter Padstow. Despite the discomfort, the holding was very good and Molia hardly moved at all – as shown by the ‘anchor watch’ track we recorded on the iPad Navionics chart (zoomed to all the way in).
Day 4 – In Padstow
3rd August 2021
Around 1000 the crowds begin to arrive around the harbour to torment the local crabs with their newly purchased plastic fishing lines and buckets. Crabs are very greedy, and can easily be caught – unfortunately for the moored yachts, the bait of choice seems to be small pieces of uncooked bacon; and we were picking badly aimed ground bait from Molia’s decks for a couple of days after this!
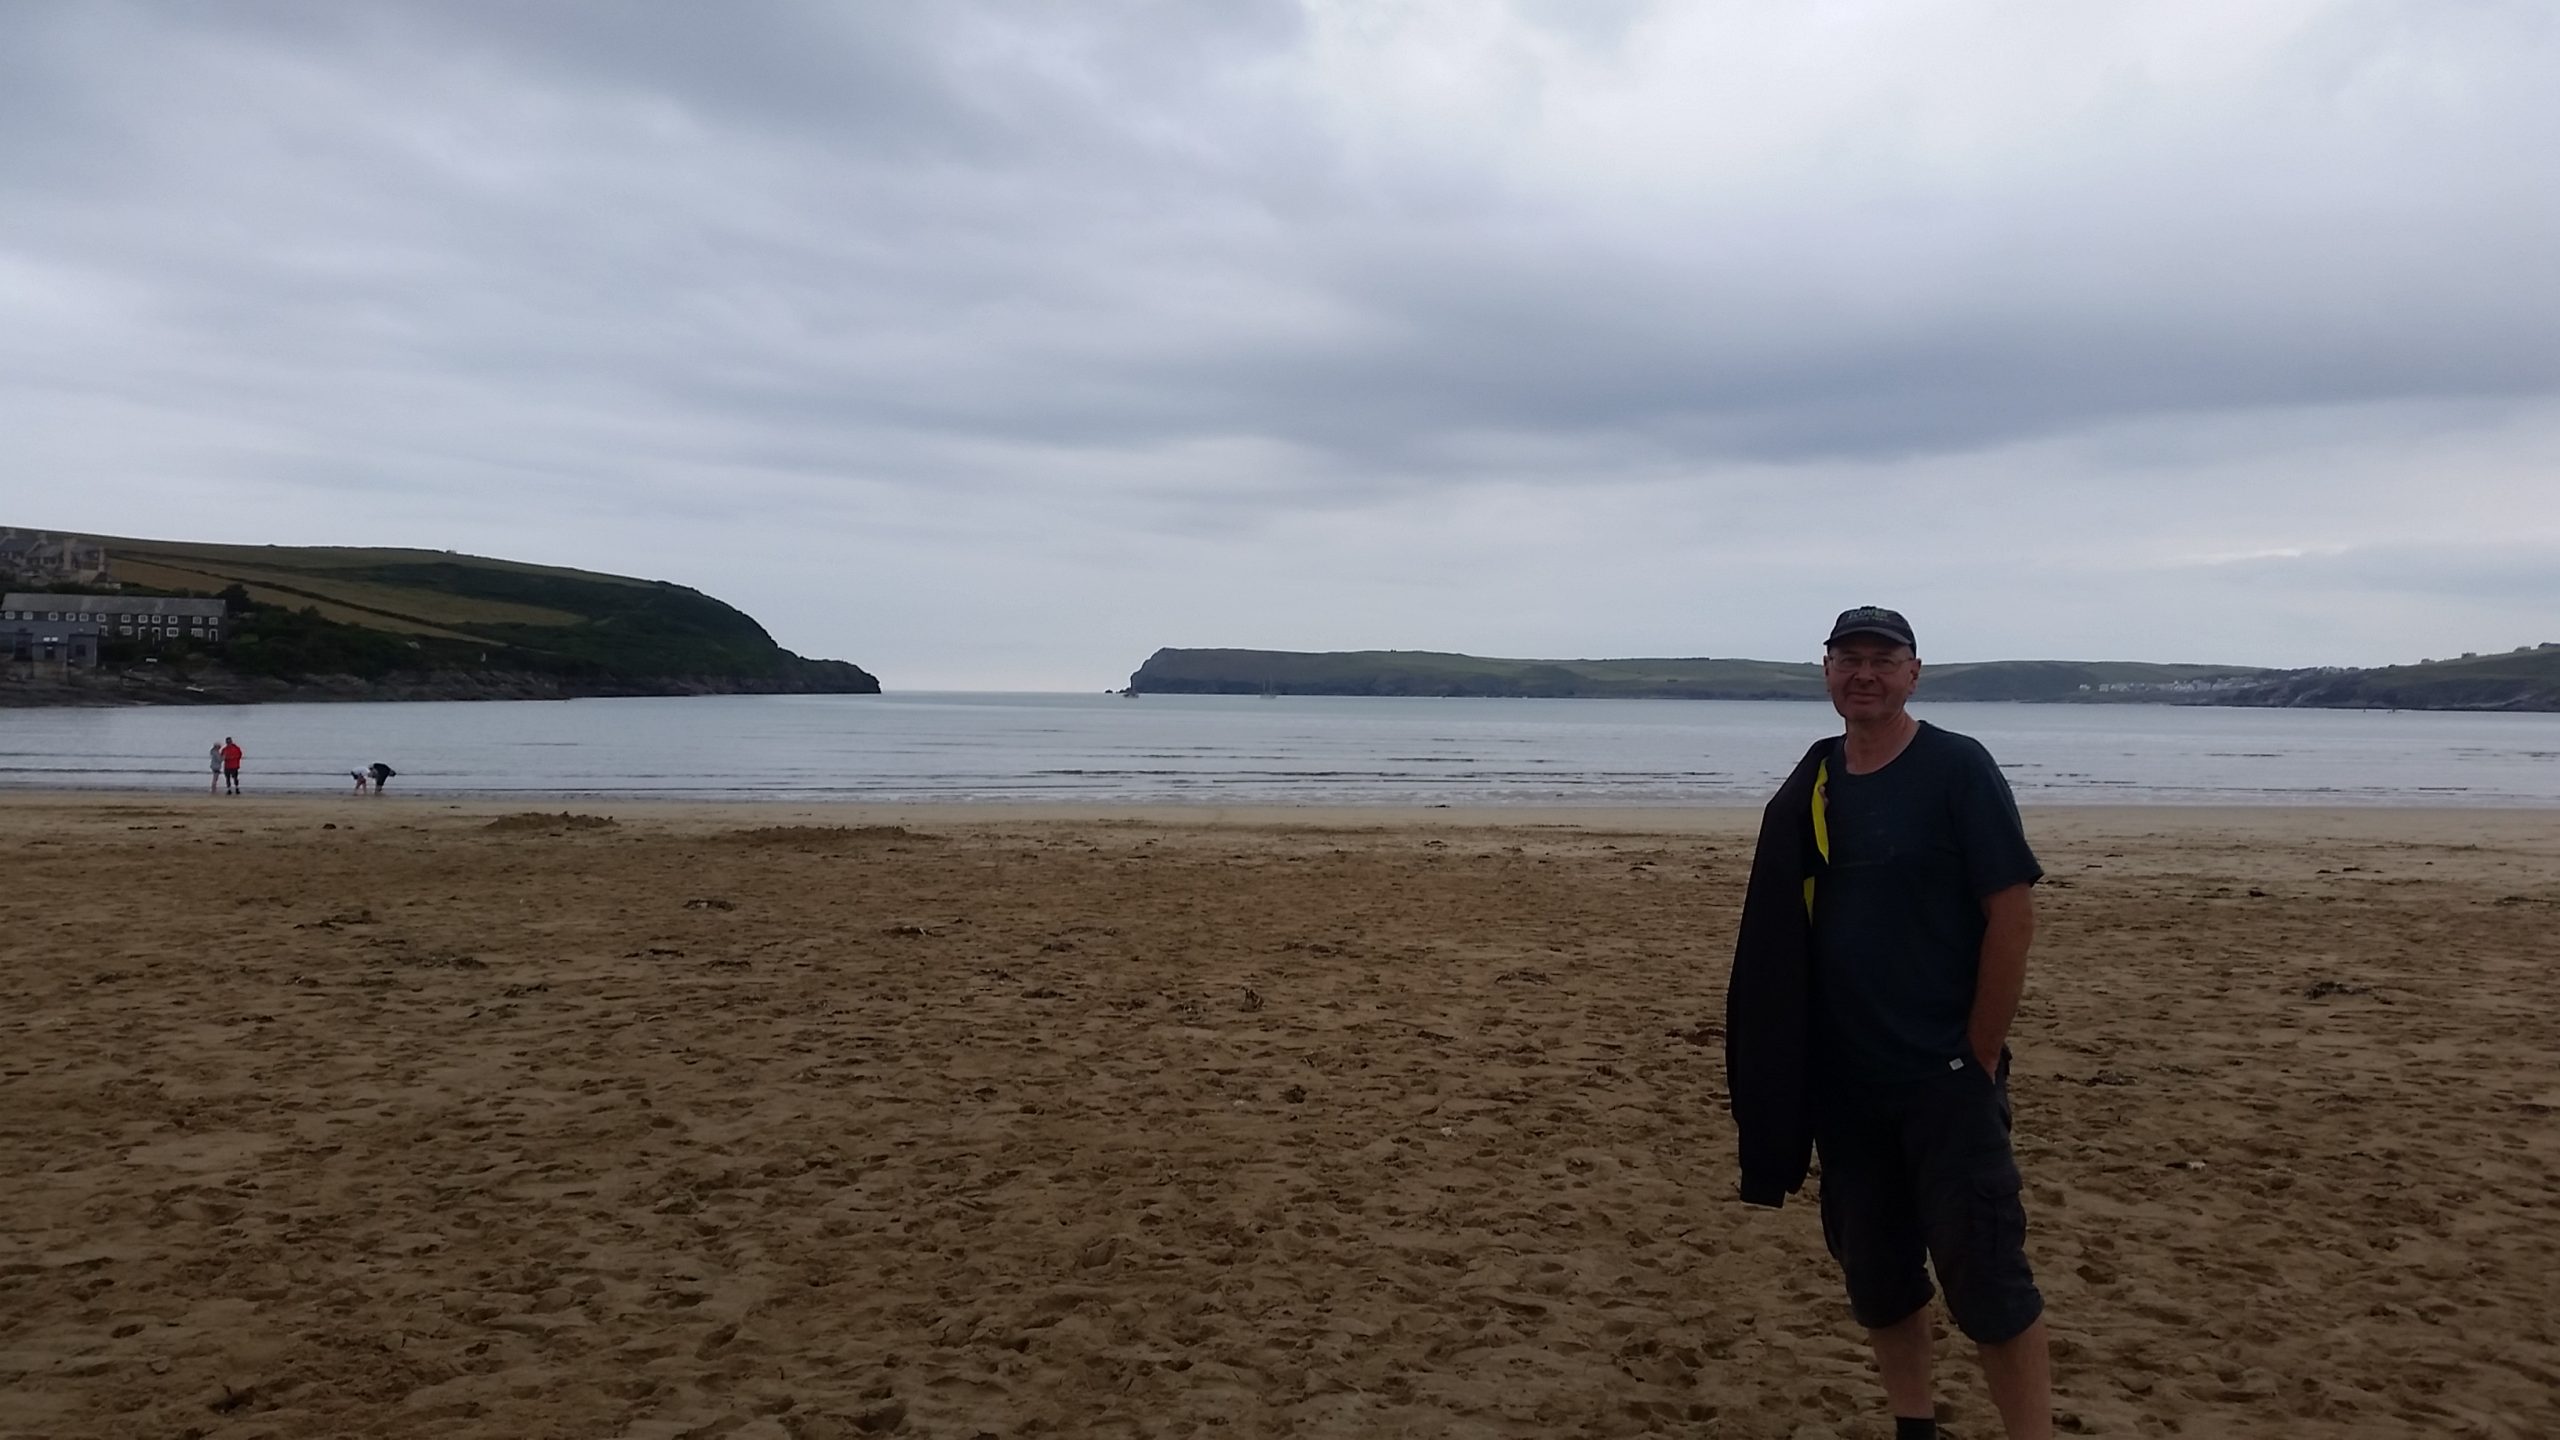
Reviewing the previous evening’s anchorage at Stepper Point from the beach near Doom Bar.
The BBC weather site was 100% wrong about the wind. We had twice the amount published! But the wind was still warm; so we put the first reef in and had a fast sail on the tide, followed by refreshments once back on our mooring.
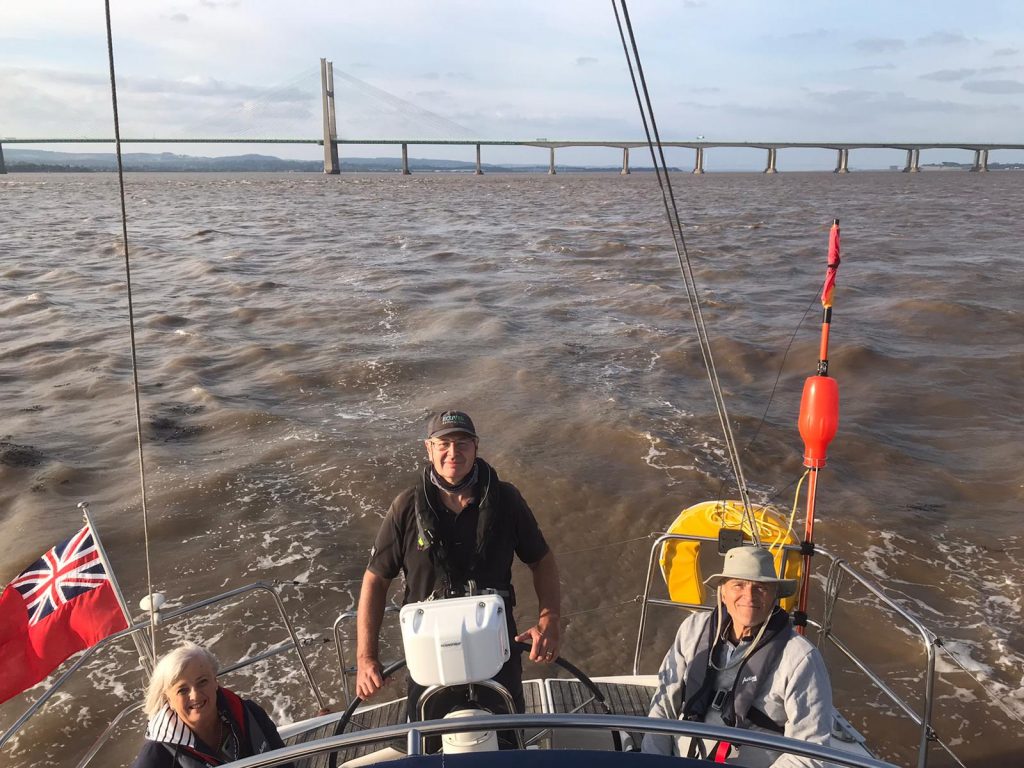
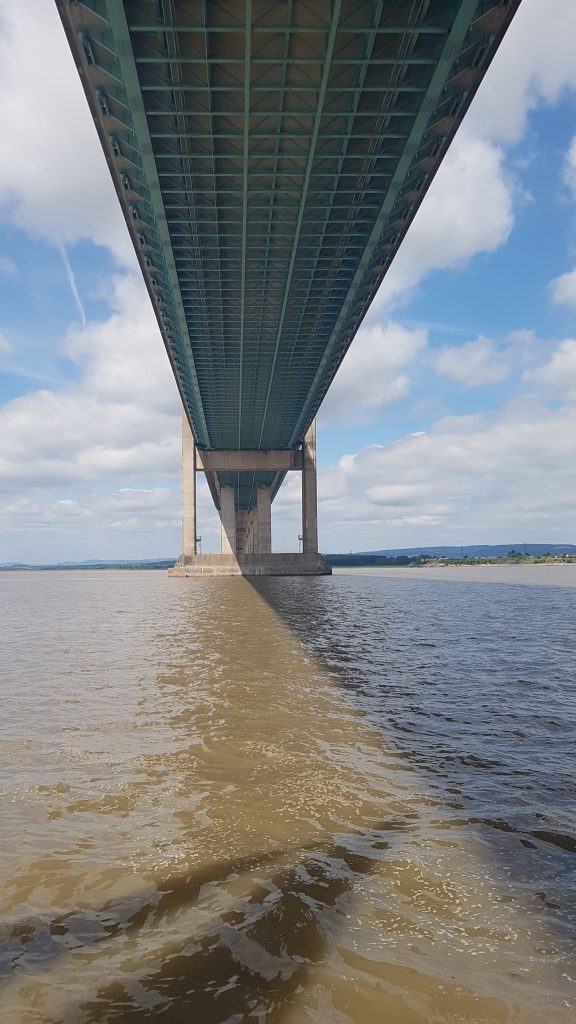
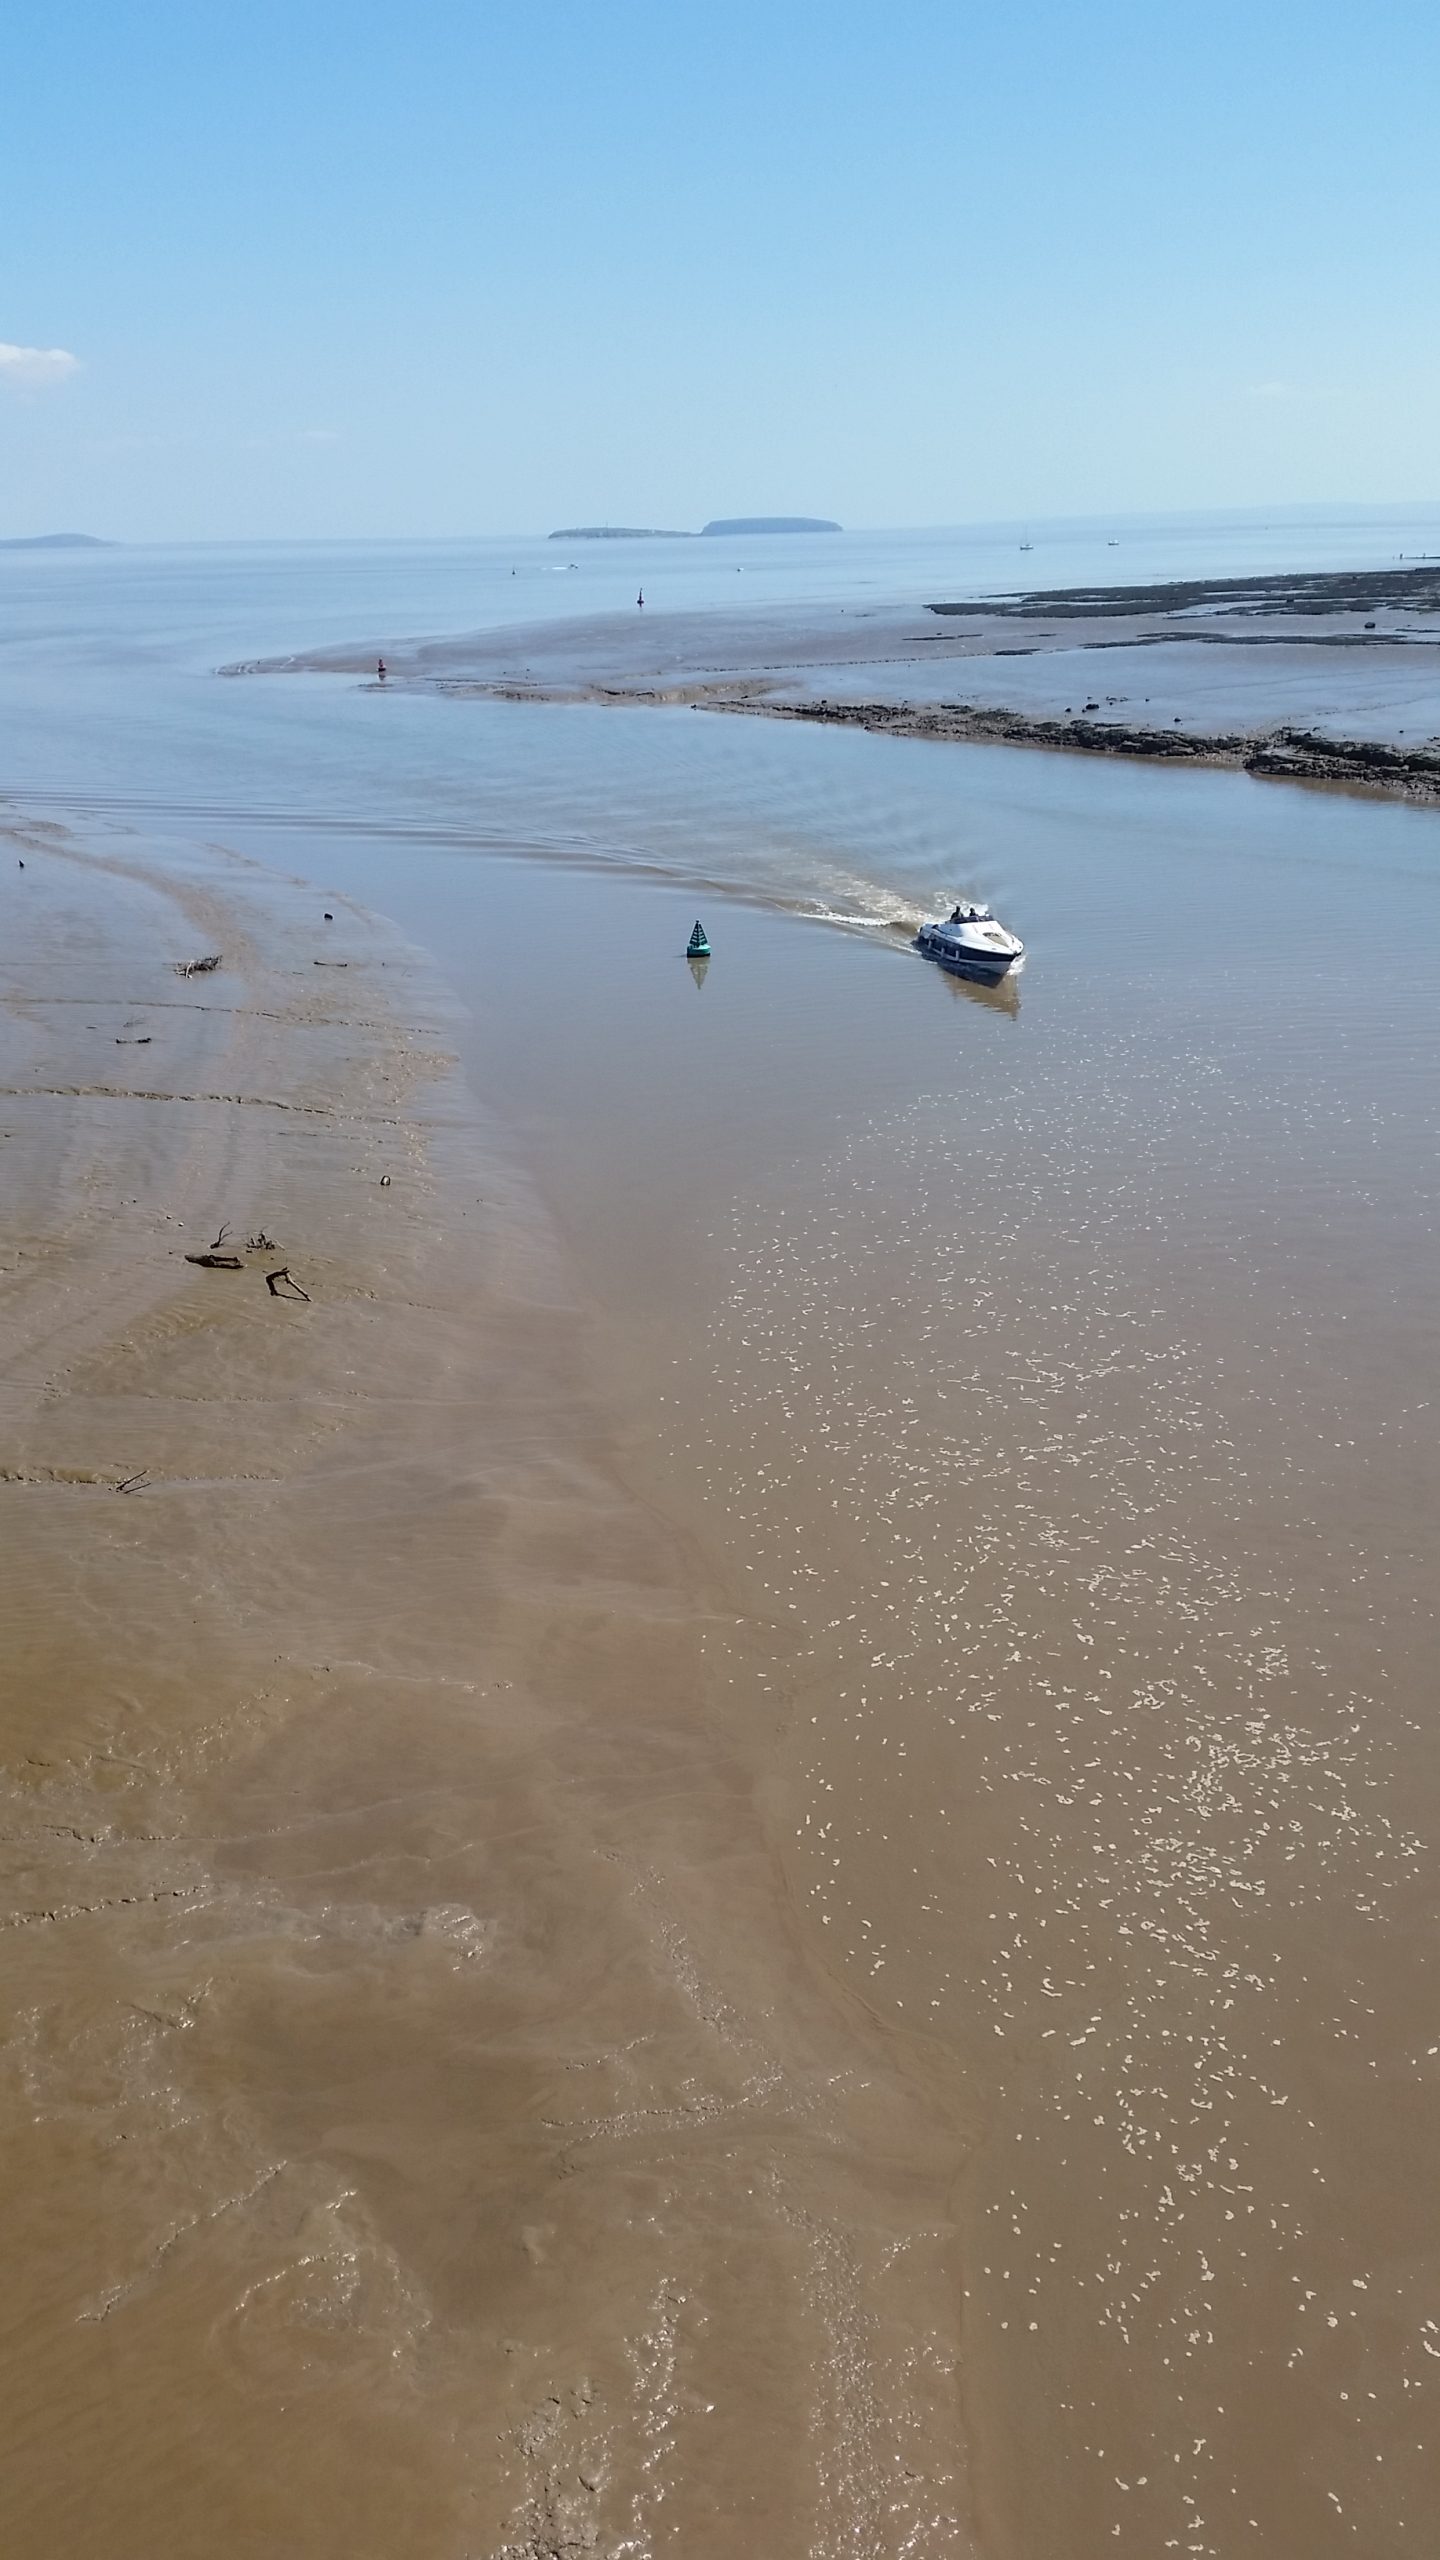
We went to have a quick look at the ‘Lower Shoots’ buoy.
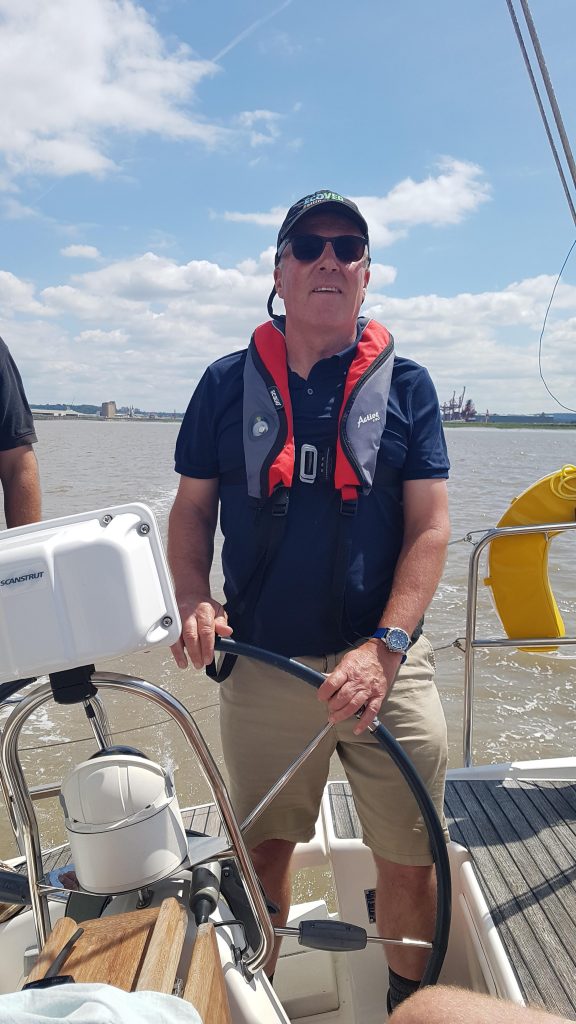
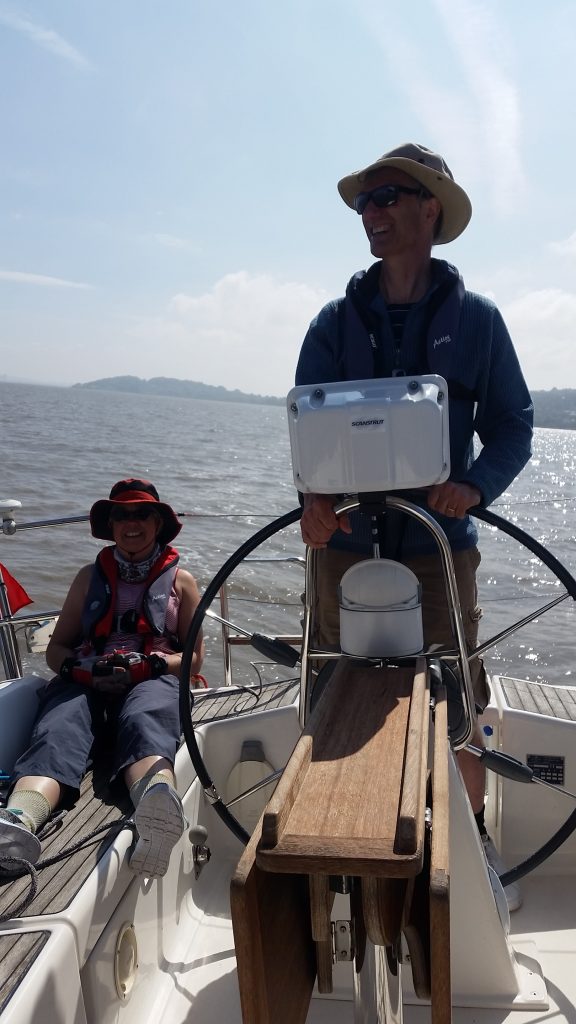
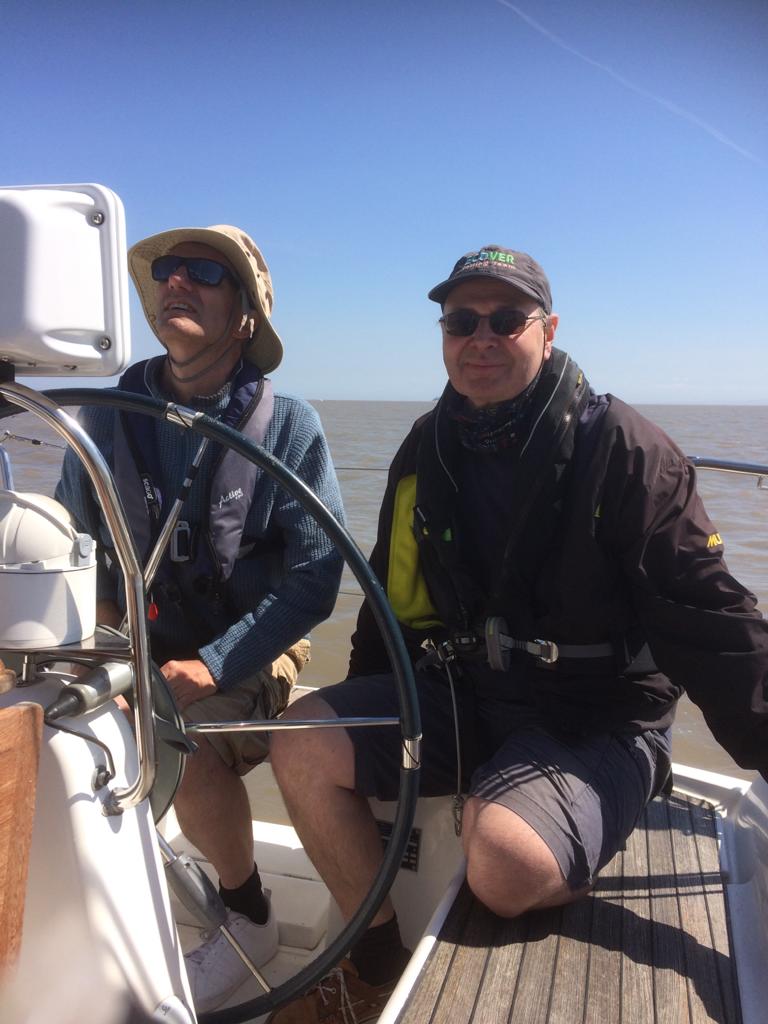
David and Sheila onboard. Many thanks to Tim for taking these pictures.
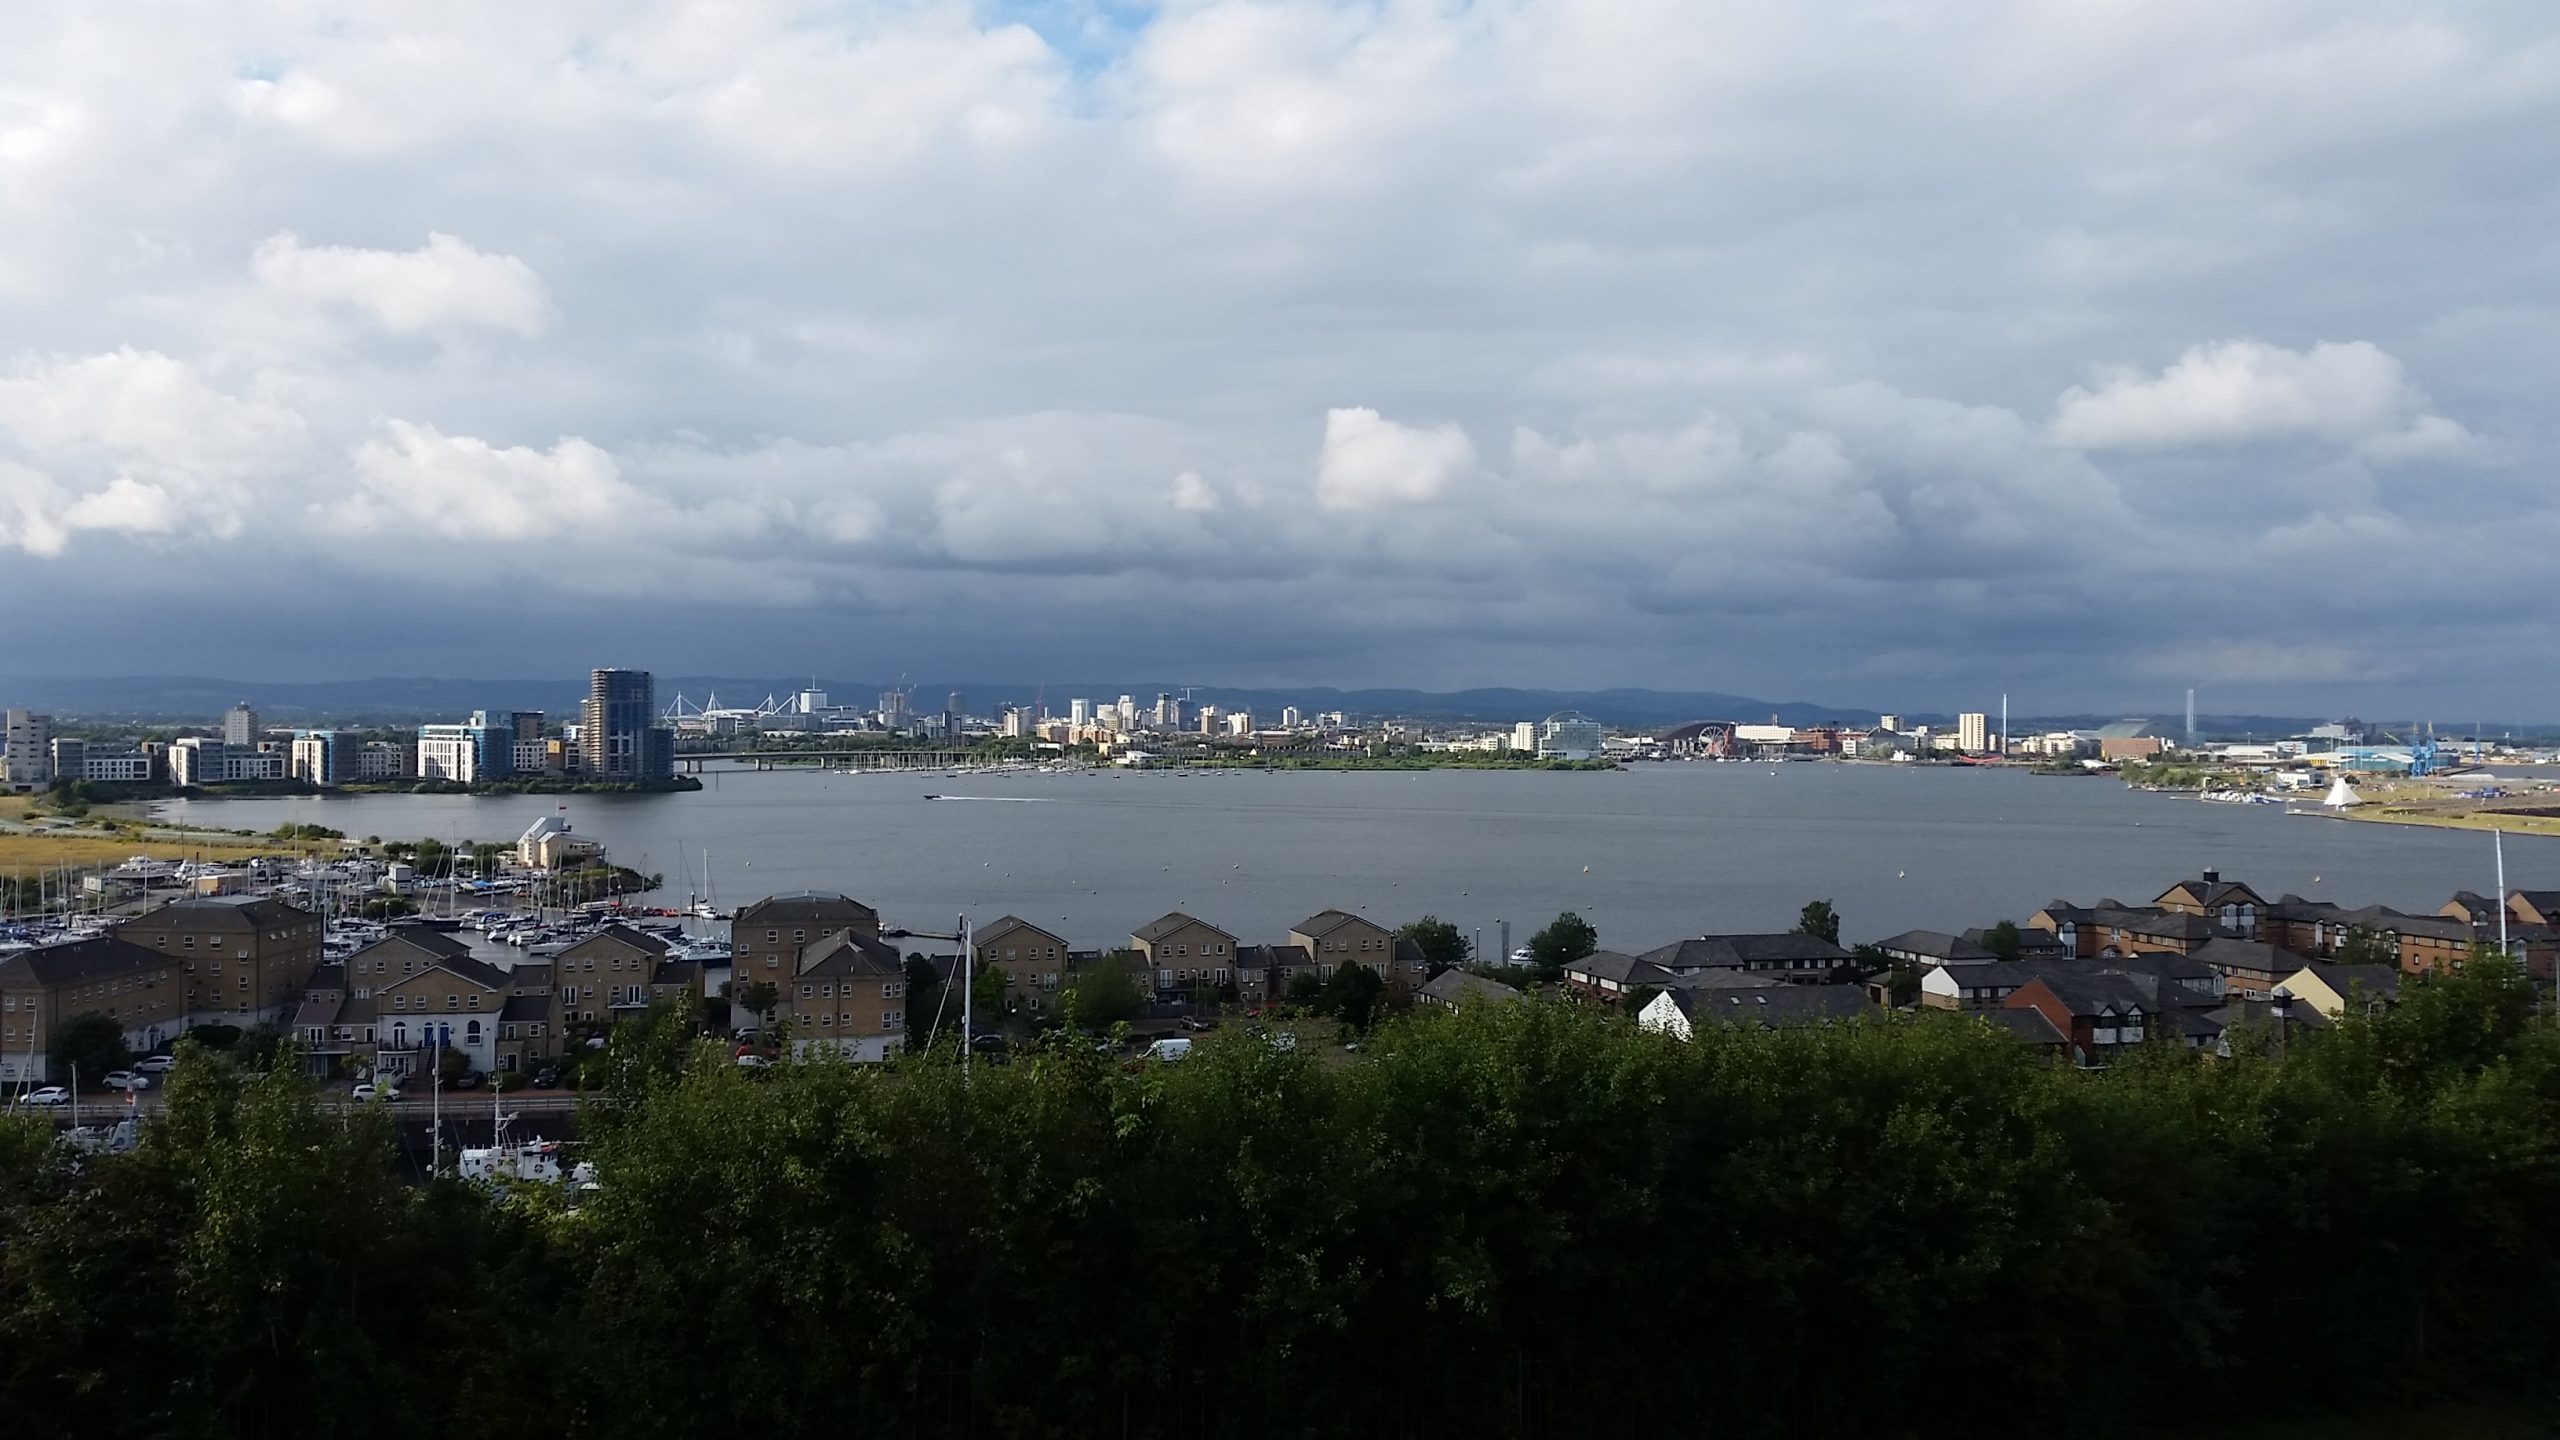
A cracking sail down towards Cardiff on a very fast tide. We had time to tack round Steep Holm and then do a complete circuit of Flat Holm before lining up with the Cardiff Barrage channel.
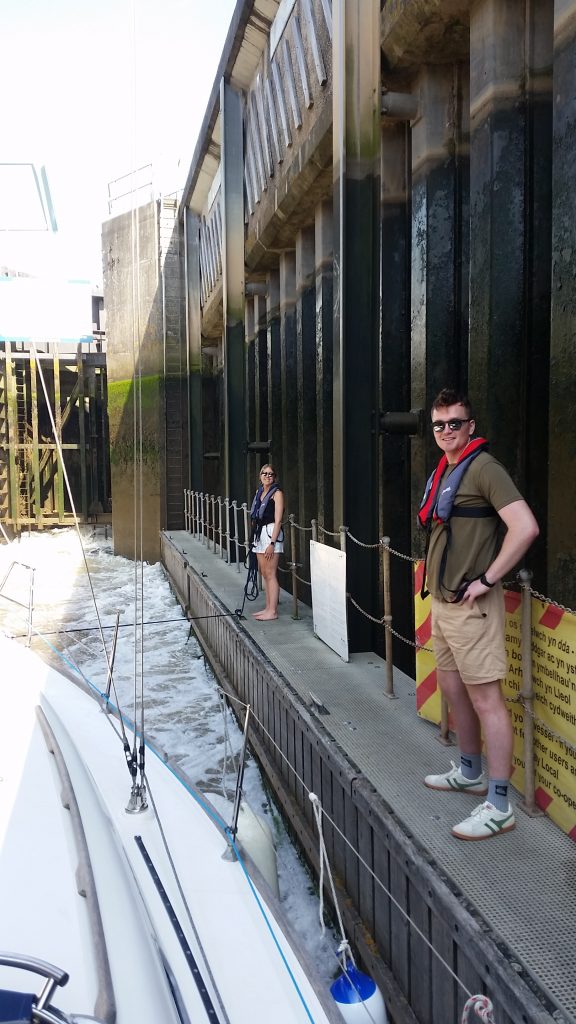
Due to the spring tide, and hence the lack of water outside Cardiff, we waited until after low tide (1515) to make our approach. We entered the lock 1.5 hours after low water at 1645.
Jo arrived by train in Cardiff and met us at the marina.
We had a great meal at The Deck in the evening. (The Deck is now The Goose on the Loose.)
Sunday
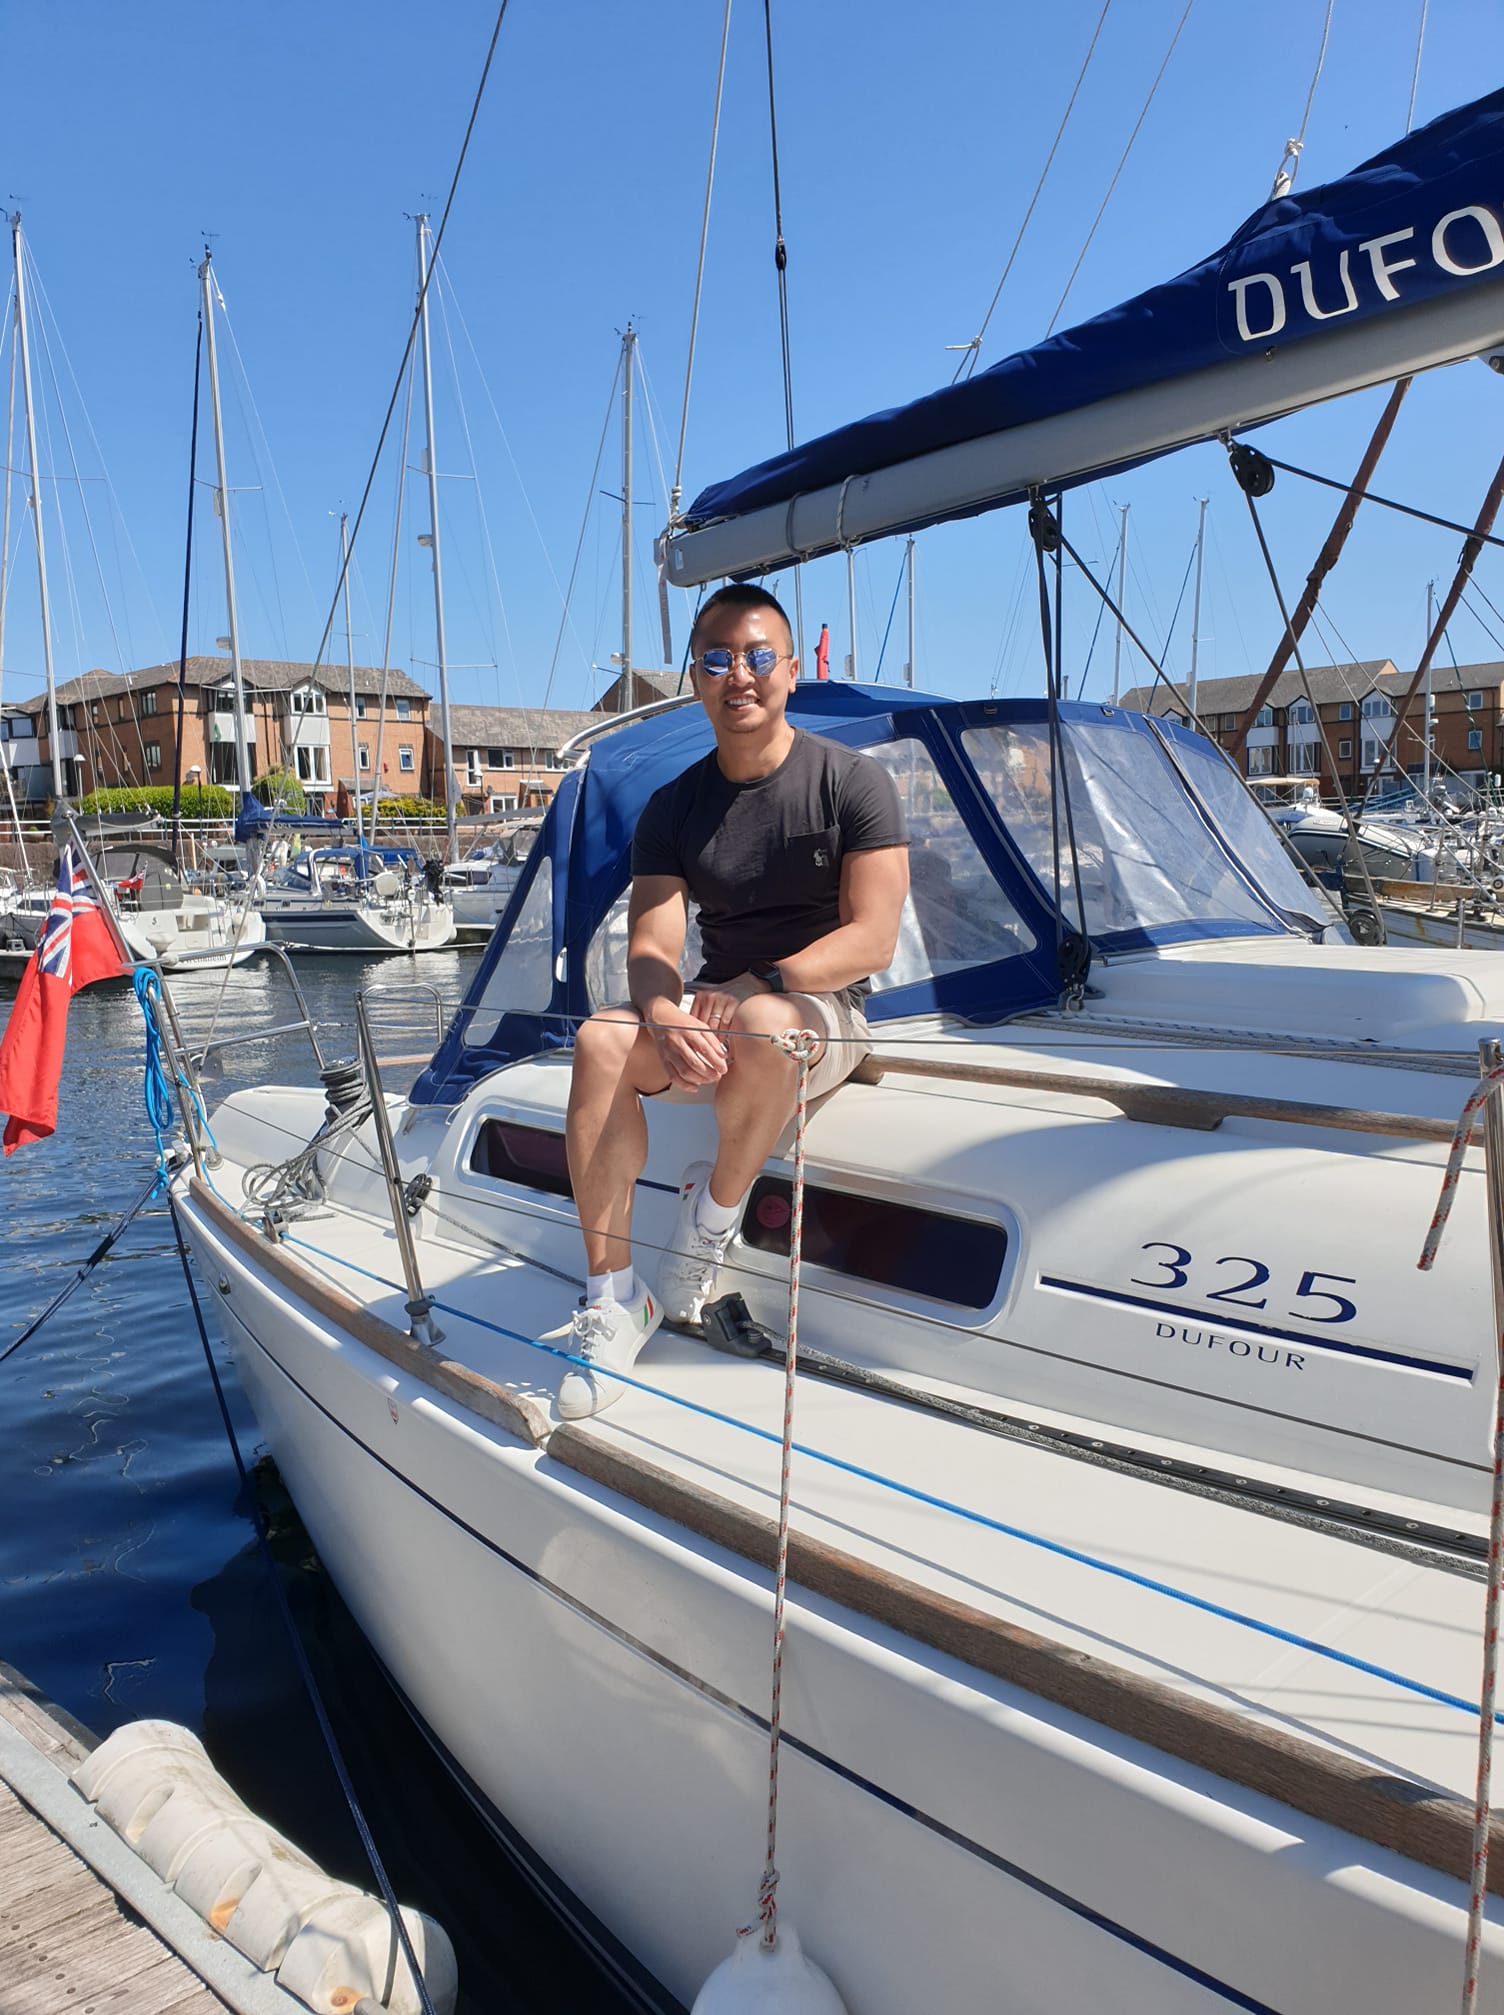
Local guest for coffee – Zheng.
No water outside, so we motored up and down the bay until after low tide.
Very smooth trip back. The fast tide gave us great speed over the ground even though there was not much wind for sailing.
We had not planned to go anywhere at the bank holiday weekend. So we were very pleased to welcome David and Sheila onboard, at our berth in Portishead Marina, for drinks on Sunday evening.
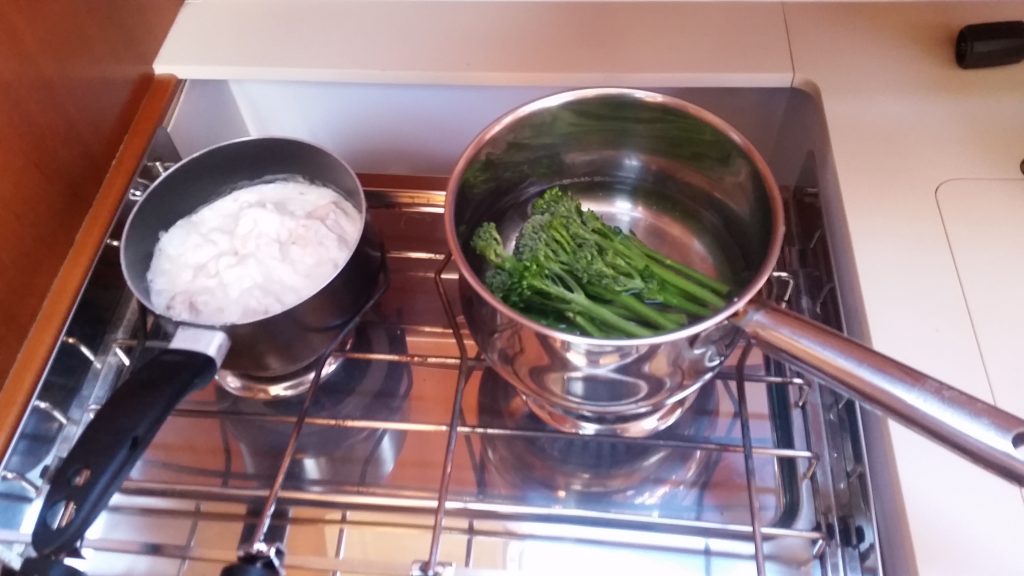
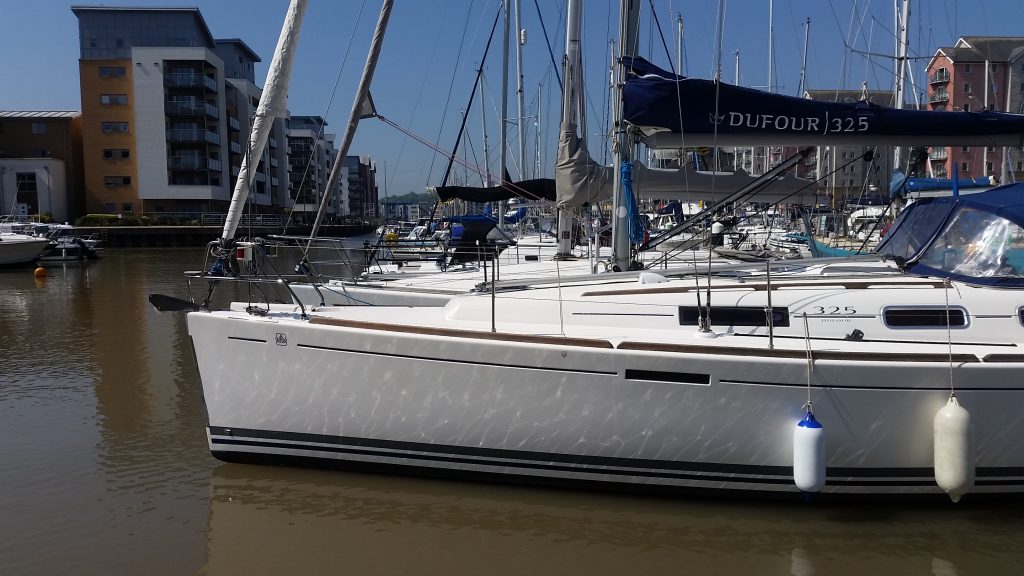
The fish and chip shop had a long queue – so we ate some of the ship’s supplies with veg from the co-op. On Monday morning our neighbouring boat went sailing, so I was able to take the photo of Molia from the side.
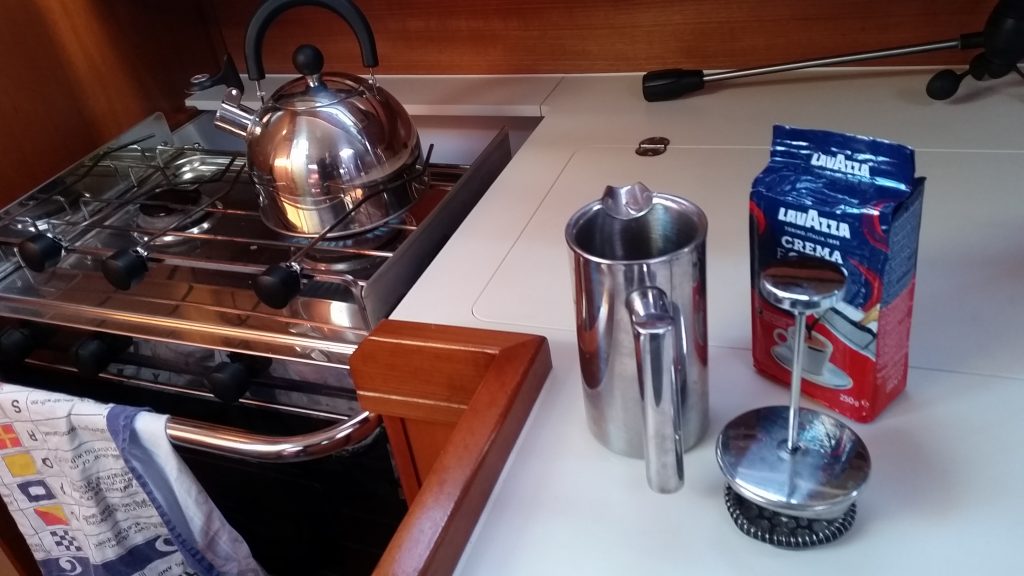
You can just see our cleaned wind instrument behind the coffee – I need to go up the mast again soon to put it back!