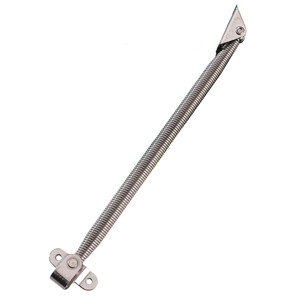
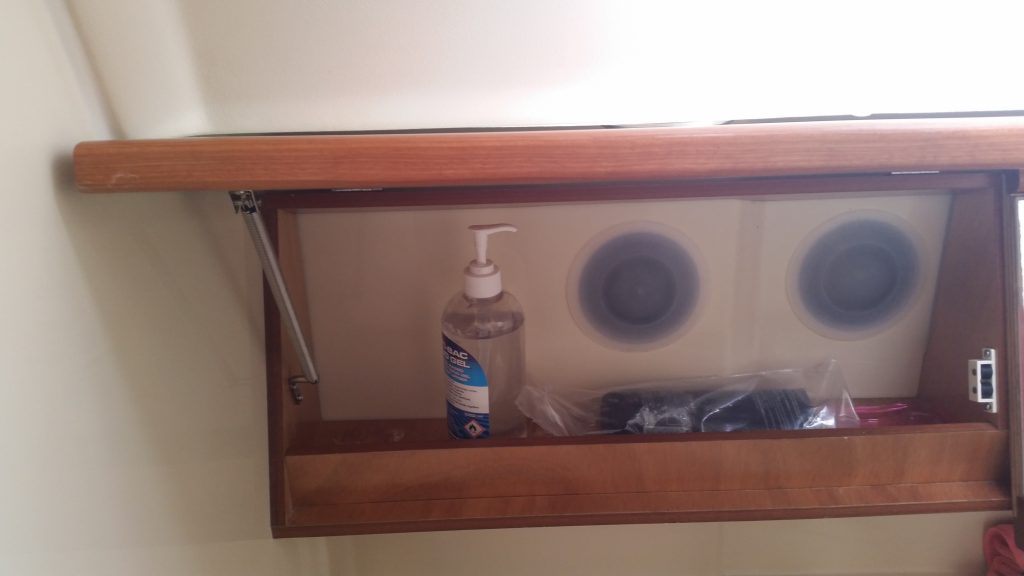
We got a bit tied of propping the locker doors in the heads up with our heads!
The sprung hatch stay from Force 4 works really well in these locations; and it was less that £10. The props are made of stainless steel (304 grade), so there should not be any trouble as they are inside.
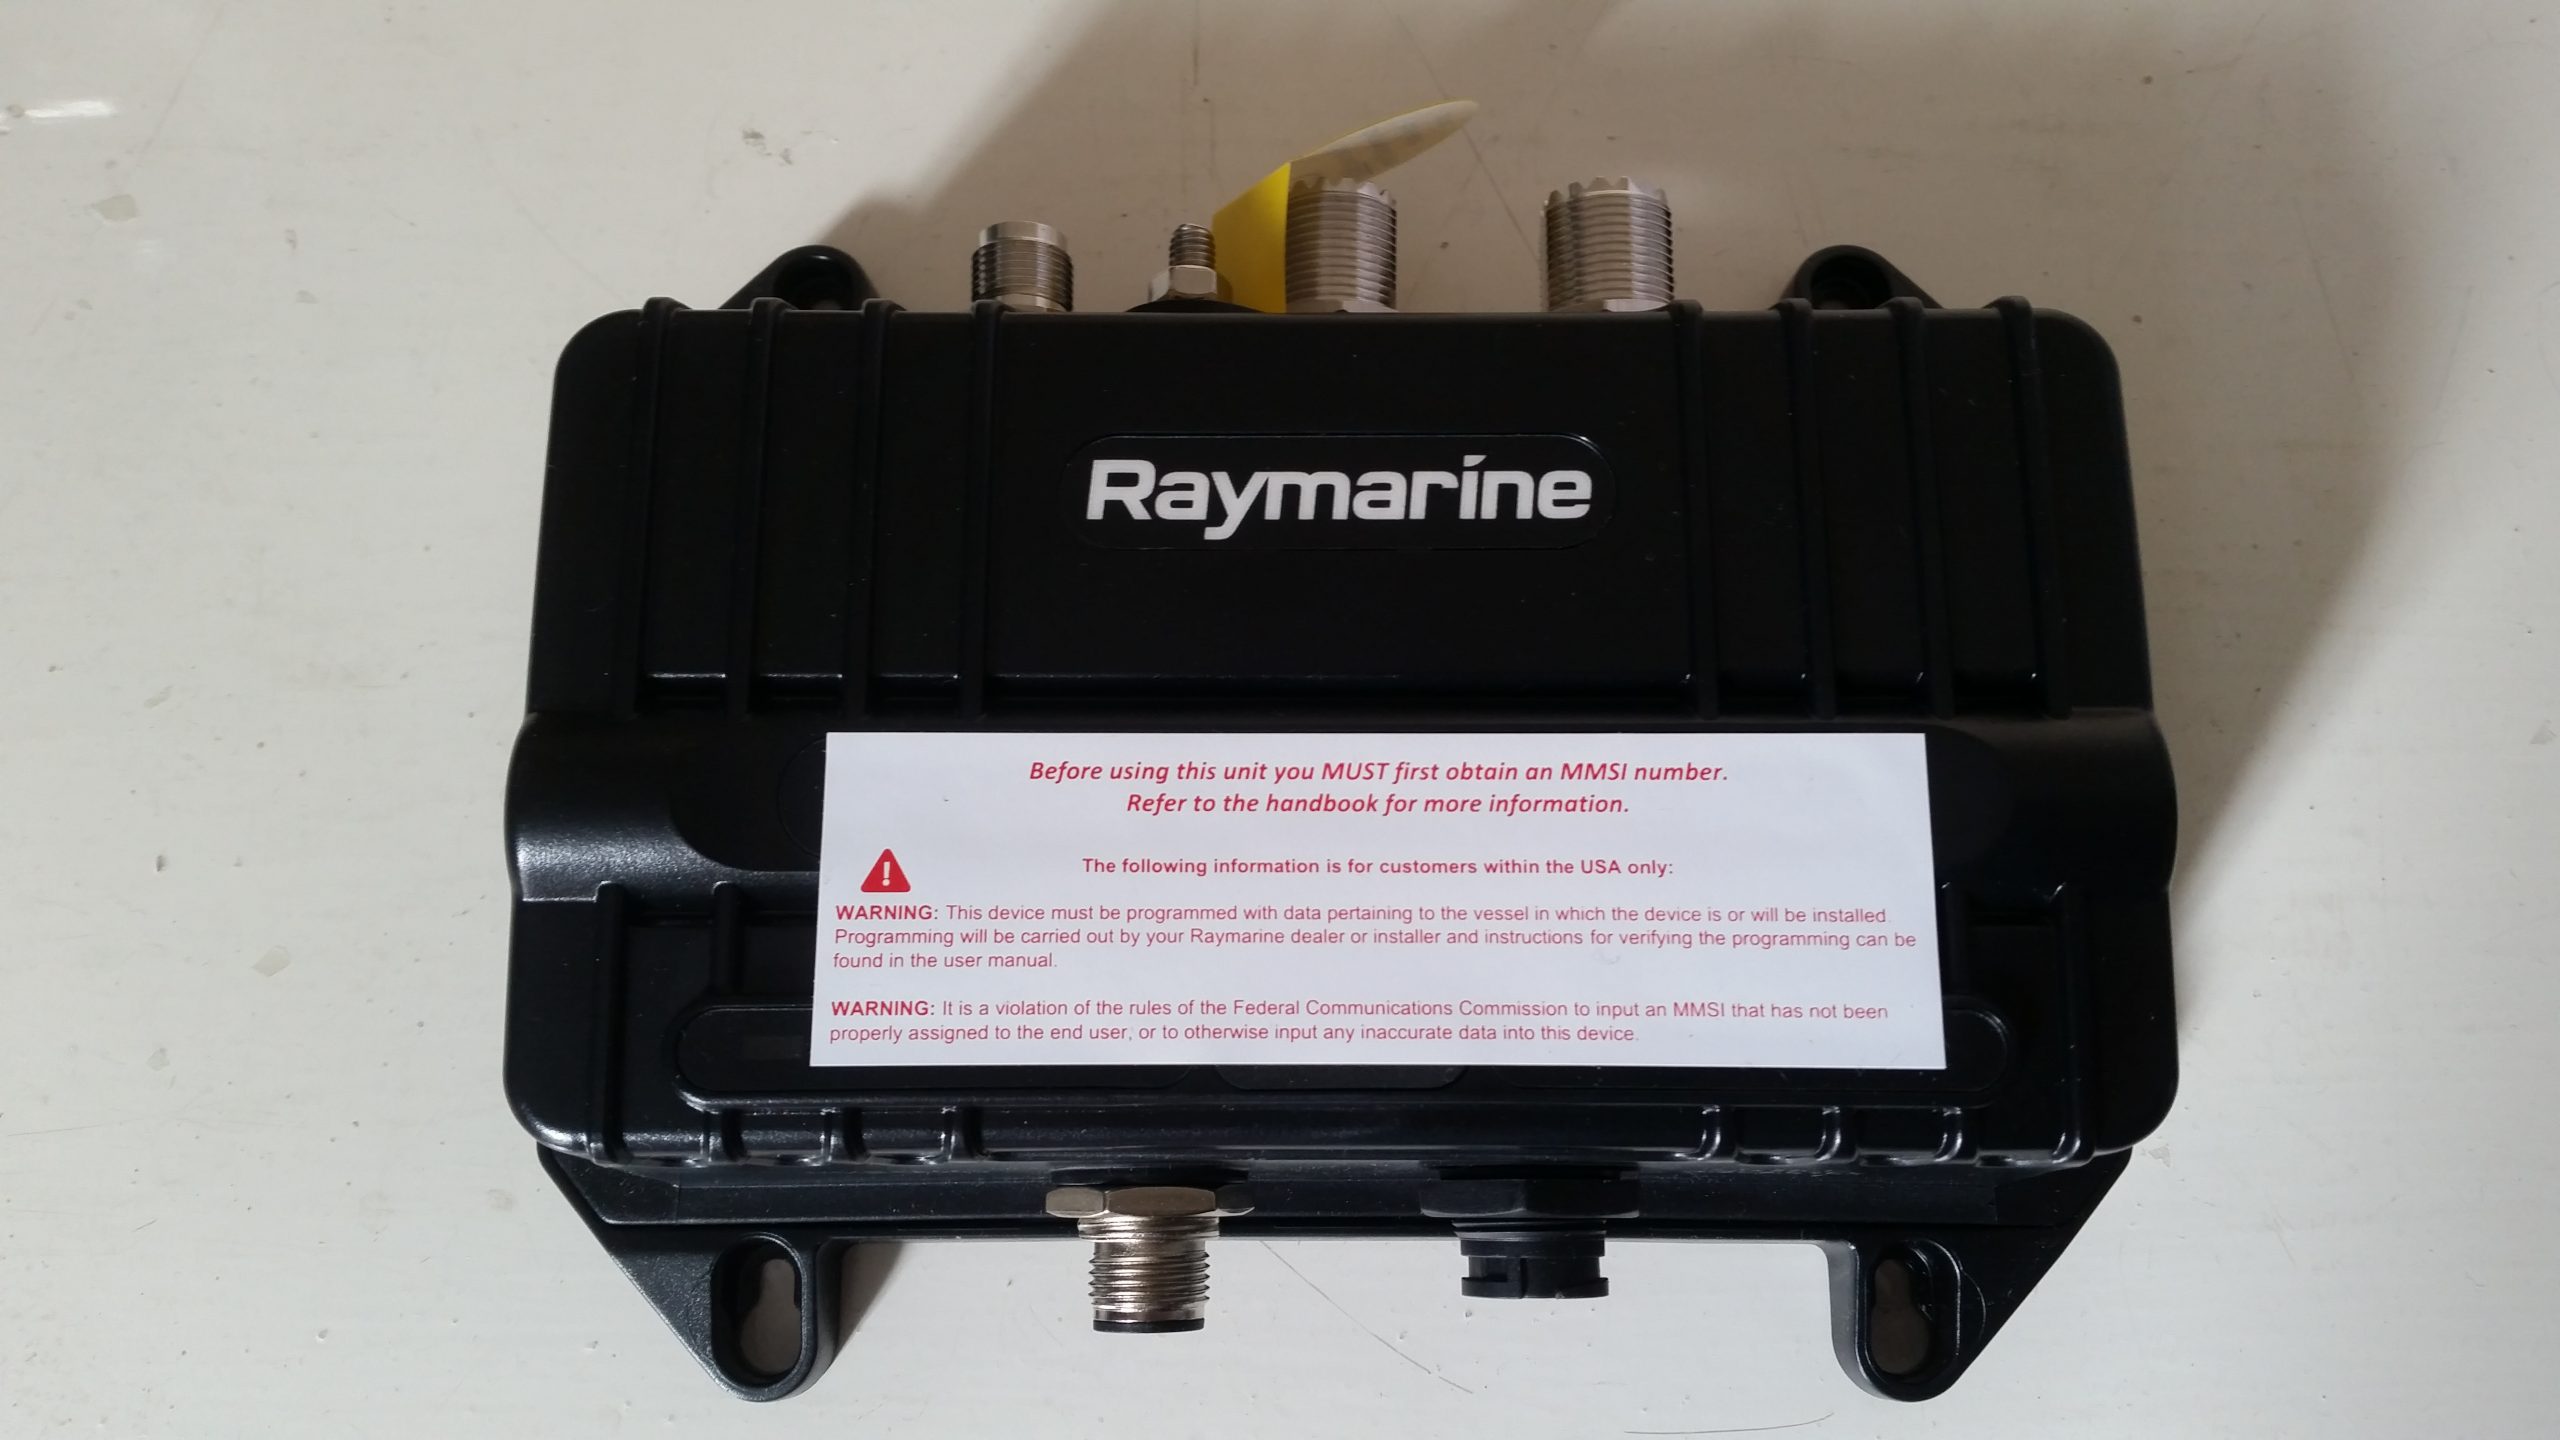
We are fitting AIS to Molia for we can see and be seen by other vessels.
We chose the Raymarine AIS700 Class B Transceiver. This incorporates an aerial splitter, and has a NMEA2000 network connection that is SeaTalkng compatible.
New Network
SeaTalkng is the Raymarine version of NMEA2000. We will be adding a new SeaTalkng network to Molia. This will connect the helm chartplotter to the AIS to keep us informed about other vessels while we steer.
The existing instruments are on a separate SeaTalk network – this is the Raymarine version of NMEA0183. They can stay on this for now.
Supplier: Brit Boat Parts (at Bourne End on the river Thames).
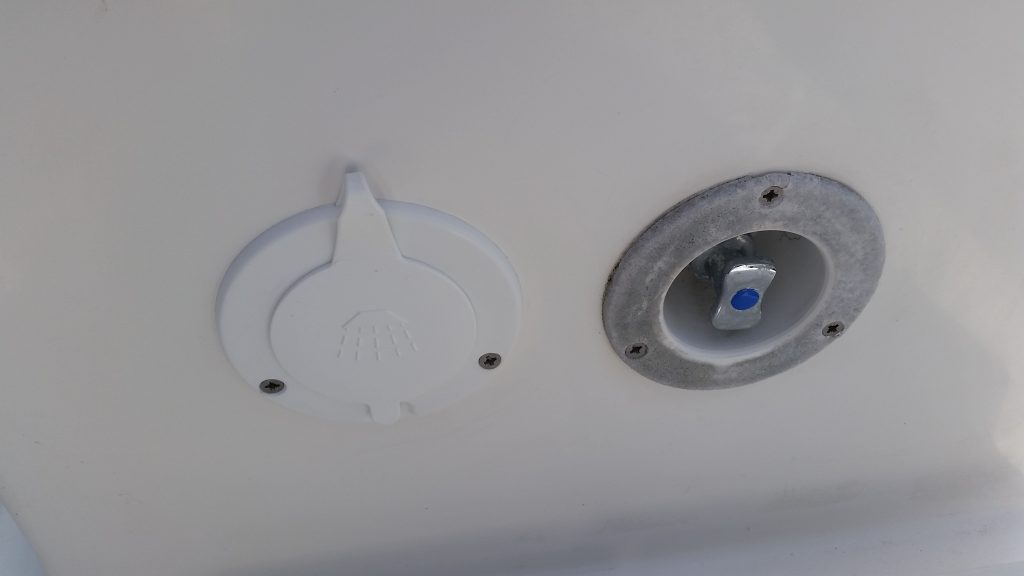
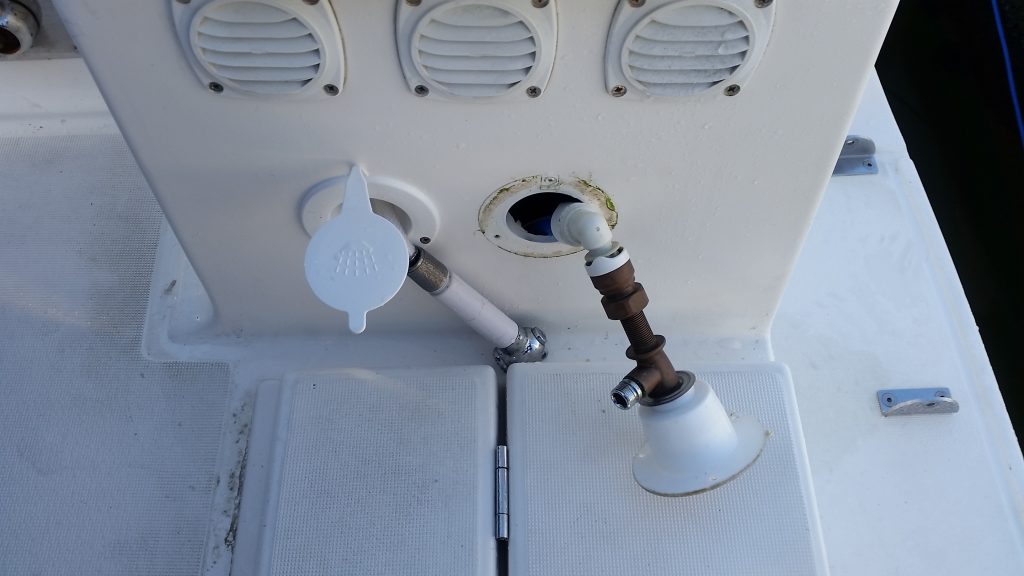
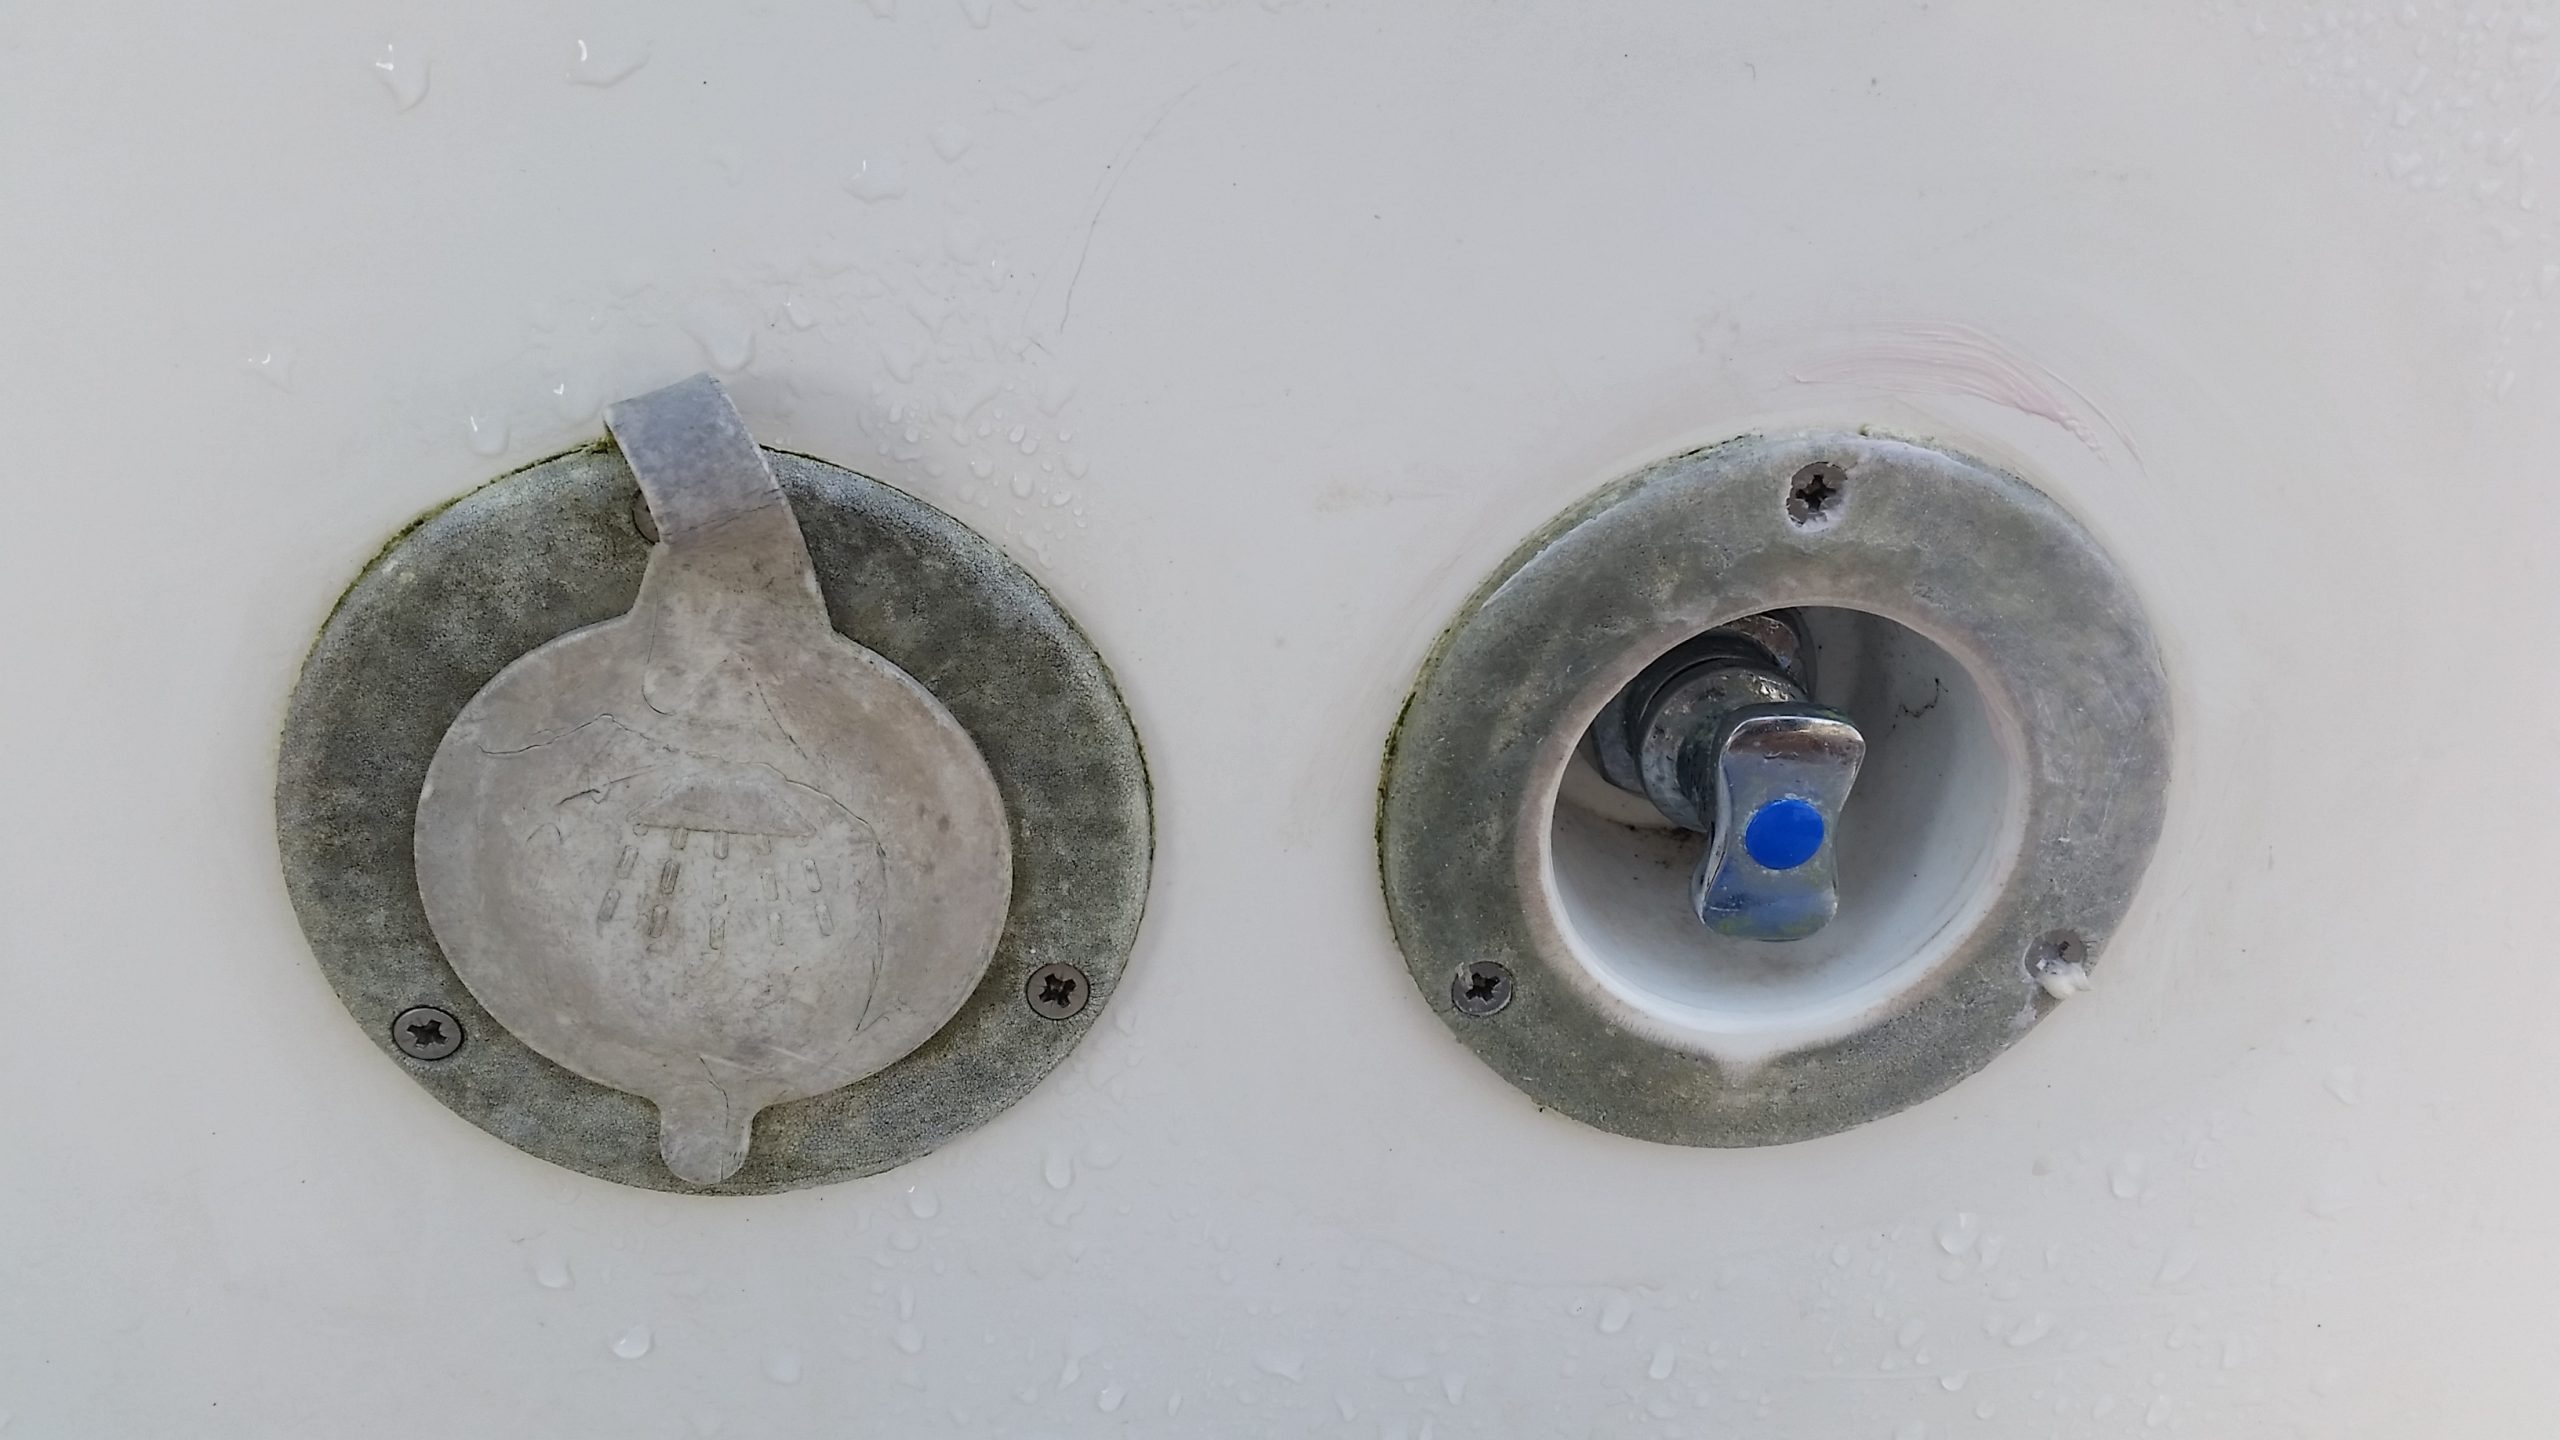
The shower head cover was easy to replace. I removed the old cover, cleaned off the sealant and resealed the new unit in place. The tap had to be detached so that it could be threaded into the new unit.
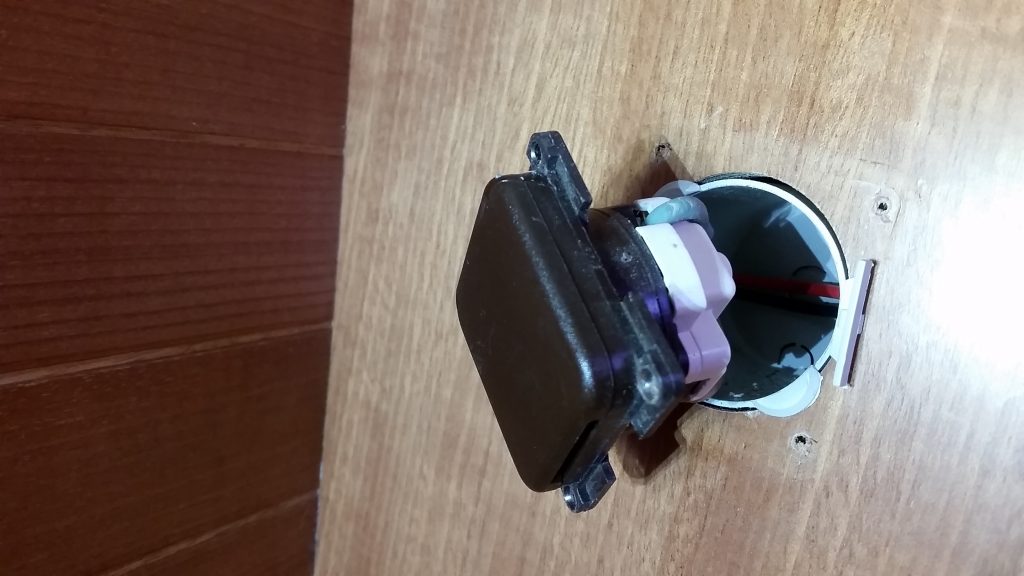
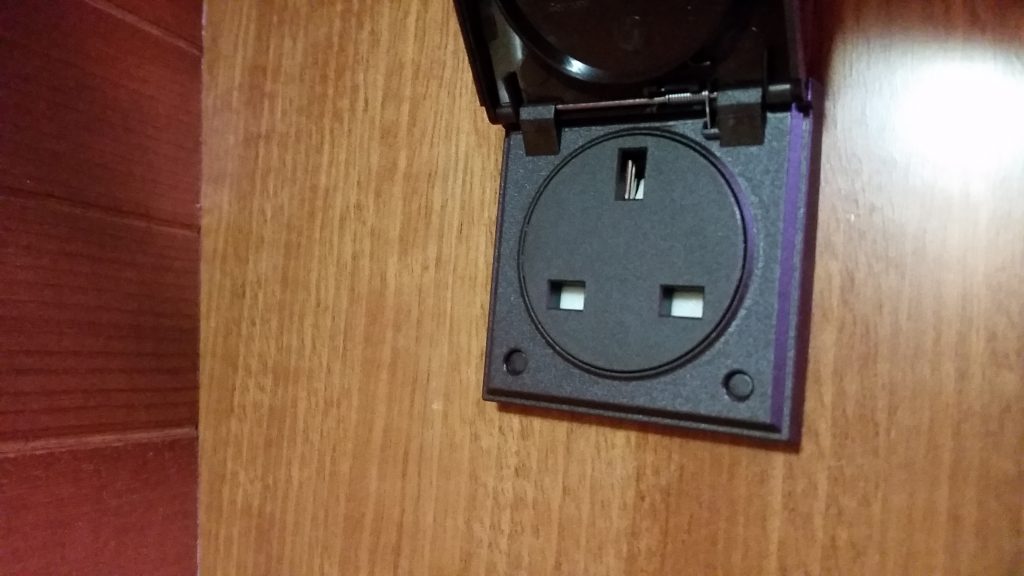
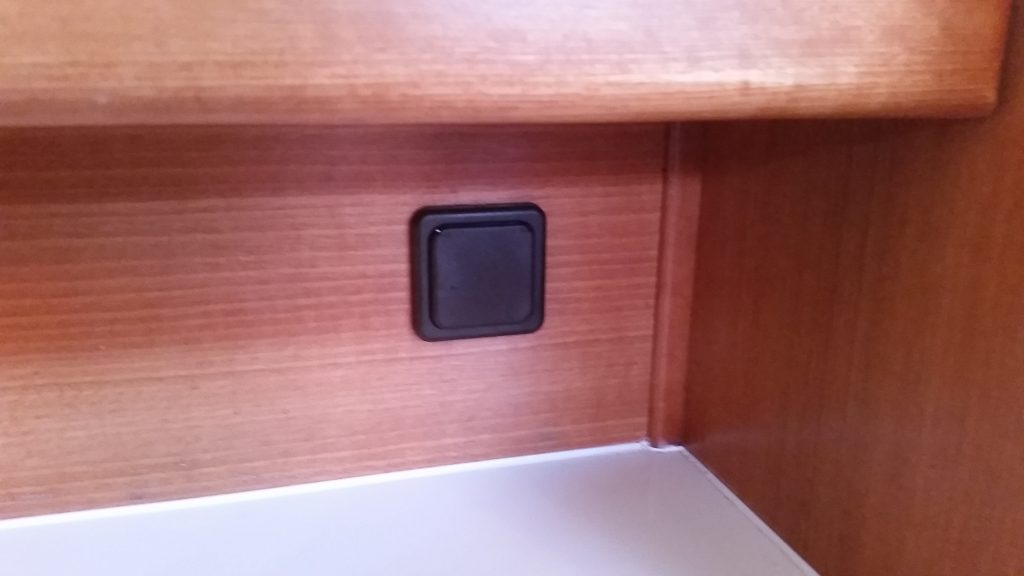
As Molia was built in France, her shore power sockets are all continental round-pin. We have decided to replace at least some of these with UK square-pin sockets to reduce the number of adapters that we need to carry onboard.
As a trial I ordered one set: socket, cover and wall box made by Berker, from Furneaux Riddal.
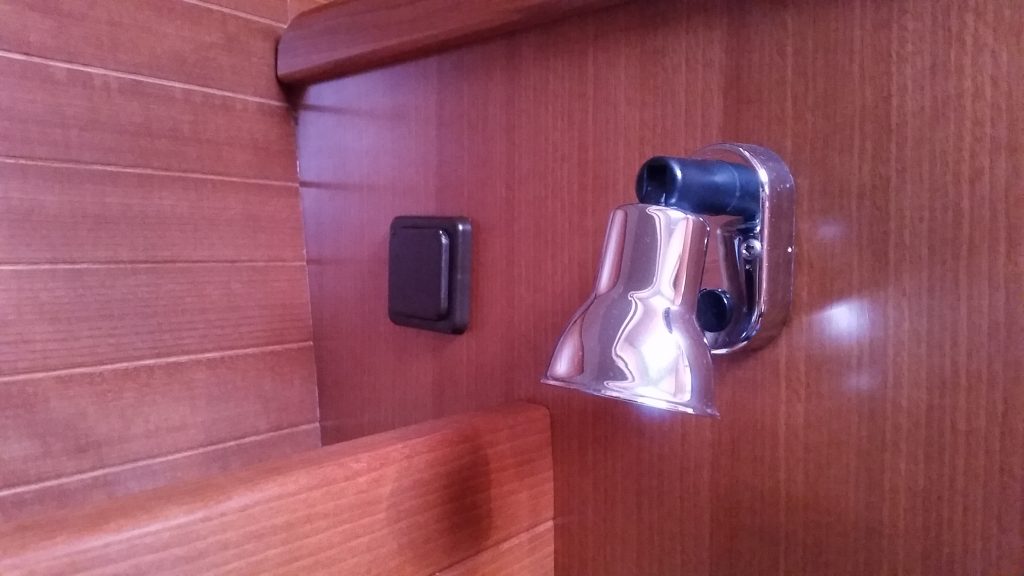
In the end, removing the old continental socket was not possible without breaking it! The plastic had gone brittle since Molia was built.
Fitting the new socket was straight-forward. The screw holes don’t quite line up; but there is enough space to get the new screws in, and the old holes do not show. Overall this looks good.
Molia has 4 shore power sockets in total.
I think we might replace some of the others as well!
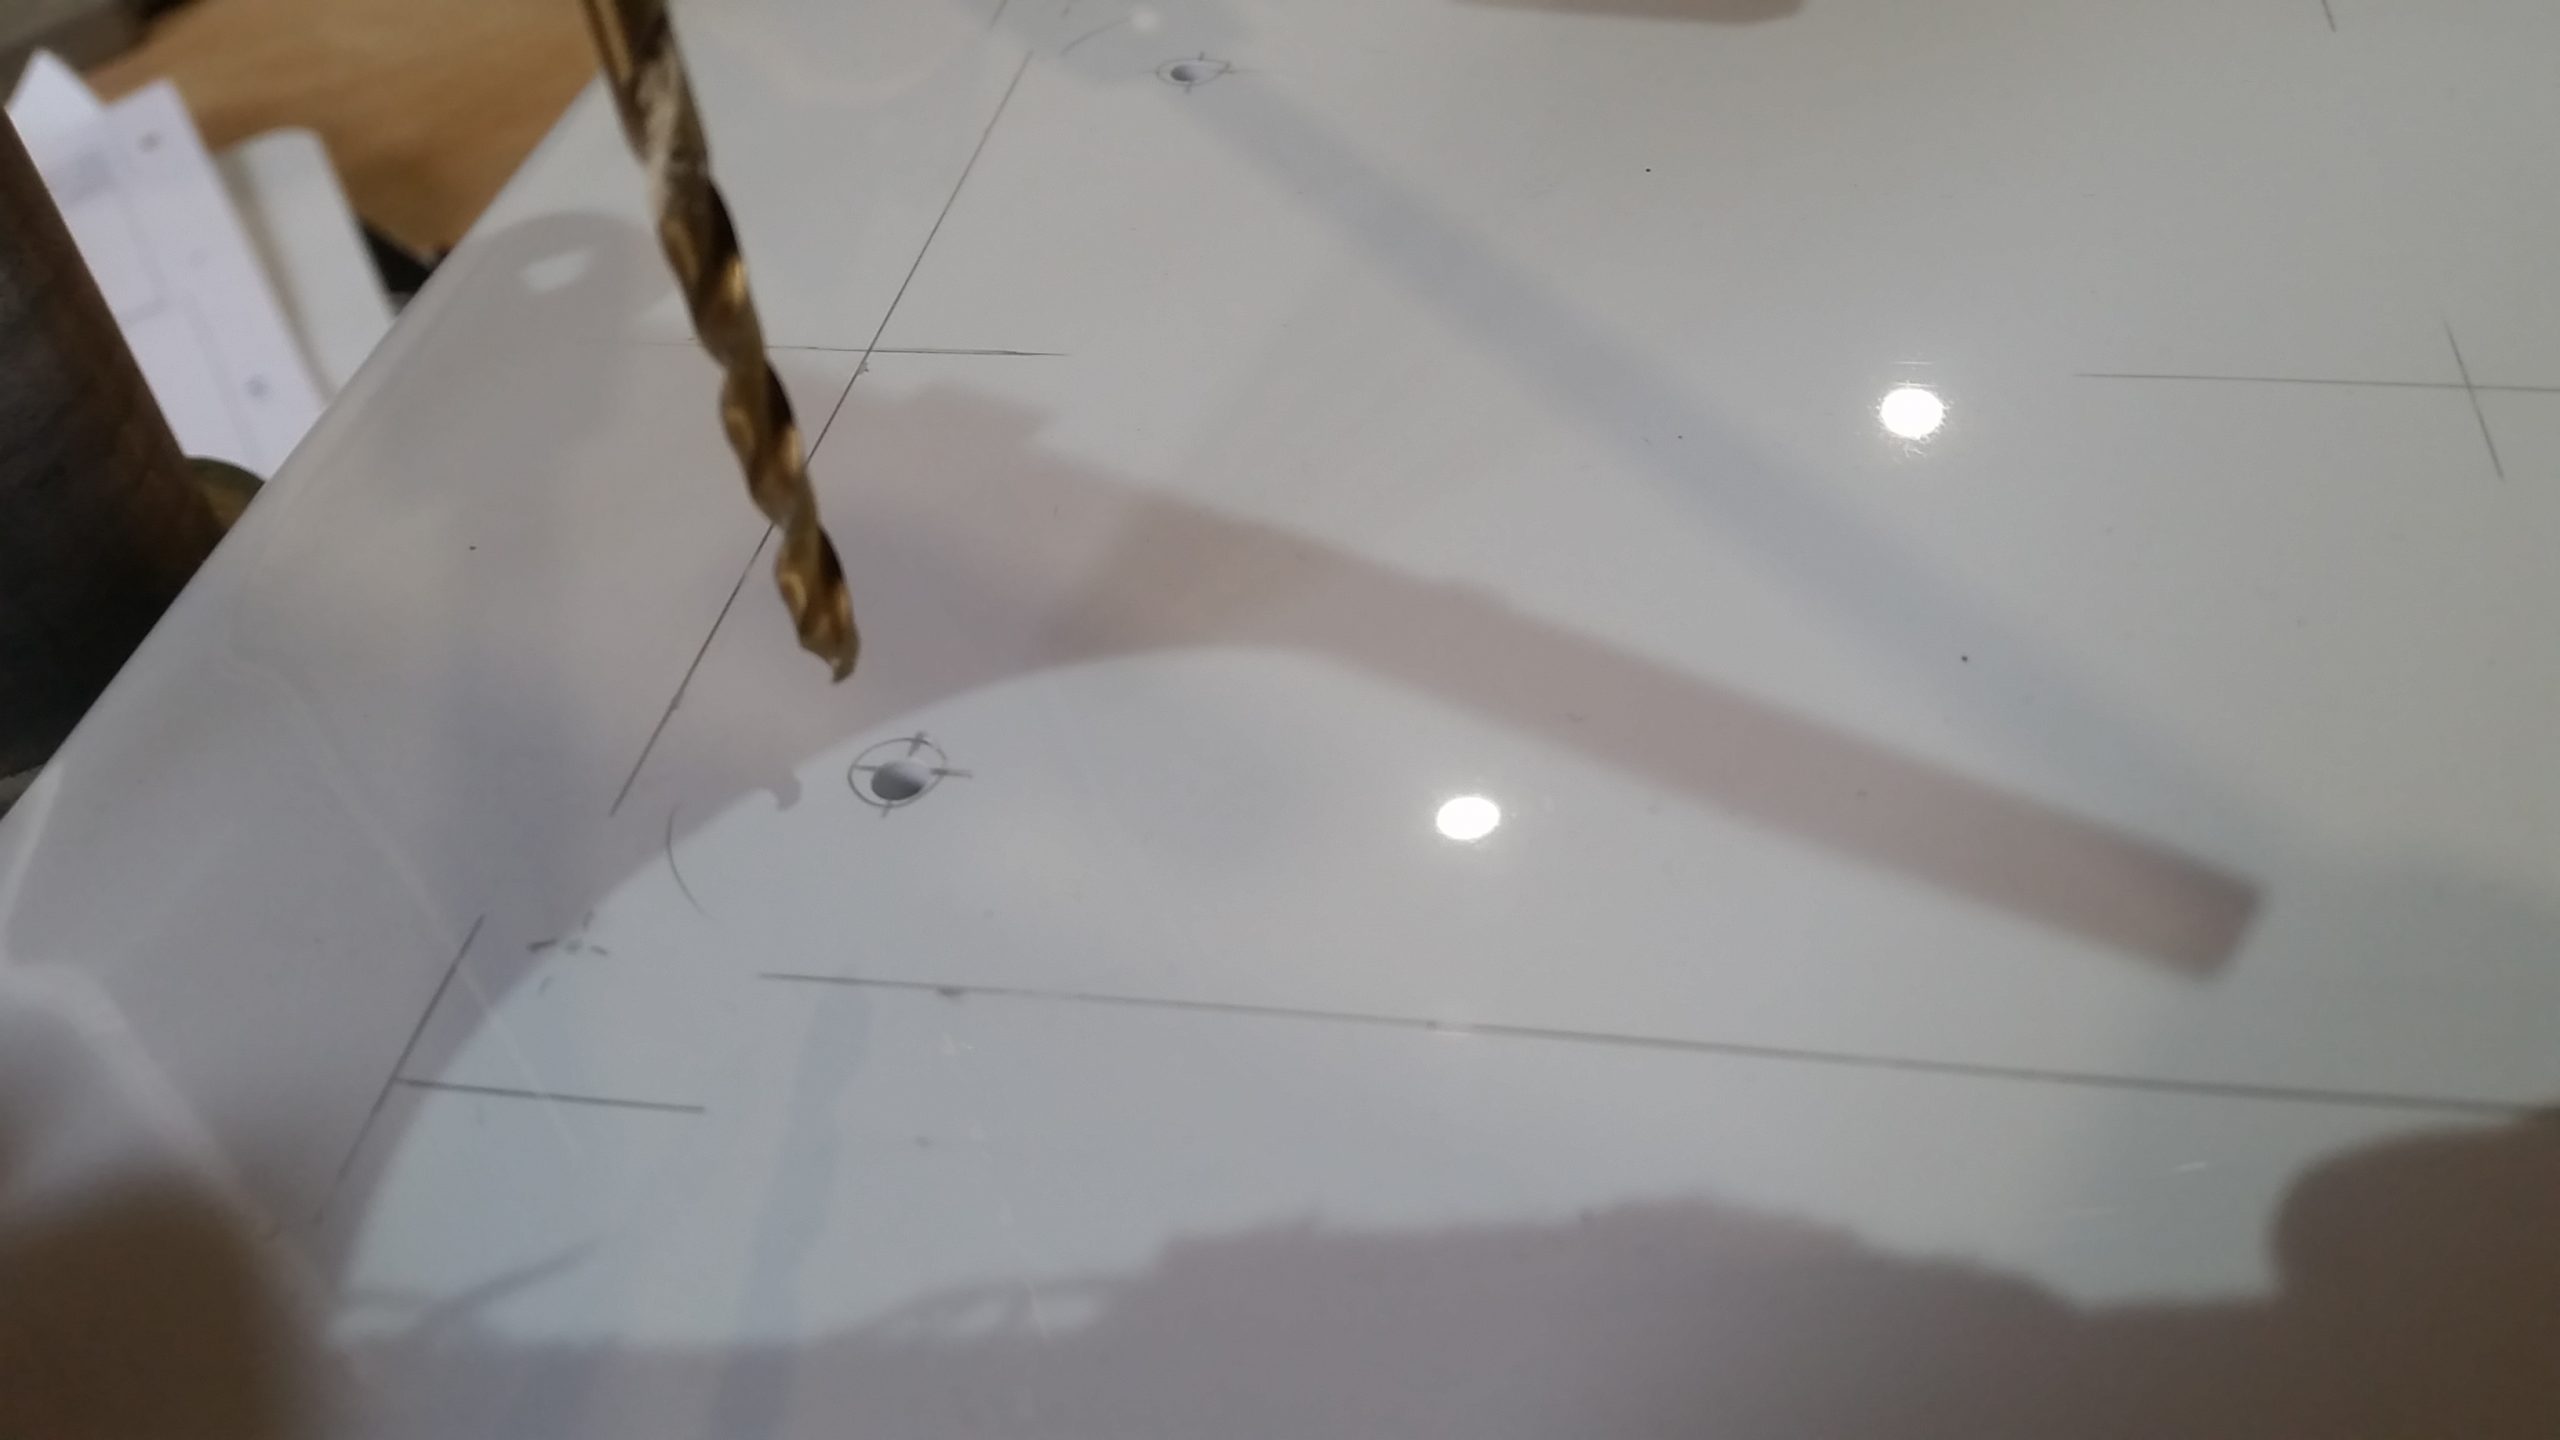
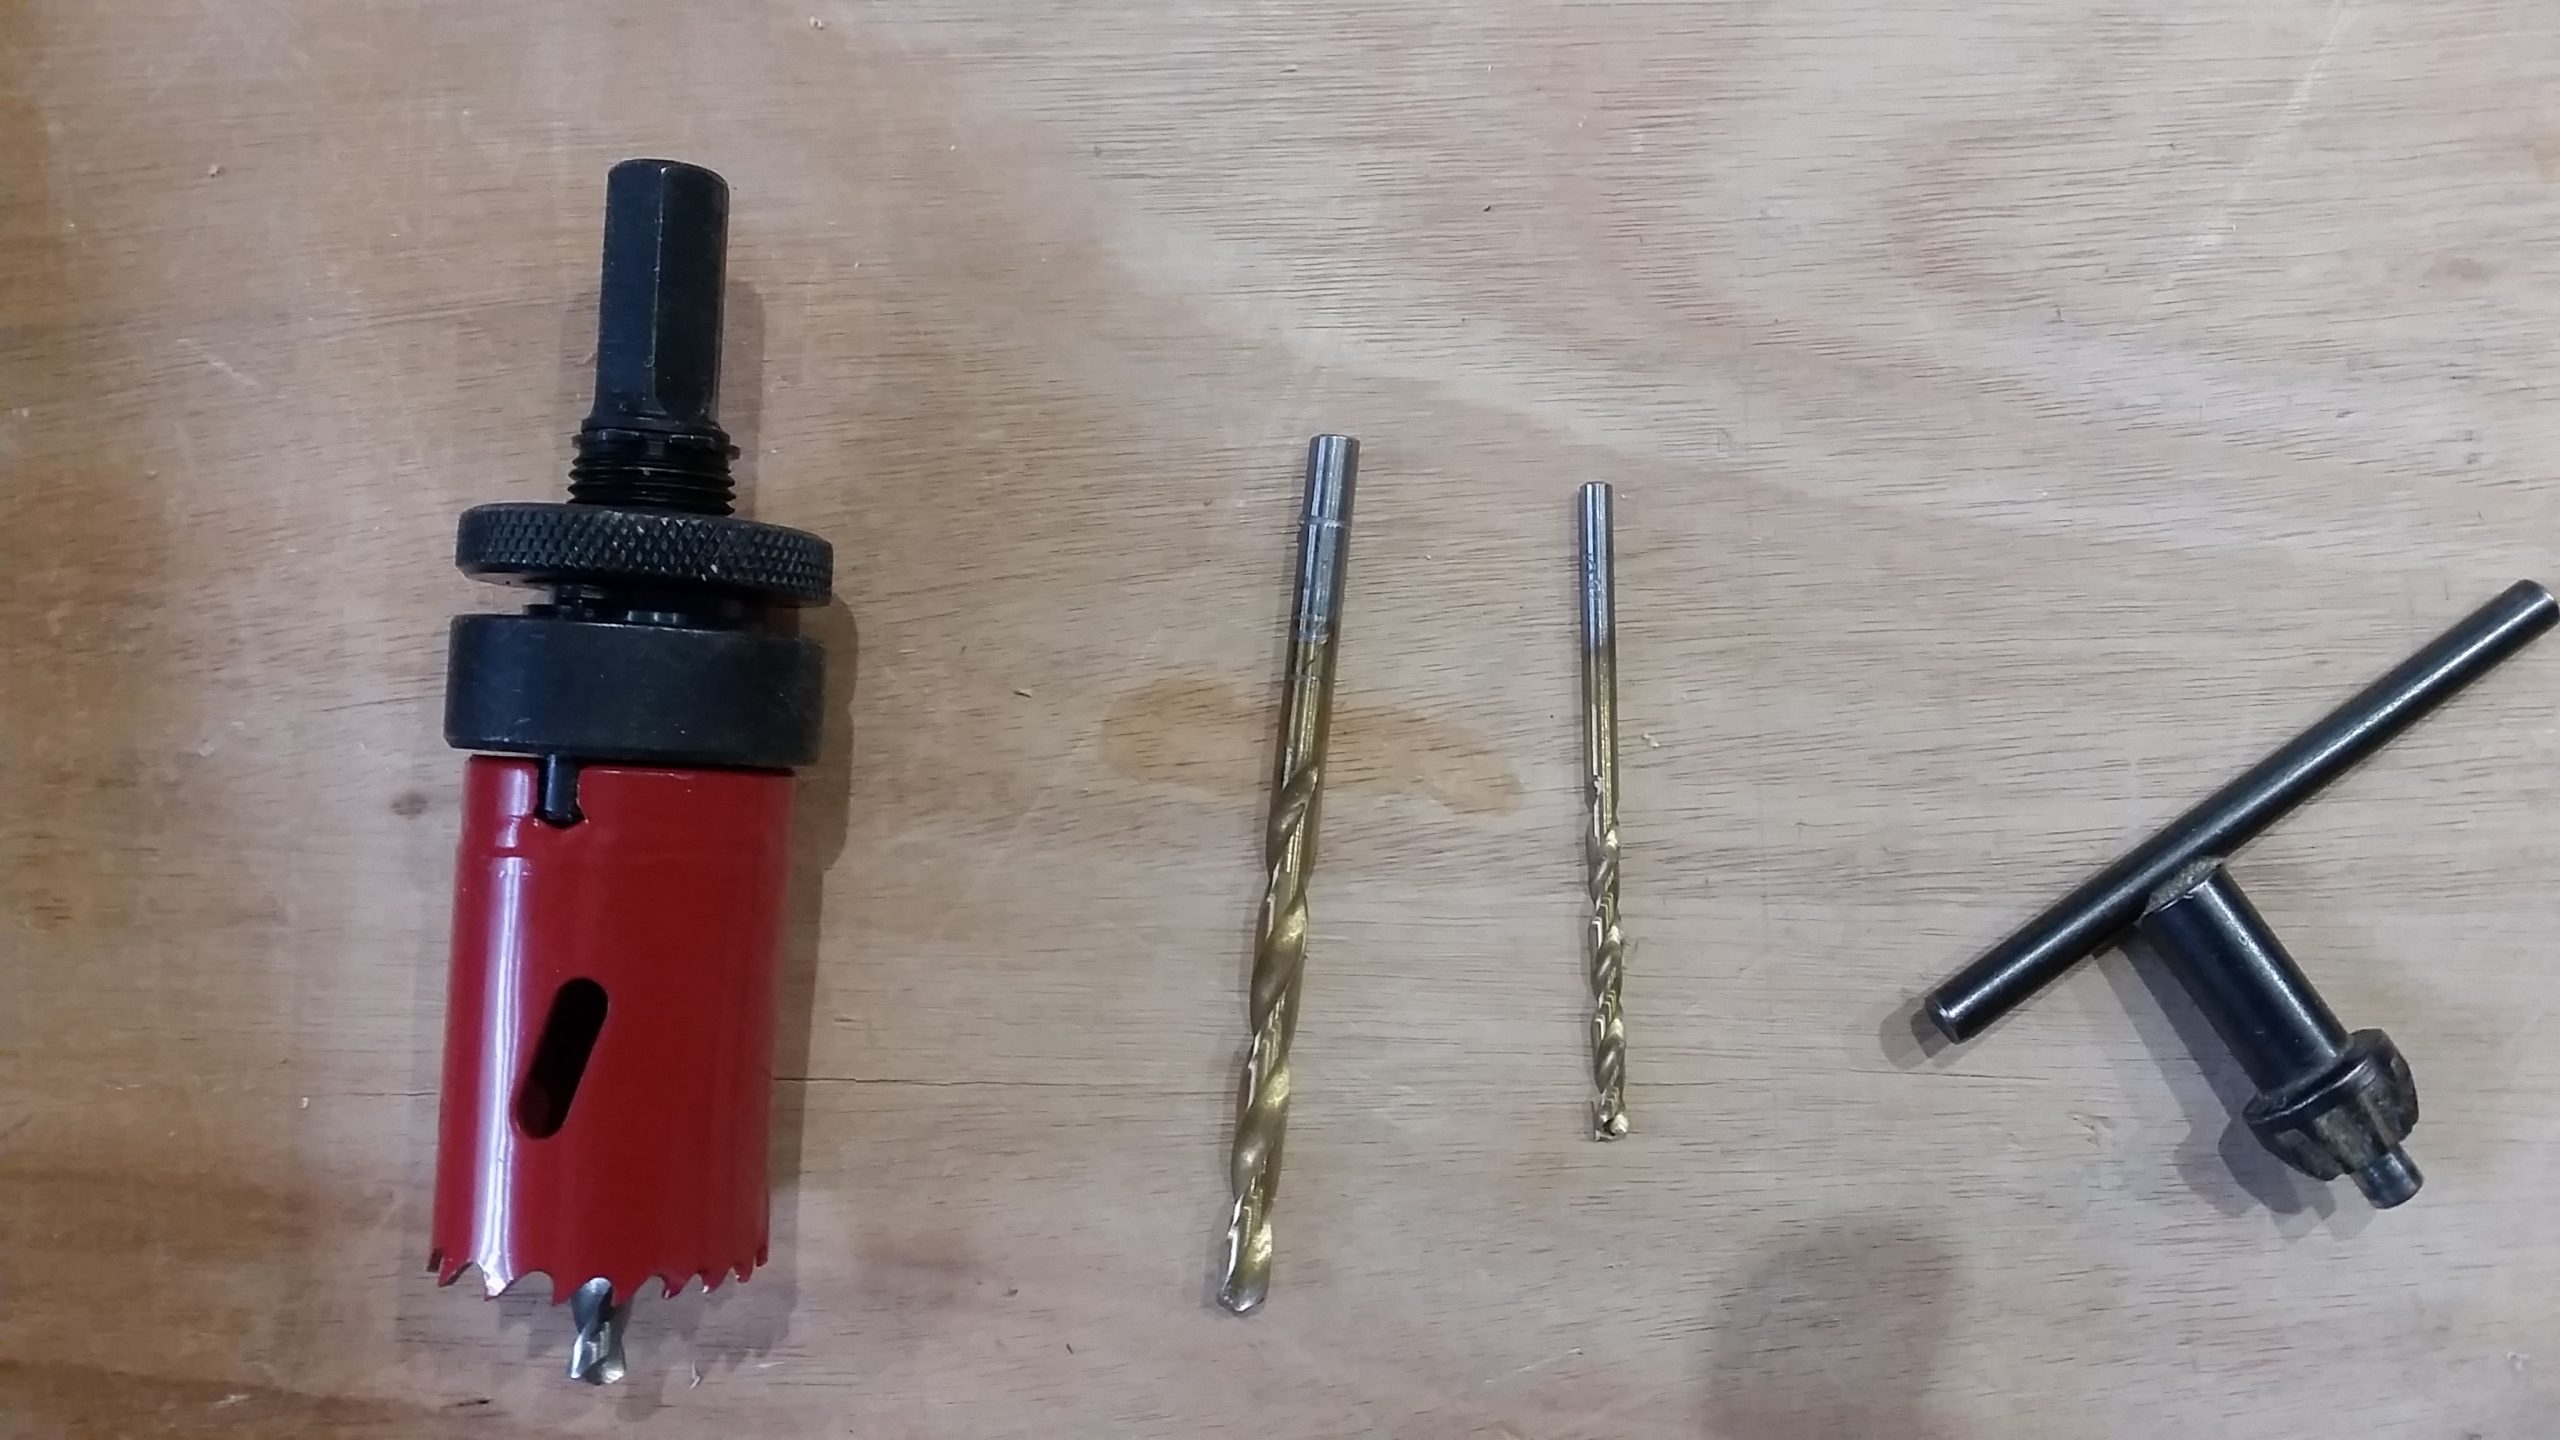
Preparing to cut the hole in the Scanpod front panel for the chartplotter. The plywood will keep the panel flat in the drill stand.
Cutting the corner radius – I still managed to miss the mark with this hole! (I was able to correct the centre later as this was the smallest drill bit for this hole.)
Stepping up the drill bit size to get close to centre bit of the hole saw.
You have to go really slowly with the hole saw – or the plastic just melts!
Cutting done and cleaned up a bit. I took the trouble to smooth off the cut surface with 180-600-1200 grits wet and dry. It is all ready to bolt in the chartplotter.
Step complete! The corner bolts have little rubber covers to fit next, to hide the screws.
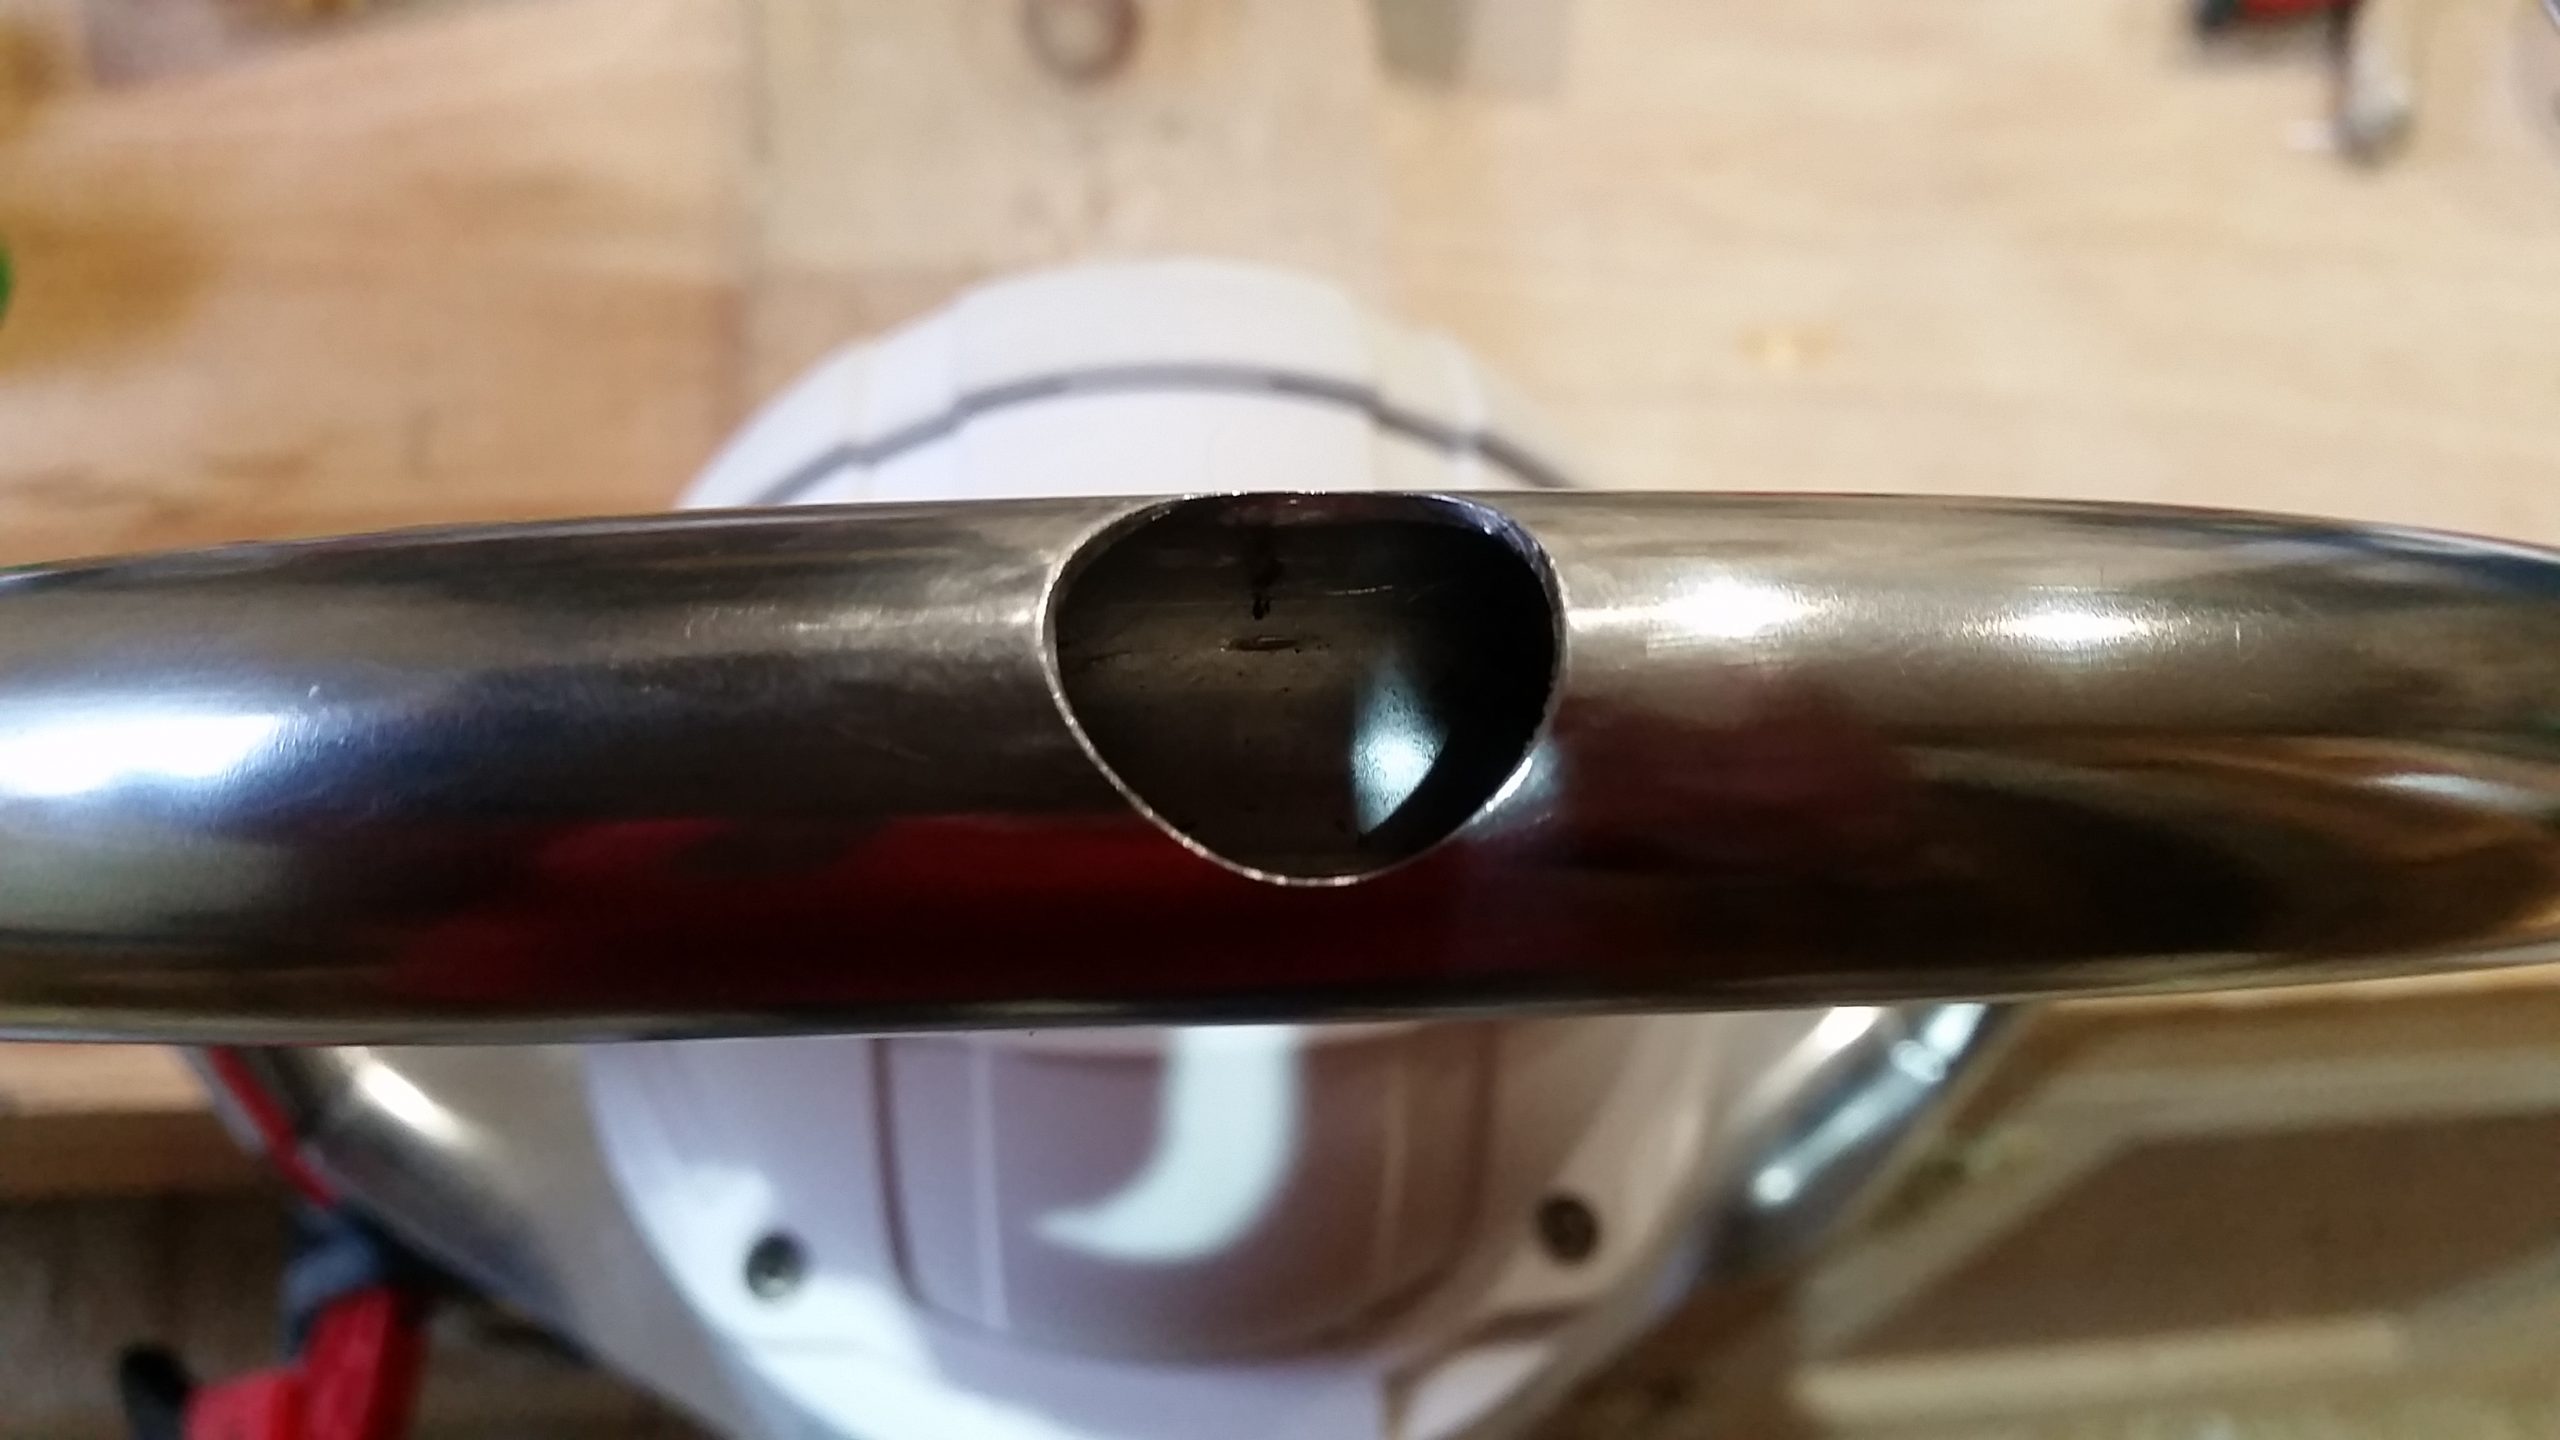
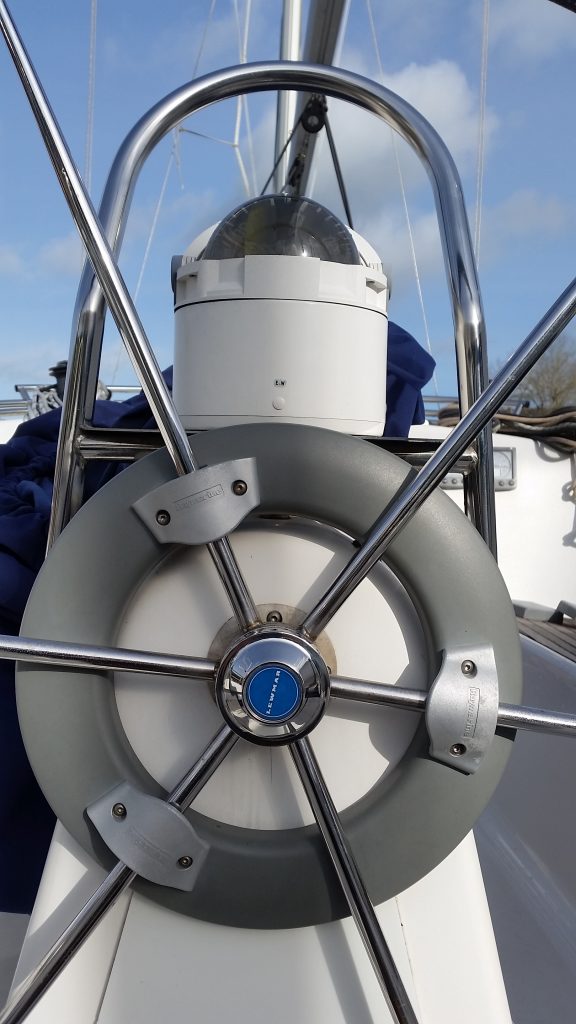
I took the entire wheel guard rail off Molia (including the compass) so I could cut this crucial hole in the stainless steel in the workshop. Elongated the hole slightly (left) so we can get a connector plug in.
We are planning a new chartplotter on Molia to be positioned at the helm station.
We are looking at the Raymarine Element Series (not too expensive) which has physical buttons. In my opinion a touch screen at the helm station in UK weather and sea conditions could be problematic!
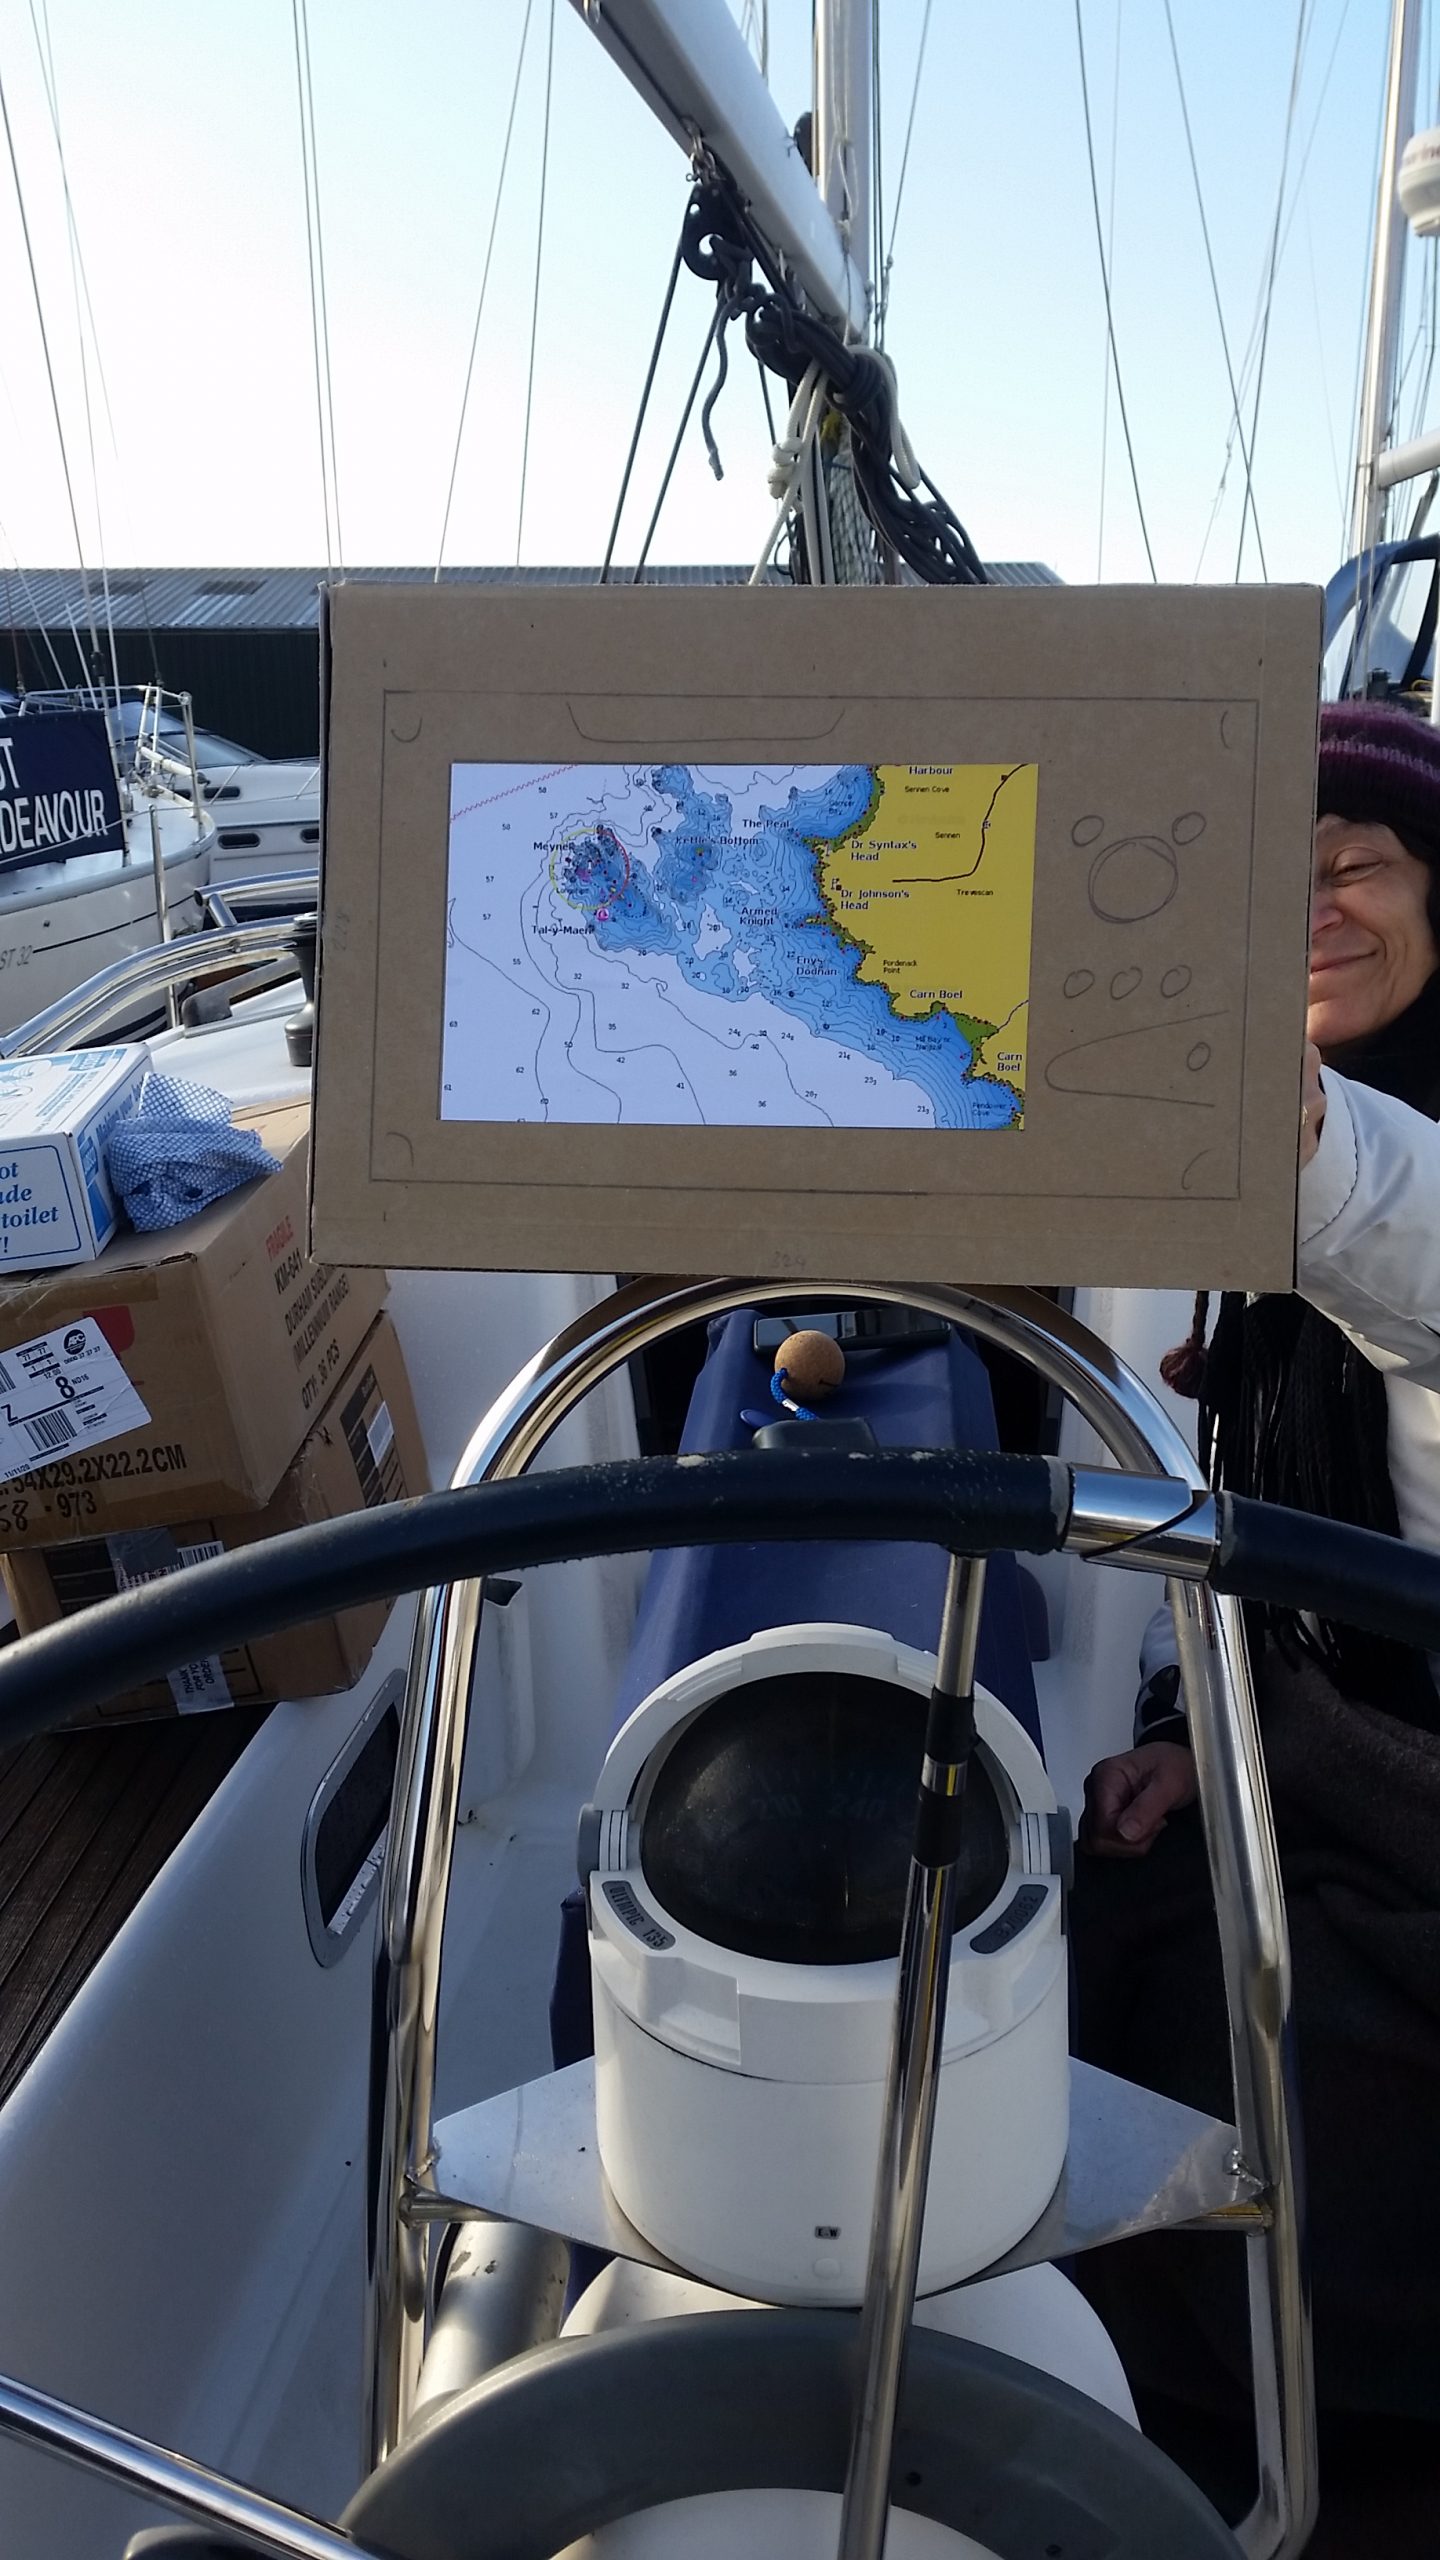
The S7 is small enough to fit into a rail-mounted pod. We have limited space at the helm station on Molia, so we checked out the Scanstruct Rail Mount SPR-8-RM which can sit on top of our existing wheel guard rail.
To try this out, I made a cardboard mock-up of the rail pod. We wanted to check that the unit will be comfortably visible sitting at the helm. Here is Jo holding the mock-up in place; looks OK!
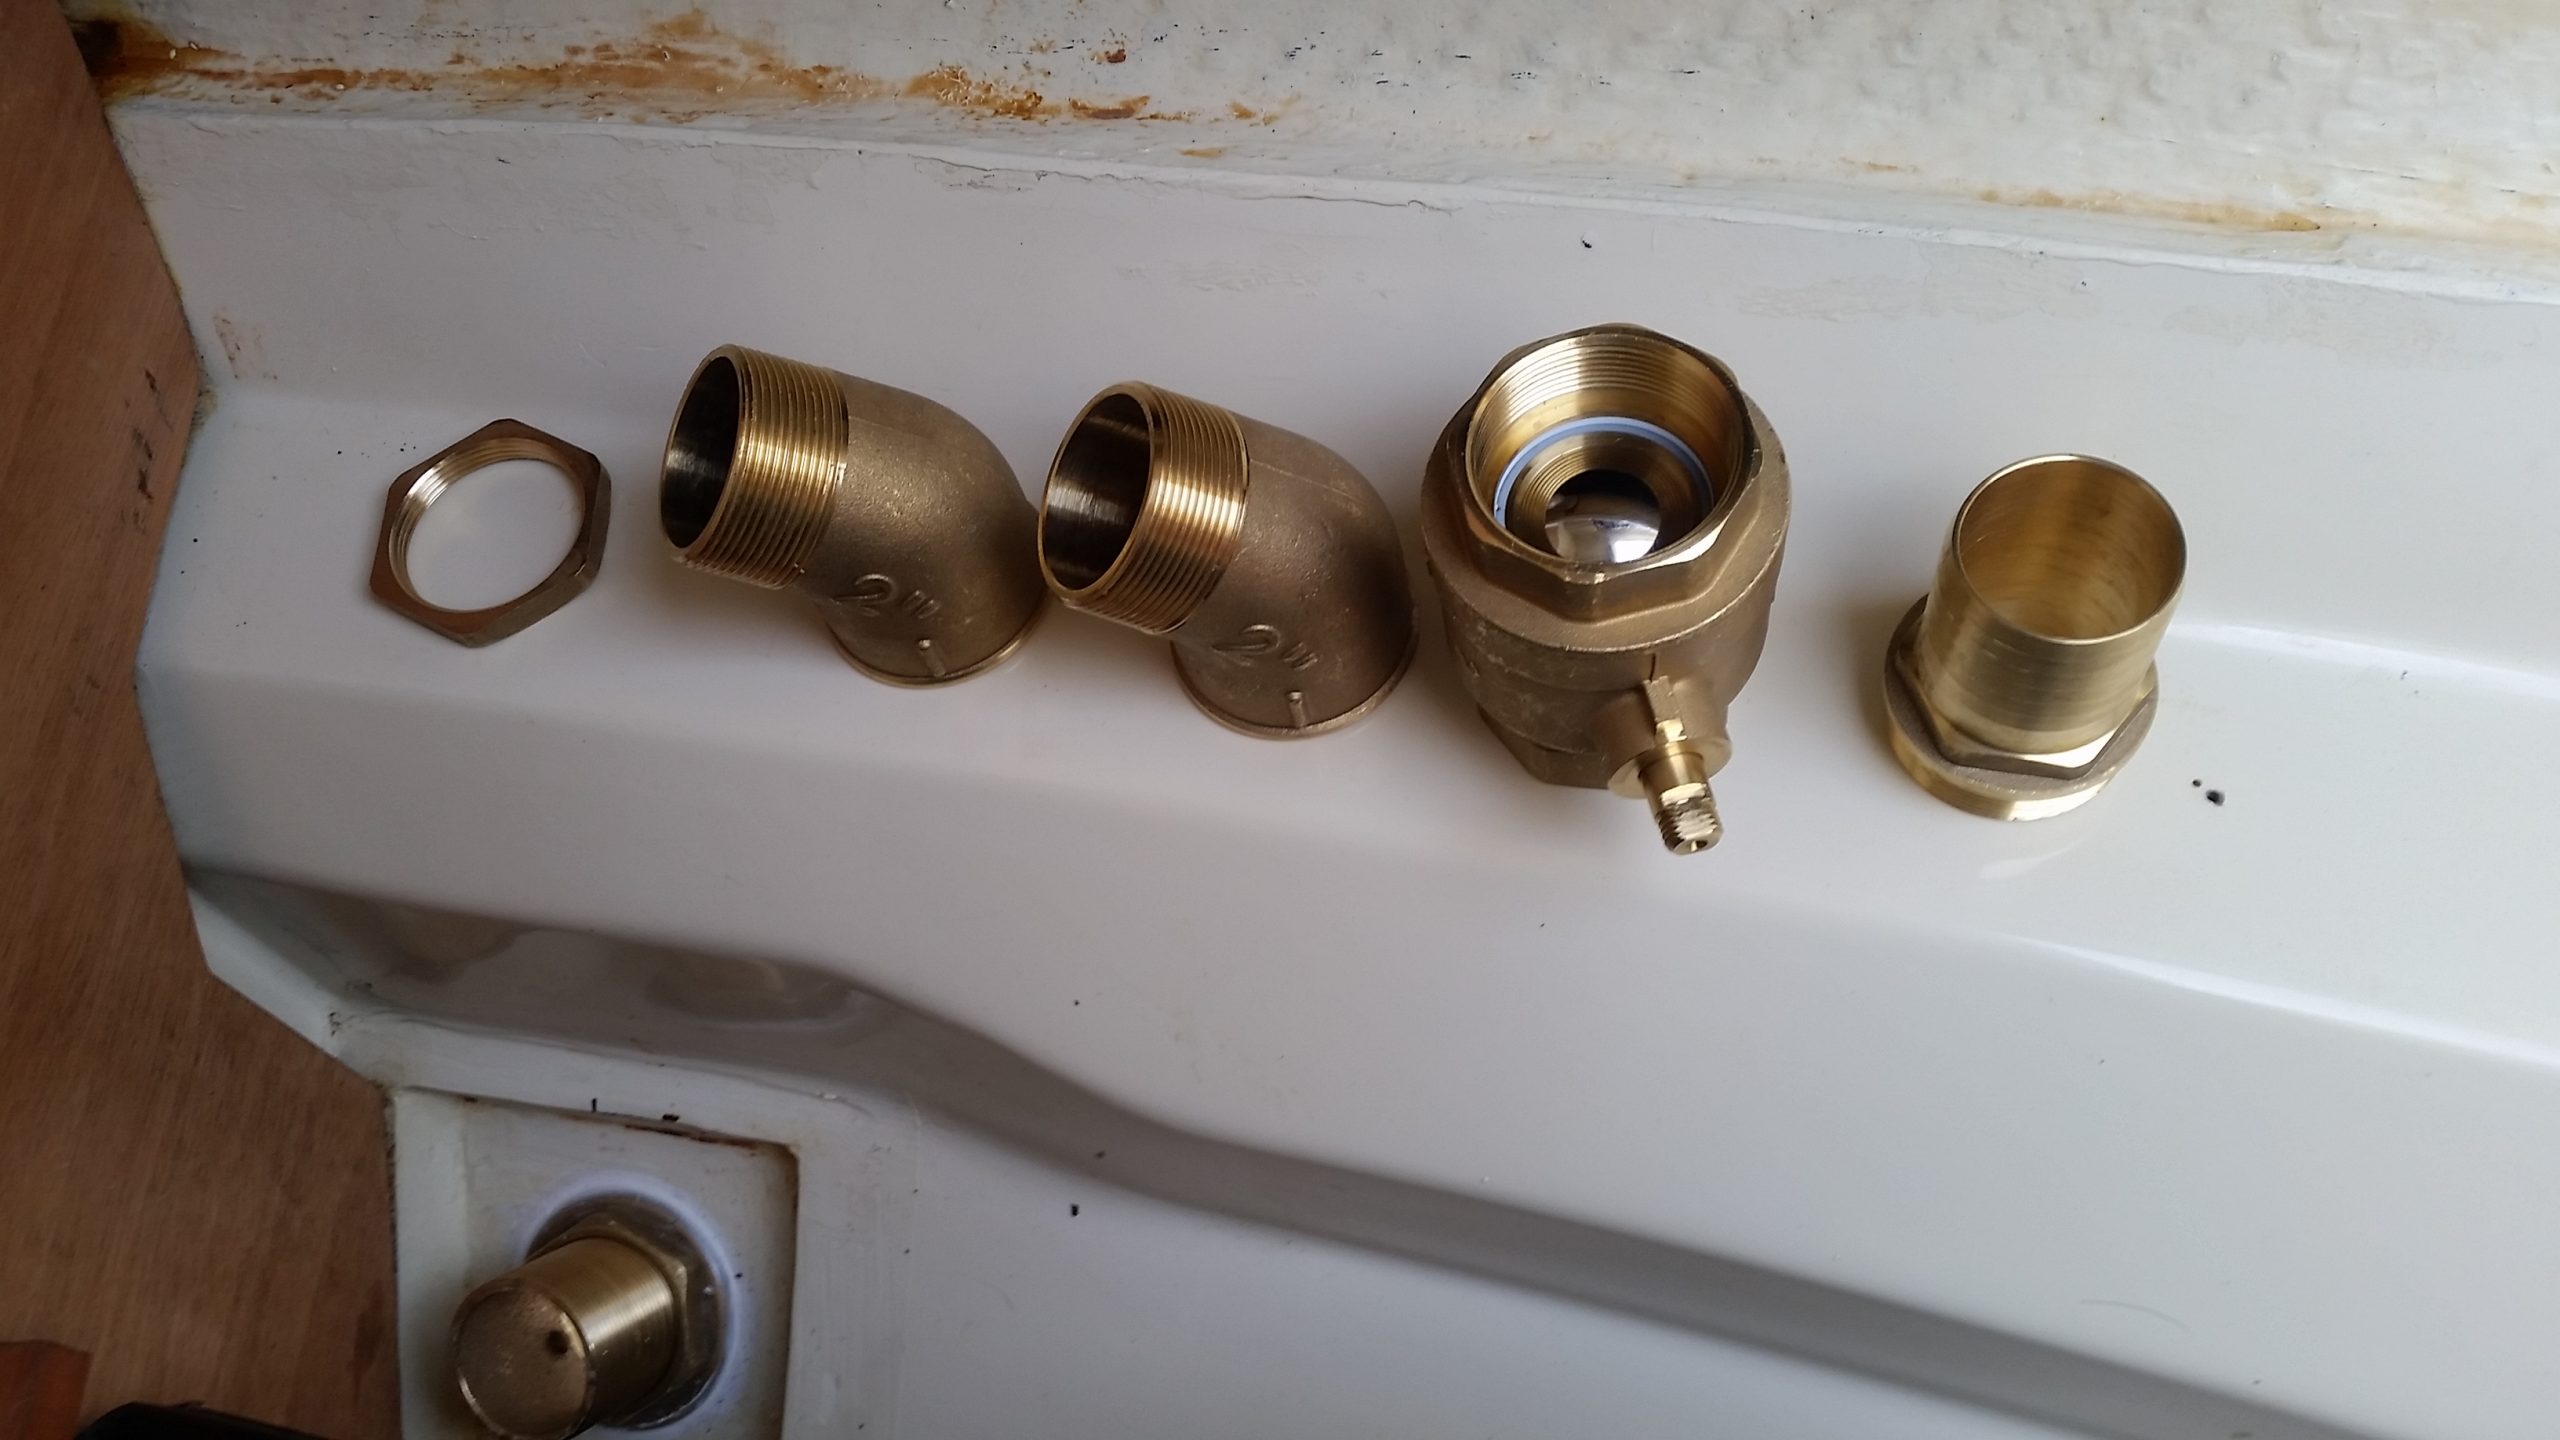
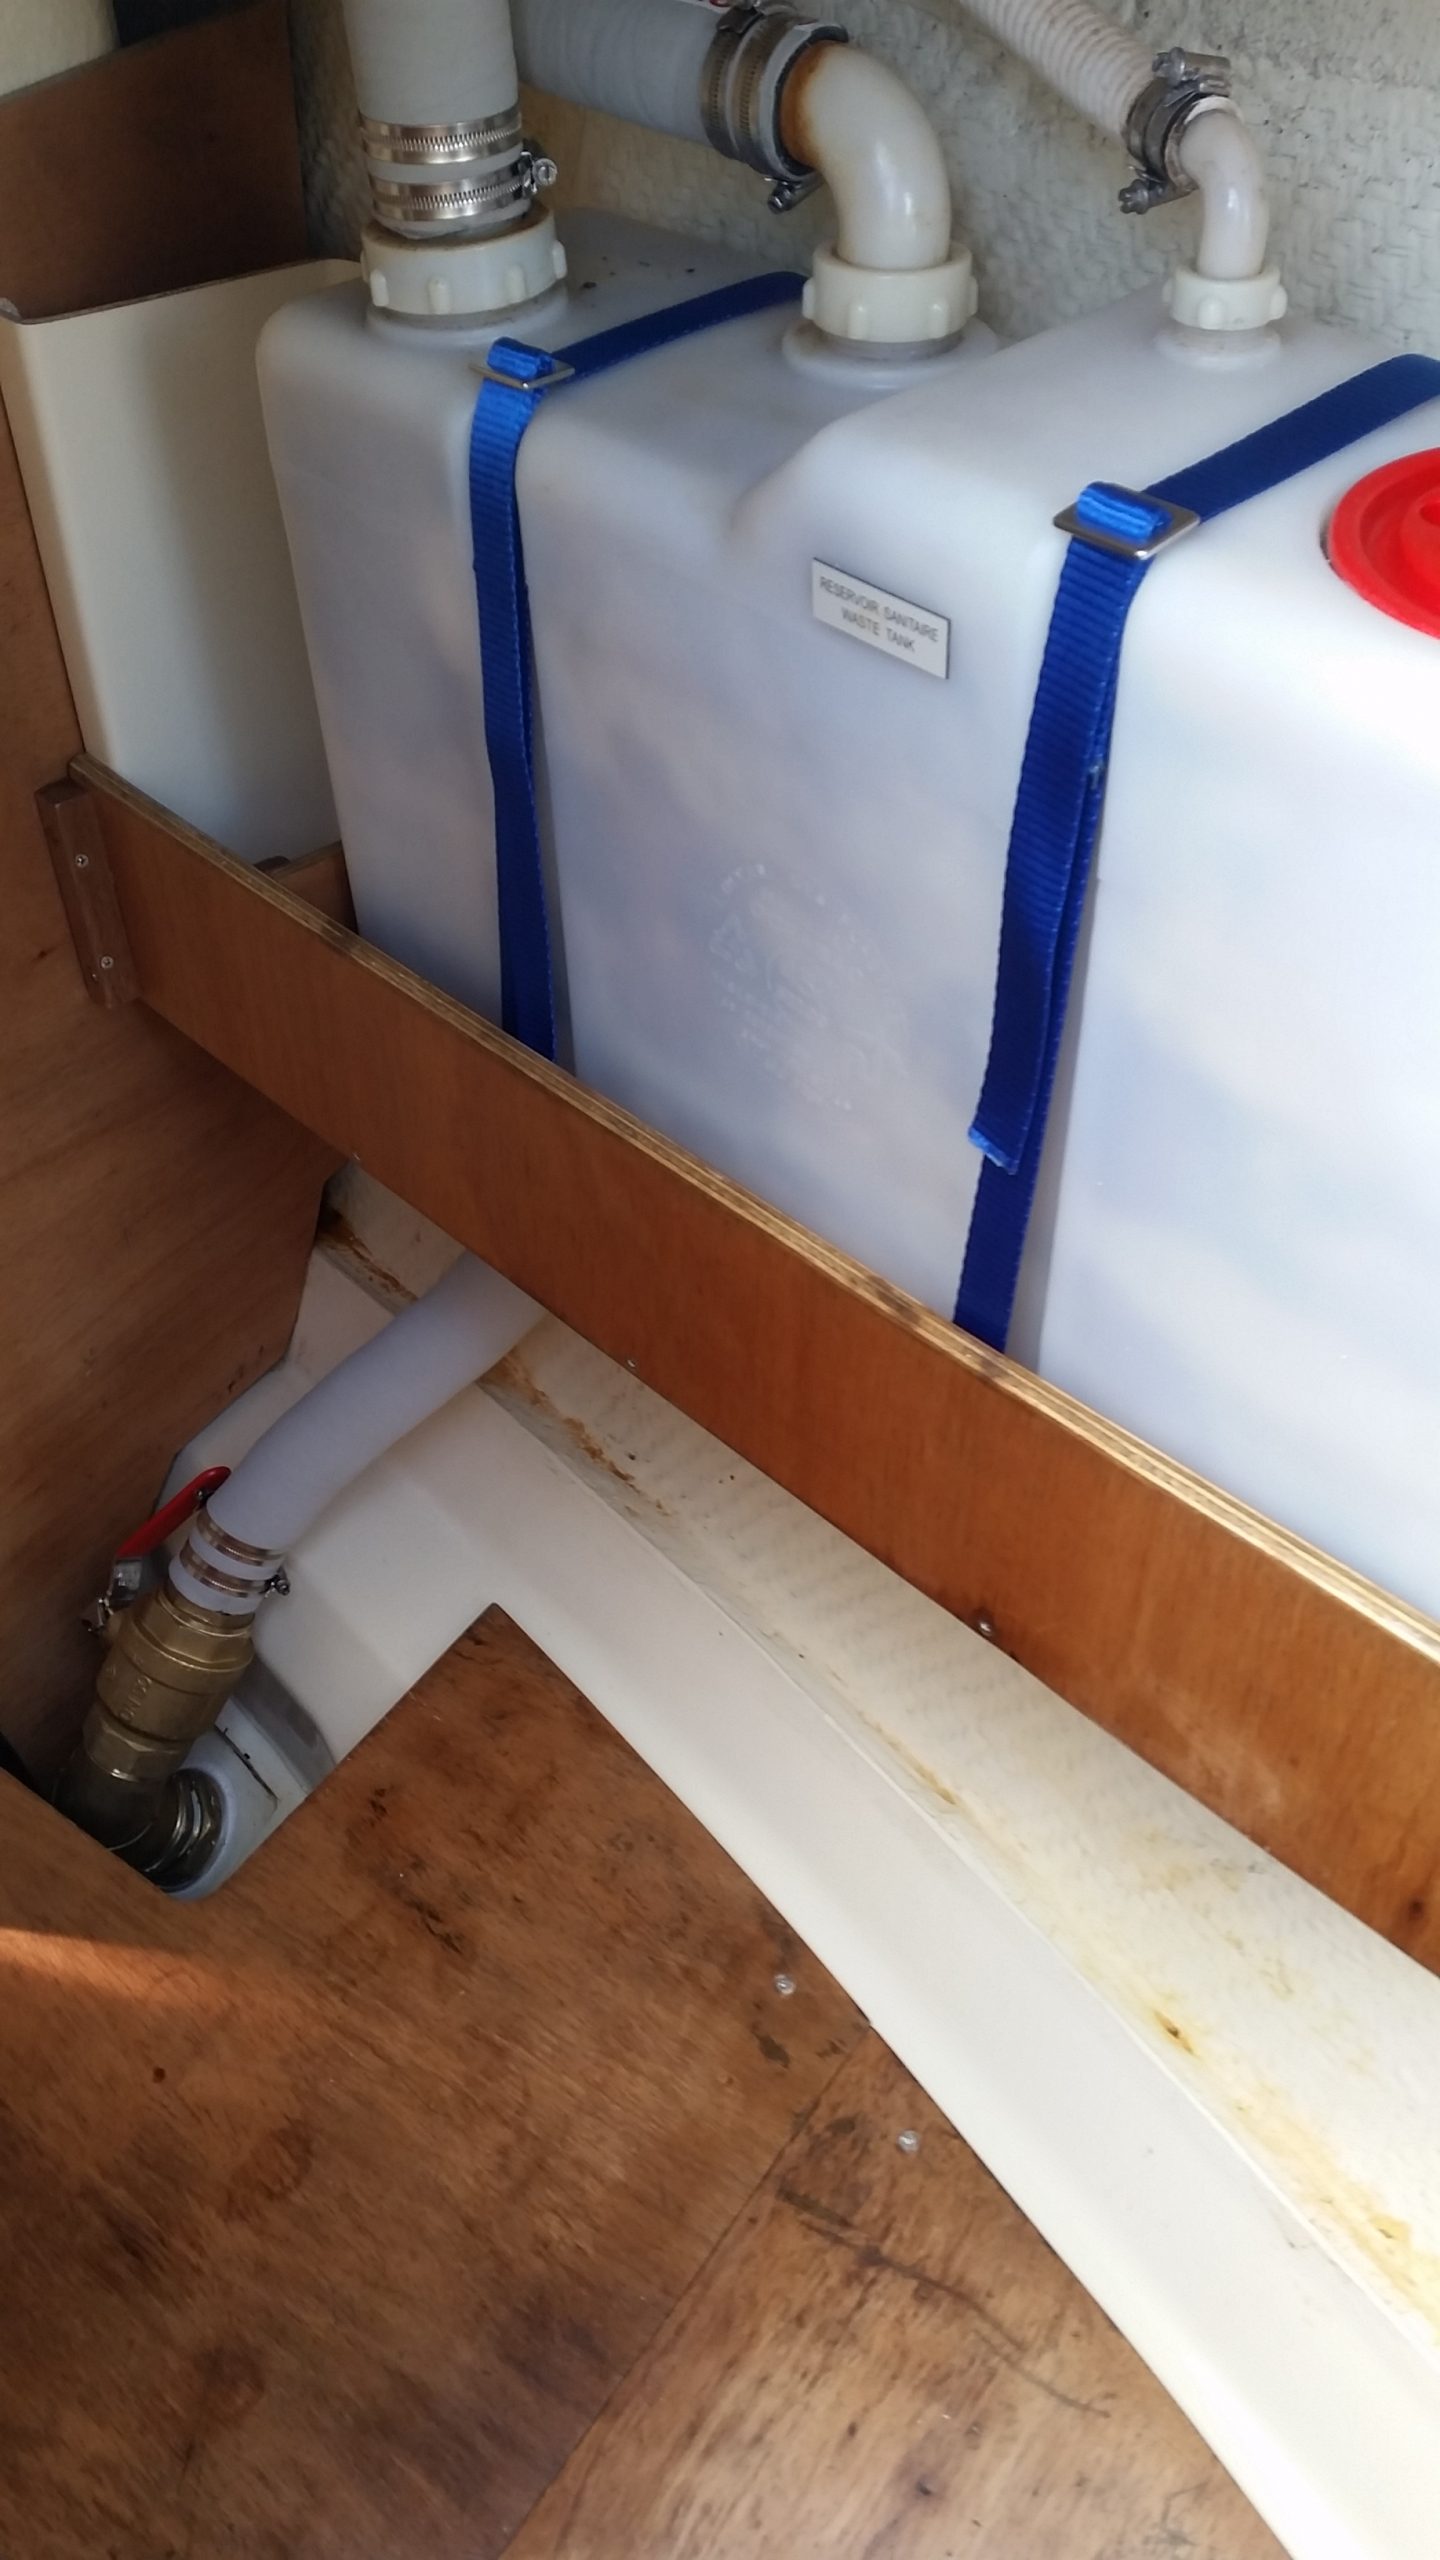
We are replacing the entire holding tank discharge seacock assembly with new DZR fittings.
Jan 29, 2021
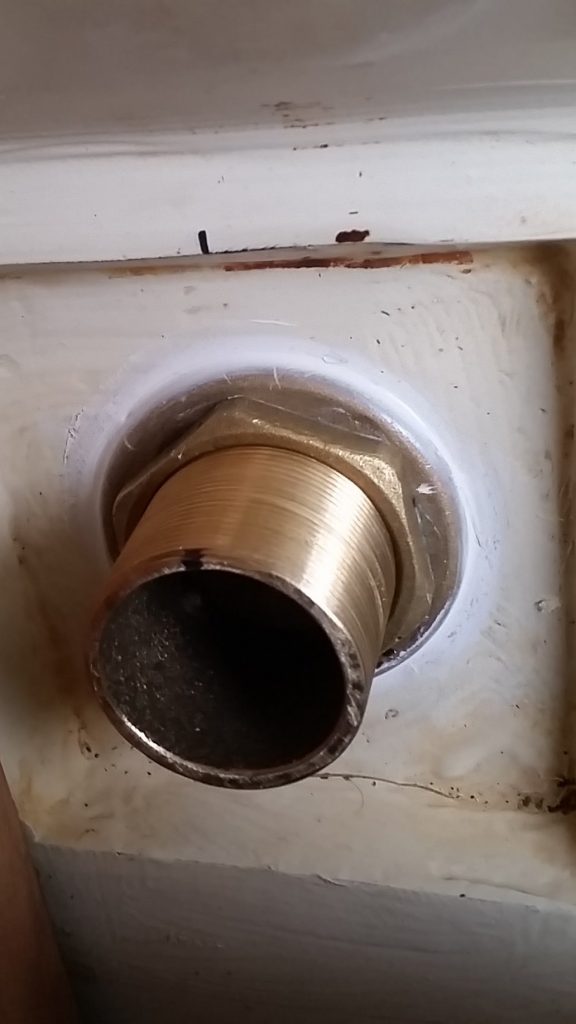
I ground off the old skin fitting from the outside using a cordless angle grinder – there was no way any of the old seacock was going to come apart!
Once the old brass was all ground away, the old seacock lifted out easily. I cleaned all the old sealant from around the hole with multi solve.
Next – and this is important, I dry assembled the new brassware. It was at this point that I discovered I had missed an elbow joint when I made my original order! The assembly has to wiggle past Molia’s fuel tank. ASAP Supplies to the rescue again! – I had a second elbow in 24 hours – top job.
Feb 2, 2021
Attached the new skin fitting today – leaving it to dry before doing anything else.
Feb 6, 2021
Once I had all the parts, I put them together one at a time with the Loctite 572 in the shape that I had practised during the dry assembly.
Feb 20, 2021
I did also take the opportunity, while the locker woodwork was removed, to give it all a new coat of varnish back at the workshop.
Feb 25, 2021
With the new seacock assembled, the next step was to fit the new hoses to the top and bottom of the holding tank. This is not an easy job! The 2 inch hose is very stiff and fits tightly between the deck, tank and the new seacock.
I replaced the old webbing strap (which had rust stains) and its plastic buckles and bridges with stainless steel.
The new fittings are from GS Products, and are really smart – although in the end you cannot see the bridges as they end up behind the tank and also behind the plywood front panel.
Lastly, a shout out to Chris of the ‘Sailing Britaly’ blog on YouTube for his excellent recommendations and guidance on this task. This video teaches you everything I have mentioned above, and includes lots more good advice as well.
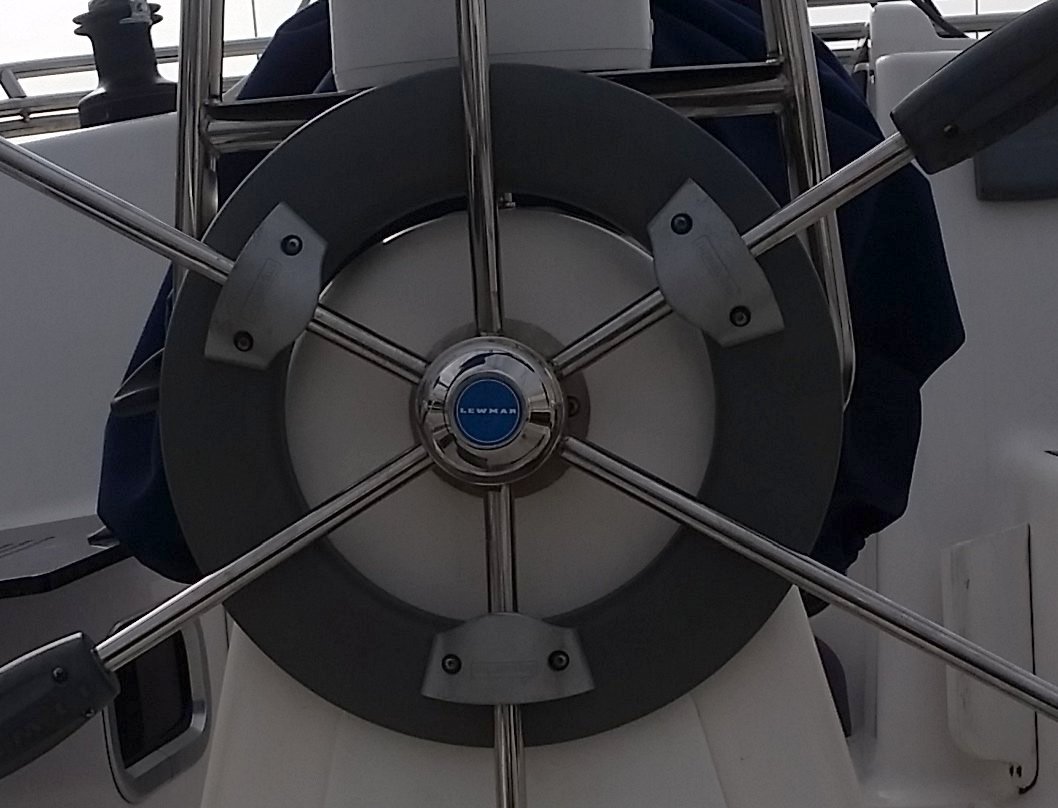
We have a Lewmar folding wheel – this is a special edition manufactured for Dufour of the Lewmar 40inch folding wheel. This is great invention for a smaller yacht like Molia – it means we can get around the helm easily when moored.
Removing the wheel is not that easy when it has been in place for several years. However, the procedure described in this YouTube video works well.
Remove the centre cover and remove the nut and washer from the spindle.
Remove the autopilot clamps from the wheel spokes.
Put the nut back on the spindle (without the washer) so it is sticking out just past the threads.
Exert some even pressure behind the wheel with your arms and leg.
Hit the nut a few sharp taps with a hammer, and the wheel should pop out against the nut.
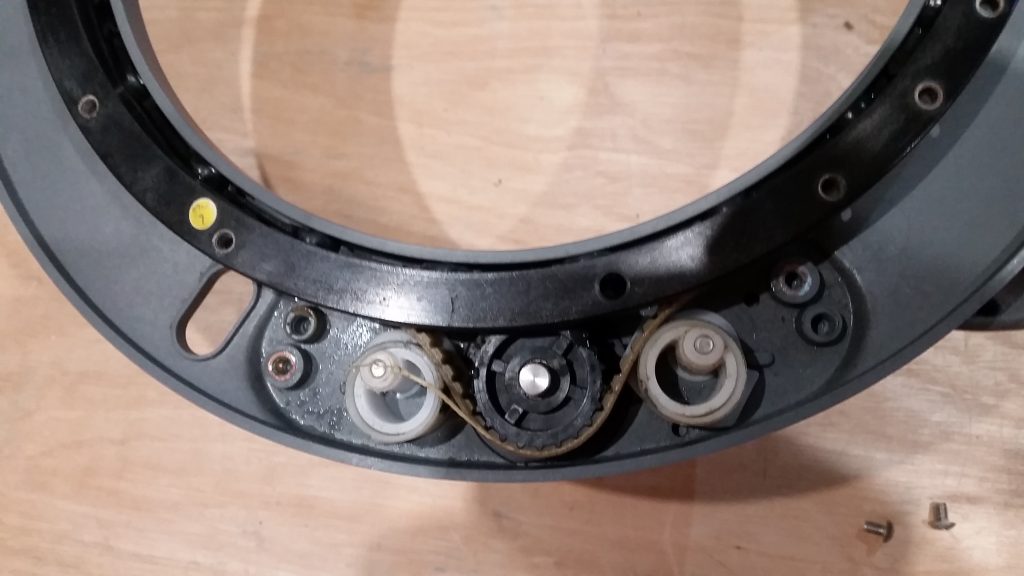
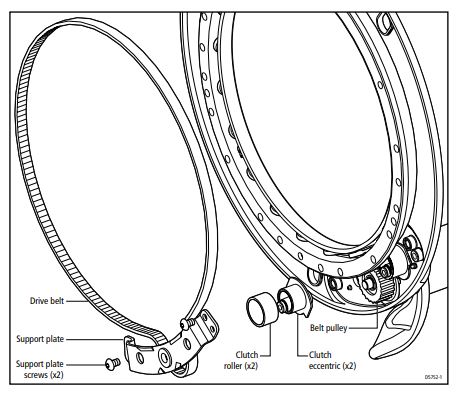
We have a Raymarine ST4000+ (aka Mark 2) autopilot on Molia. This was not working reliably last season.
To get to the autopilot, I first had to remove the wheel. Once the wheel is off, the autopilot wheel drive unit unplugs.
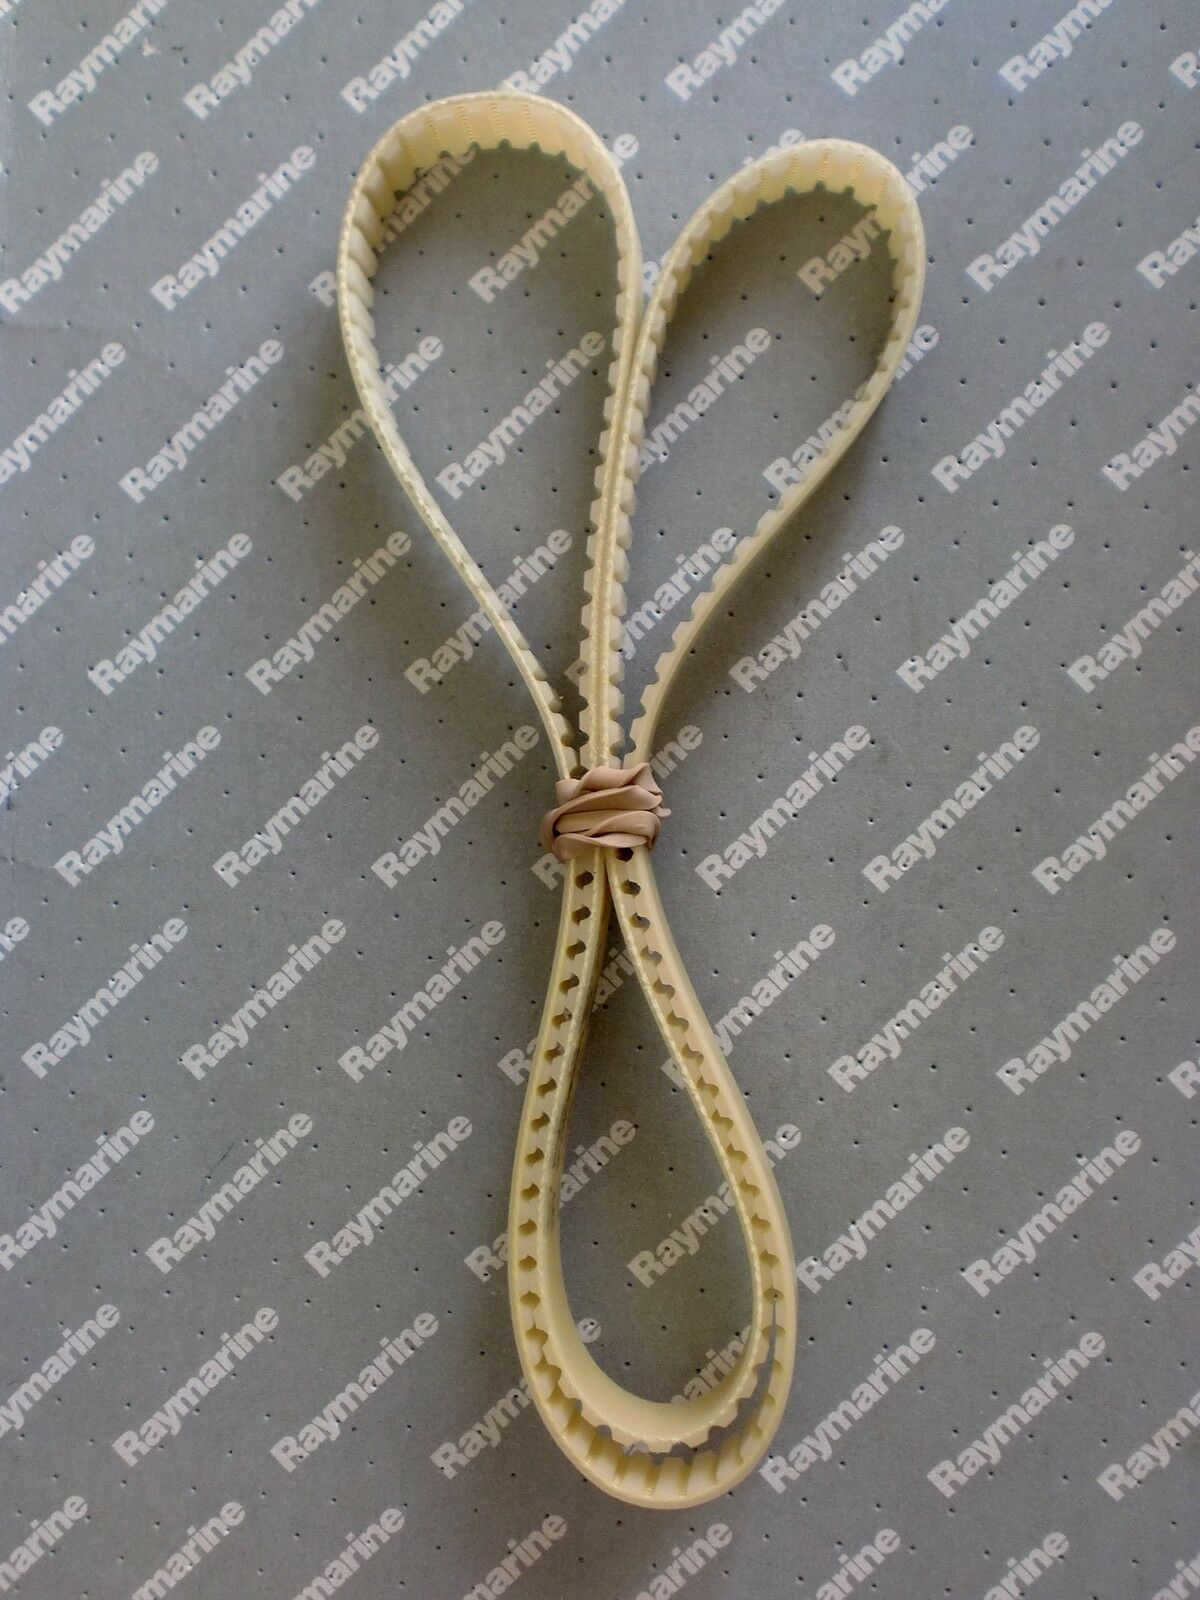
The instructions say to replace the drive belt if is damaged.
Having removed the support plate from over the clutch rollers (2 screws), I saw that our belt had a loose string, and there was lots of fluff in the drive! Time for a new belt…