
Preparing to cut the hole in the Scanpod front panel for the chartplotter. The plywood will keep the panel flat in the drill stand.
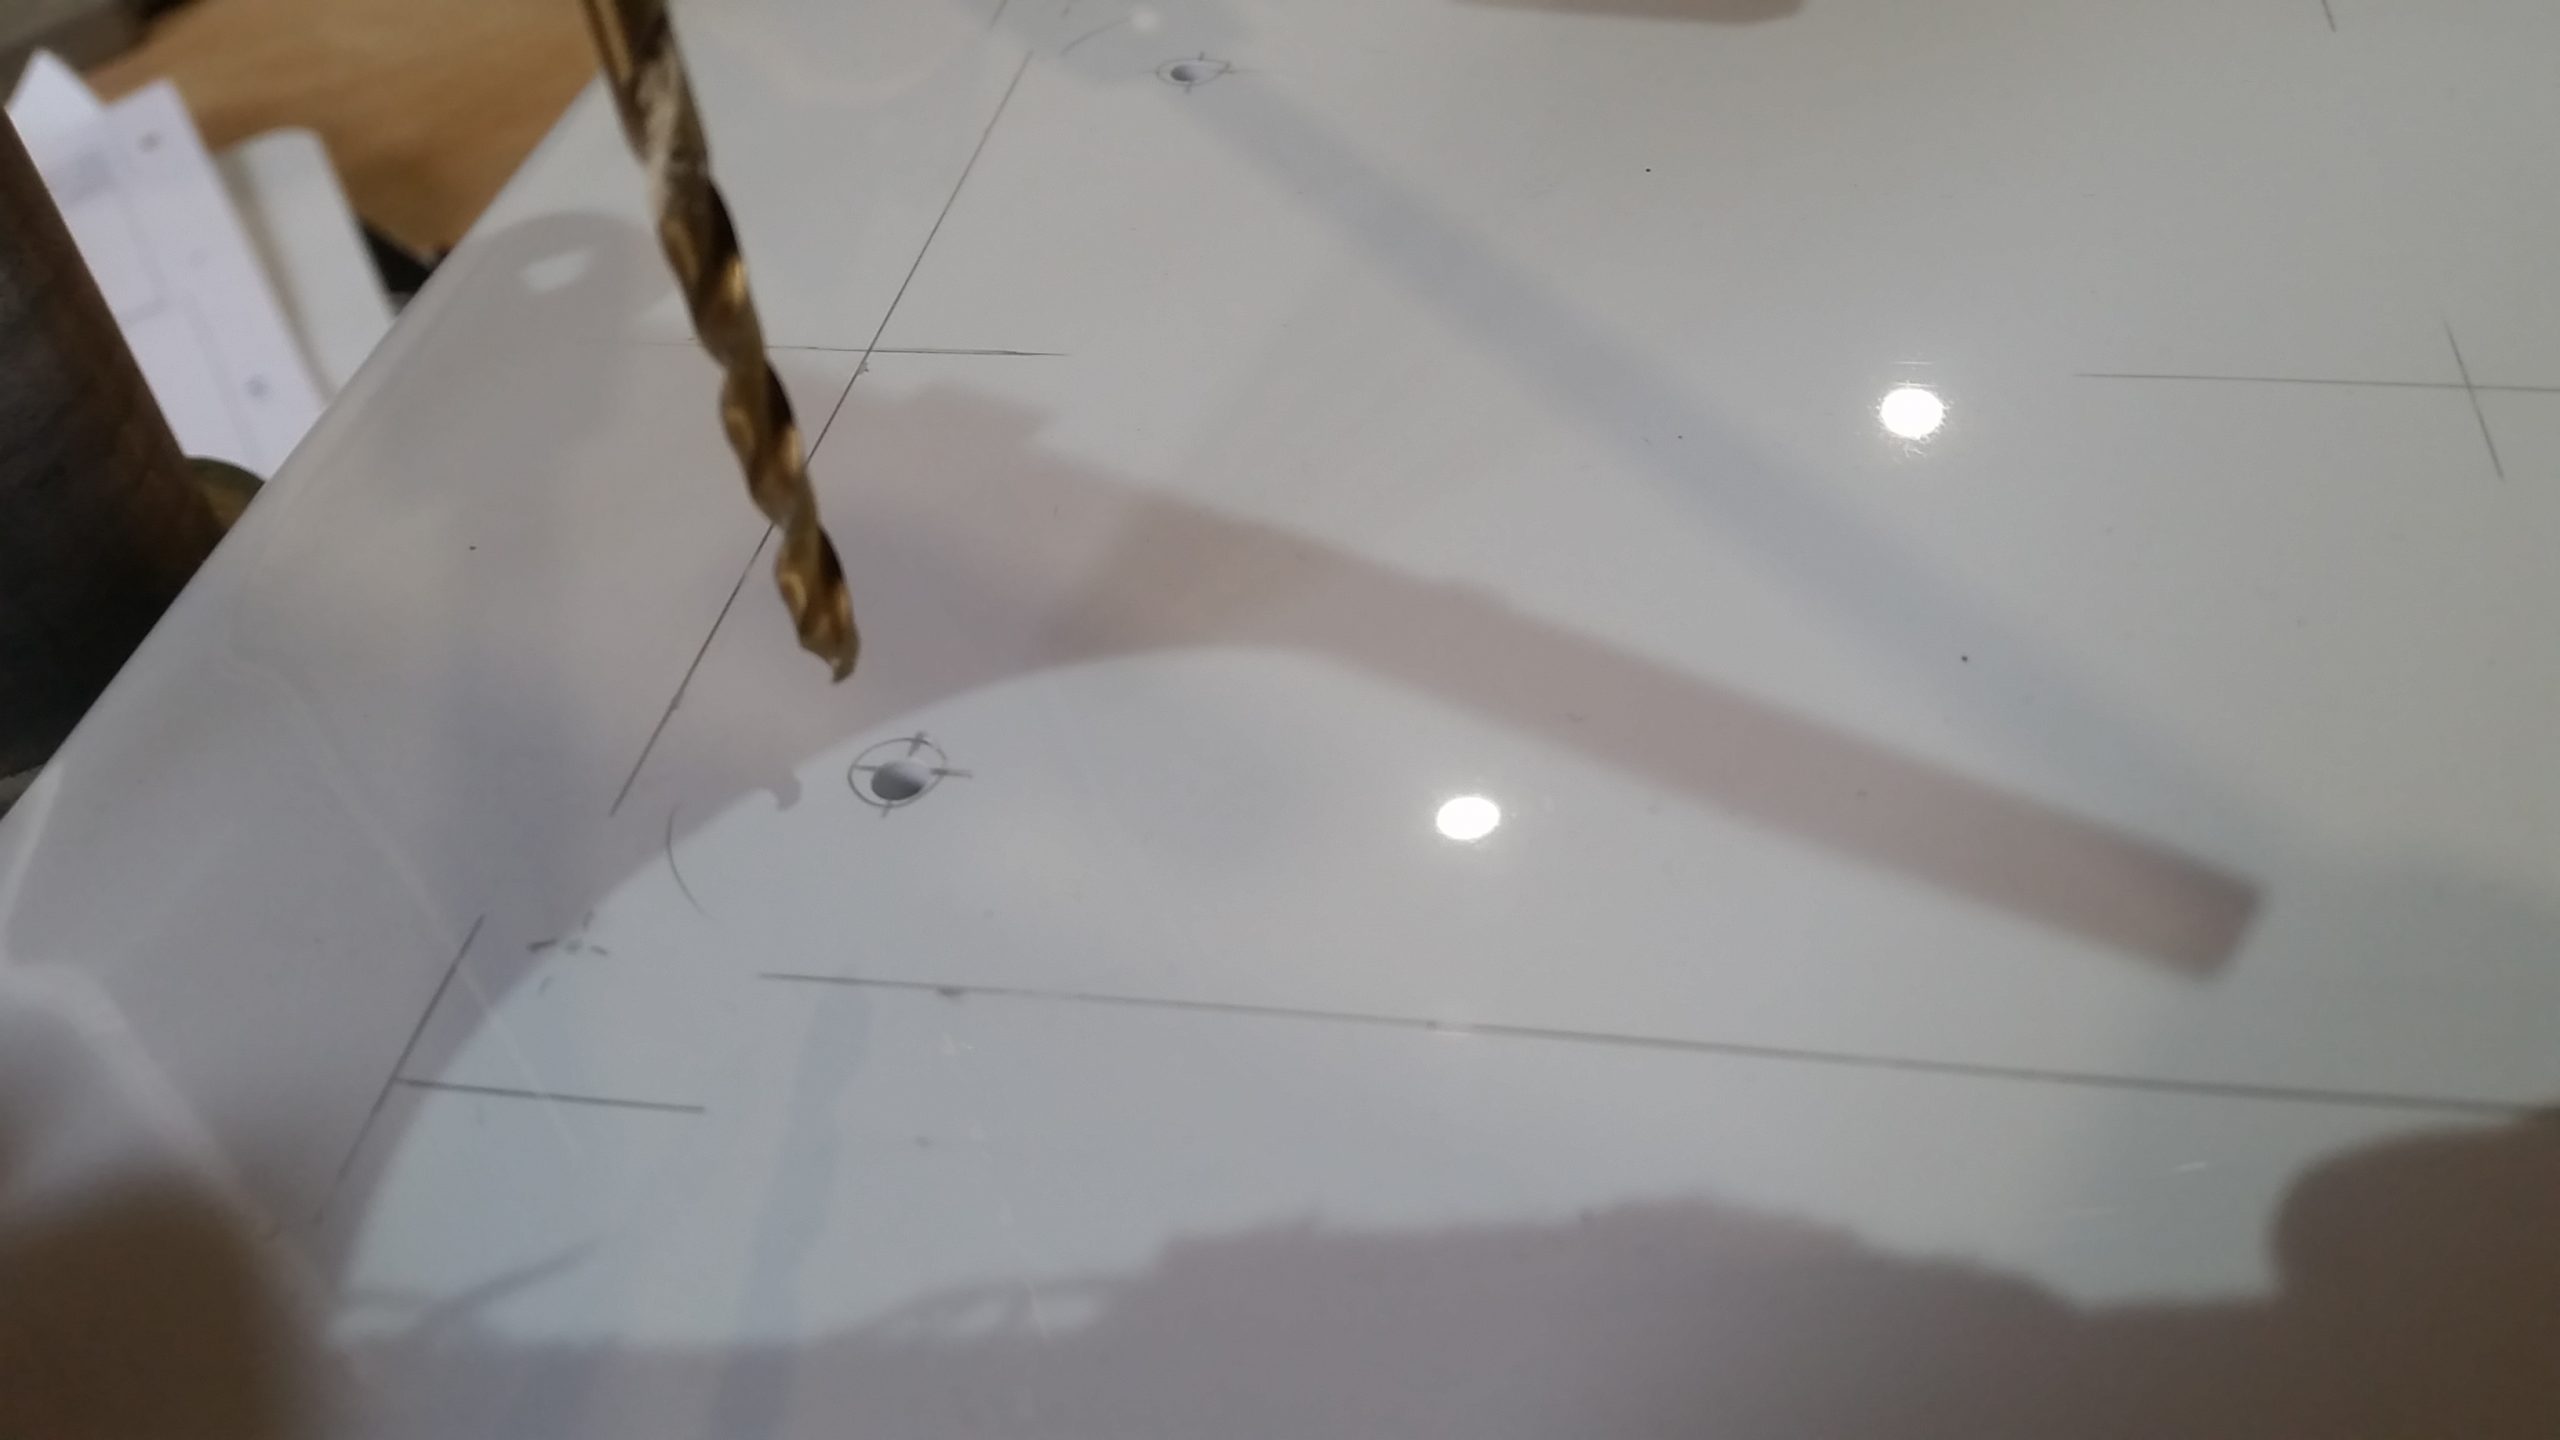
Cutting the corner radius – I still managed to miss the mark with this hole! (I was able to correct the centre later as this was the smallest drill bit for this hole.)
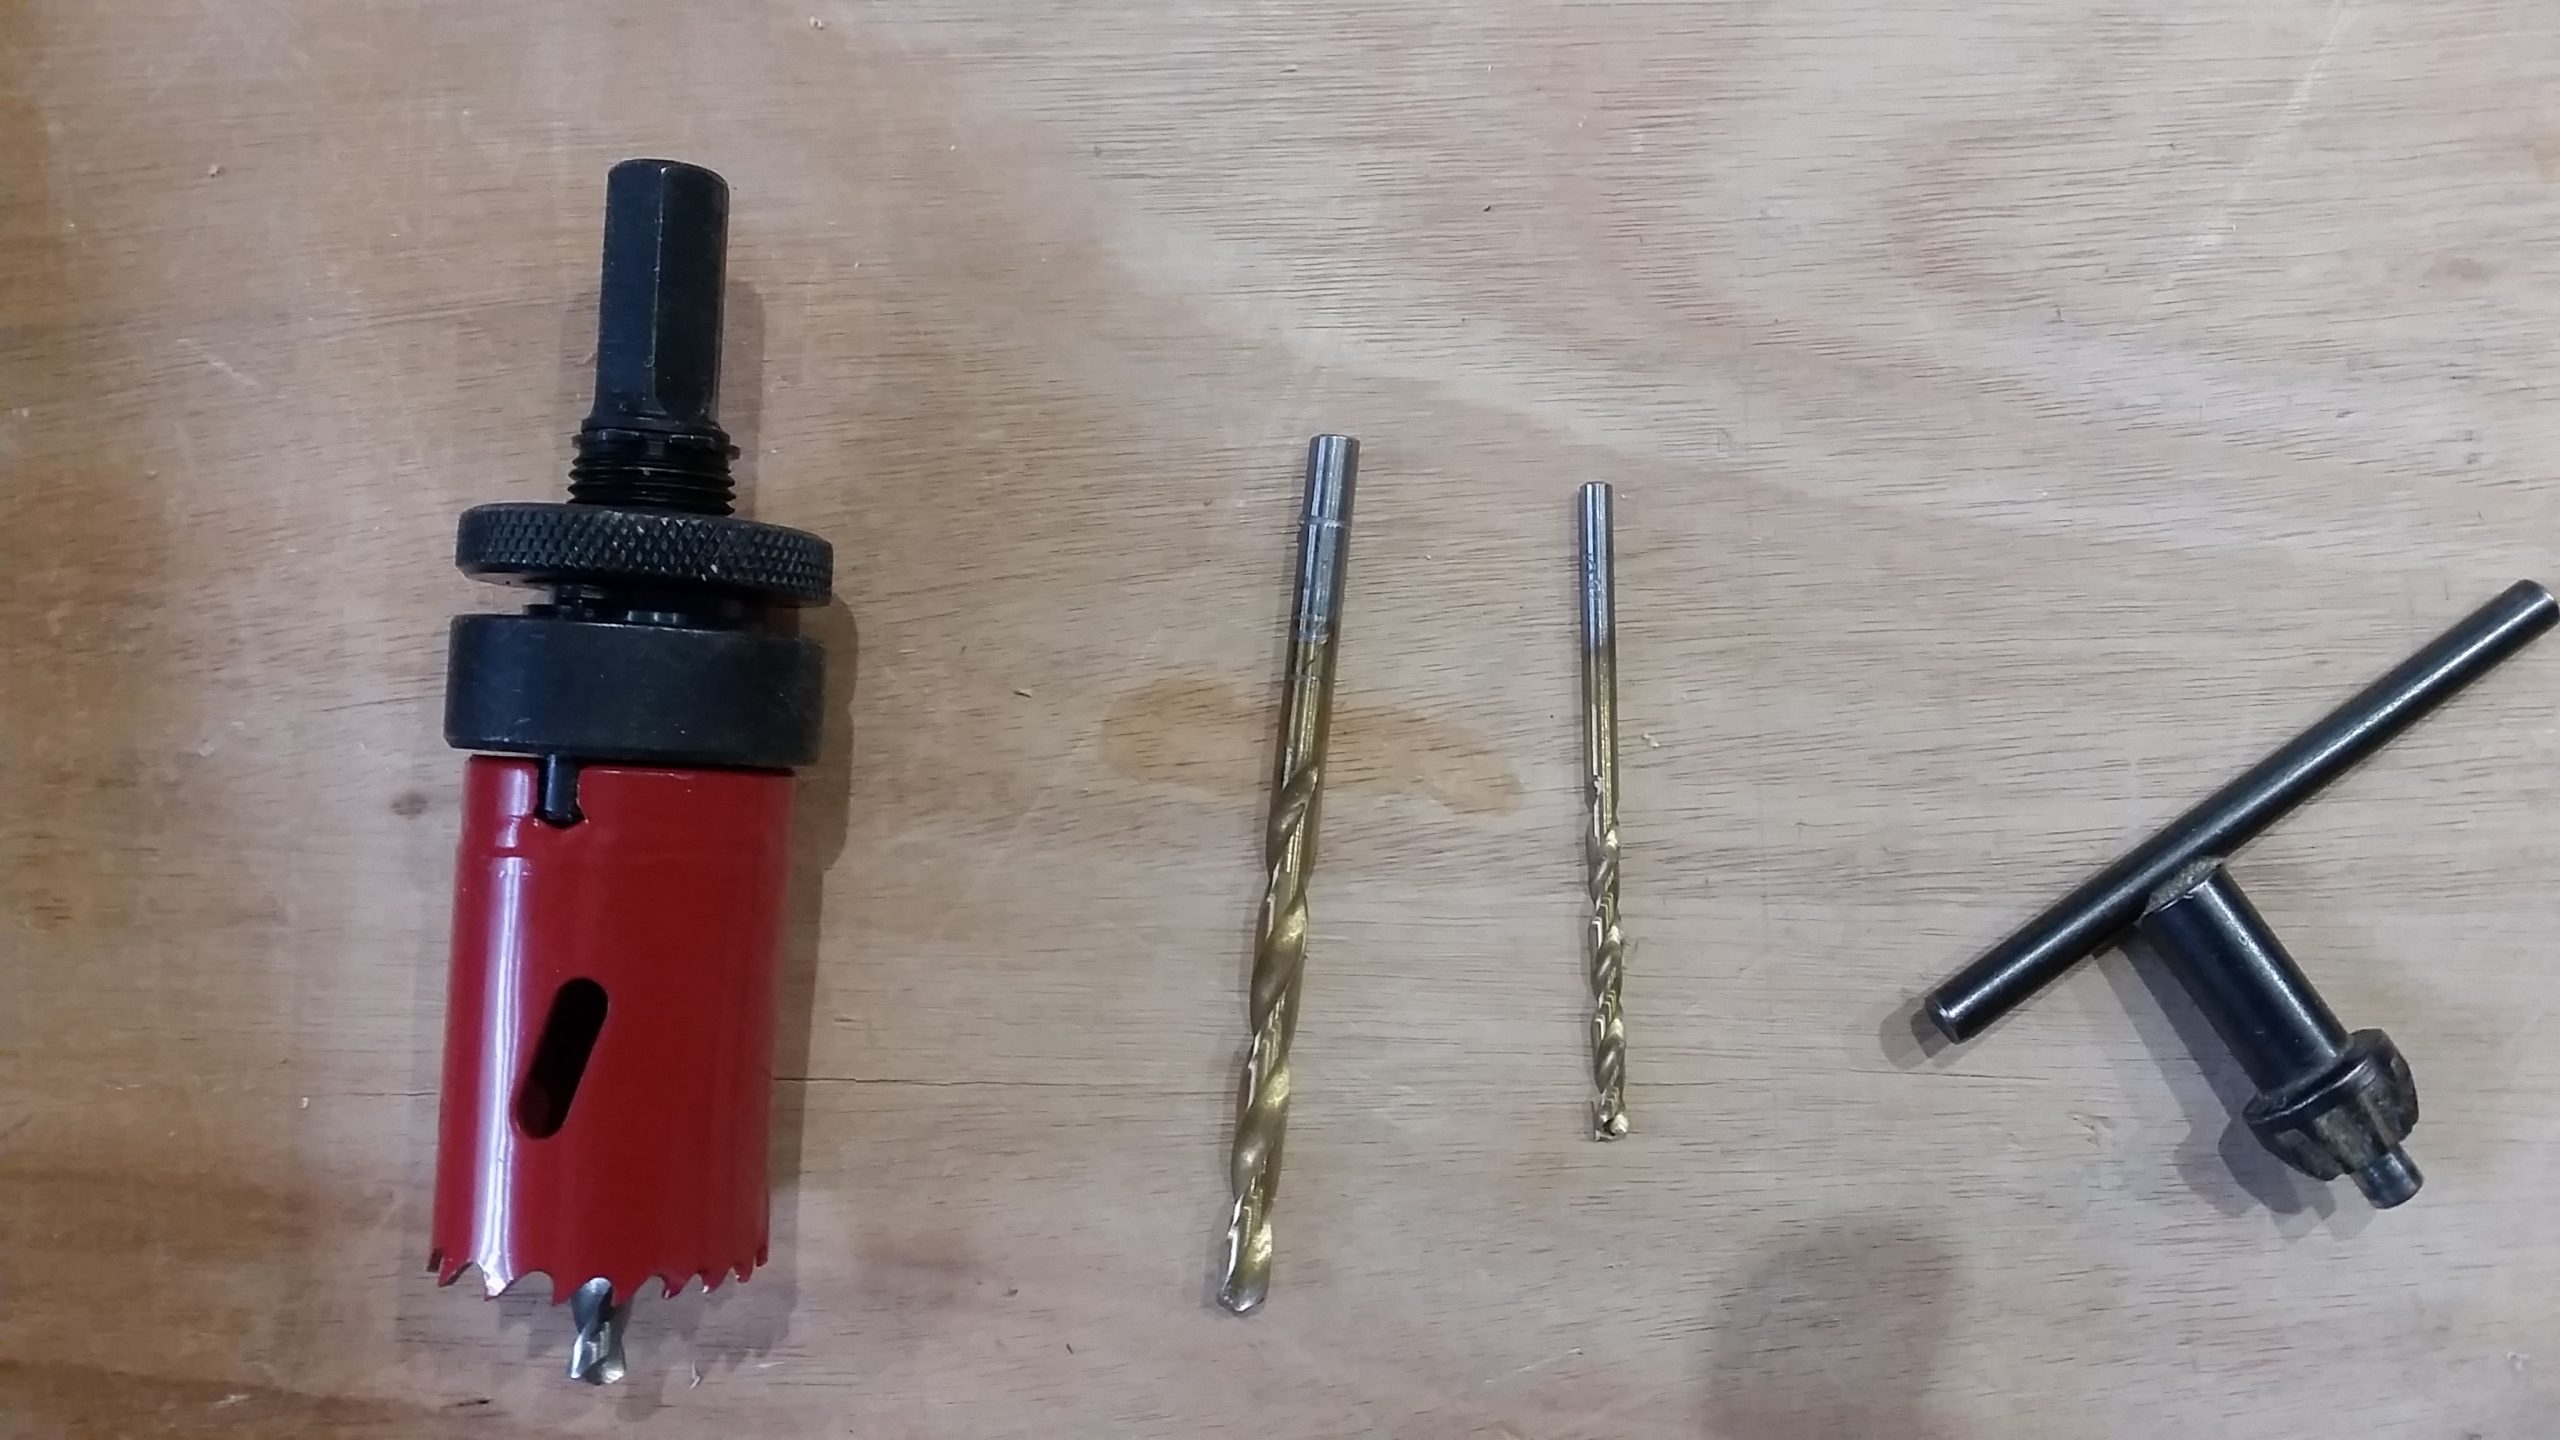
Stepping up the drill bit size to get close to centre bit of the hole saw.
You have to go really slowly with the hole saw – or the plastic just melts!

Cutting done and cleaned up a bit. I took the trouble to smooth off the cut surface with 180-600-1200 grits wet and dry. It is all ready to bolt in the chartplotter.

Step complete! The corner bolts have little rubber covers to fit next, to hide the screws.
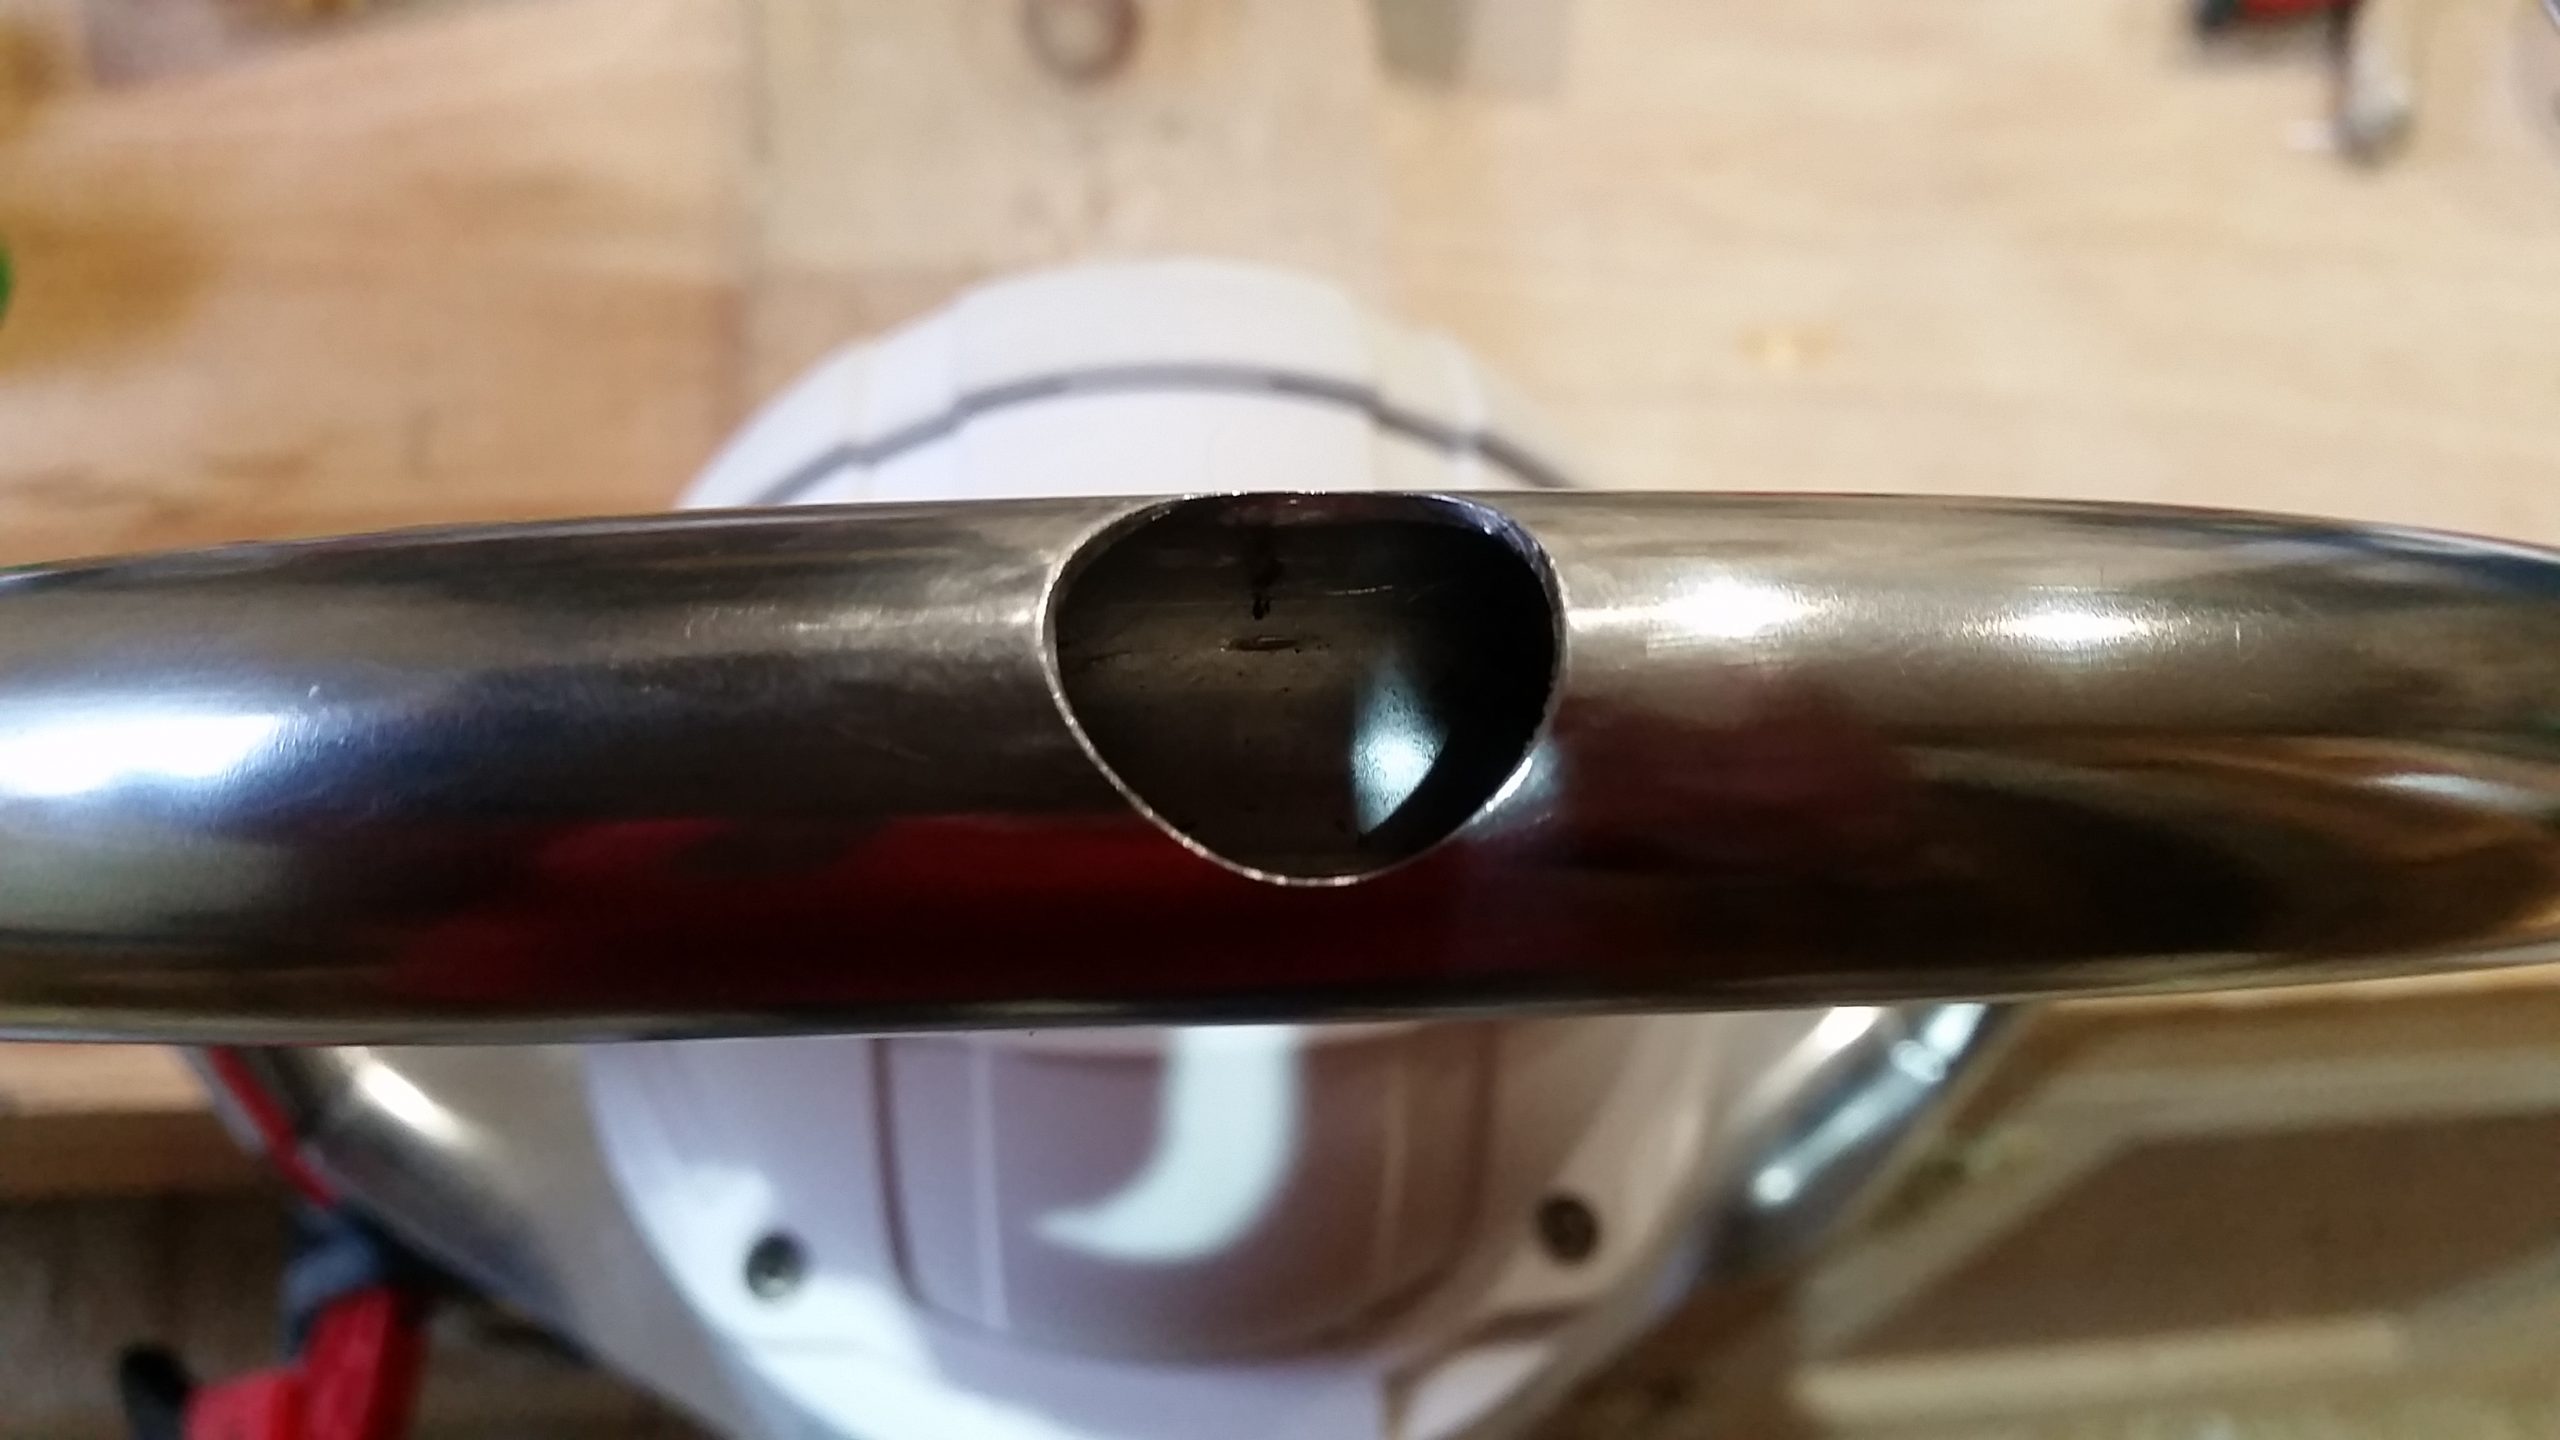
I took the entire wheel guard rail off Molia (including the compass) so I could cut this crucial hole in the stainless steel in the workshop. Elongated the hole slightly (left) so we can get a connector plug in.
Previous work: New Chartplotter
Continued as: Chartplotter Fitted