We are replacing the entire holding tank discharge seacock assembly with new DZR fittings.


Jan 29, 2021
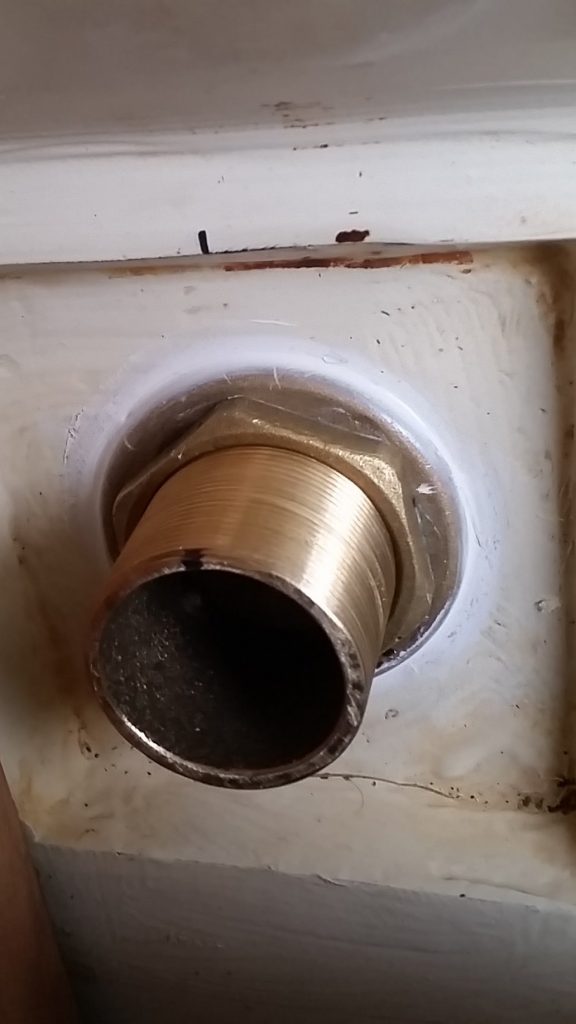
I ground off the old skin fitting from the outside using a cordless angle grinder – there was no way any of the old seacock was going to come apart!
Once the old brass was all ground away, the old seacock lifted out easily. I cleaned all the old sealant from around the hole with multi solve.
Next – and this is important, I dry assembled the new brassware. It was at this point that I discovered I had missed an elbow joint when I made my original order! The assembly has to wiggle past Molia’s fuel tank. ASAP Supplies to the rescue again! – I had a second elbow in 24 hours – top job.
Feb 2, 2021
Attached the new skin fitting today – leaving it to dry before doing anything else.
Feb 6, 2021
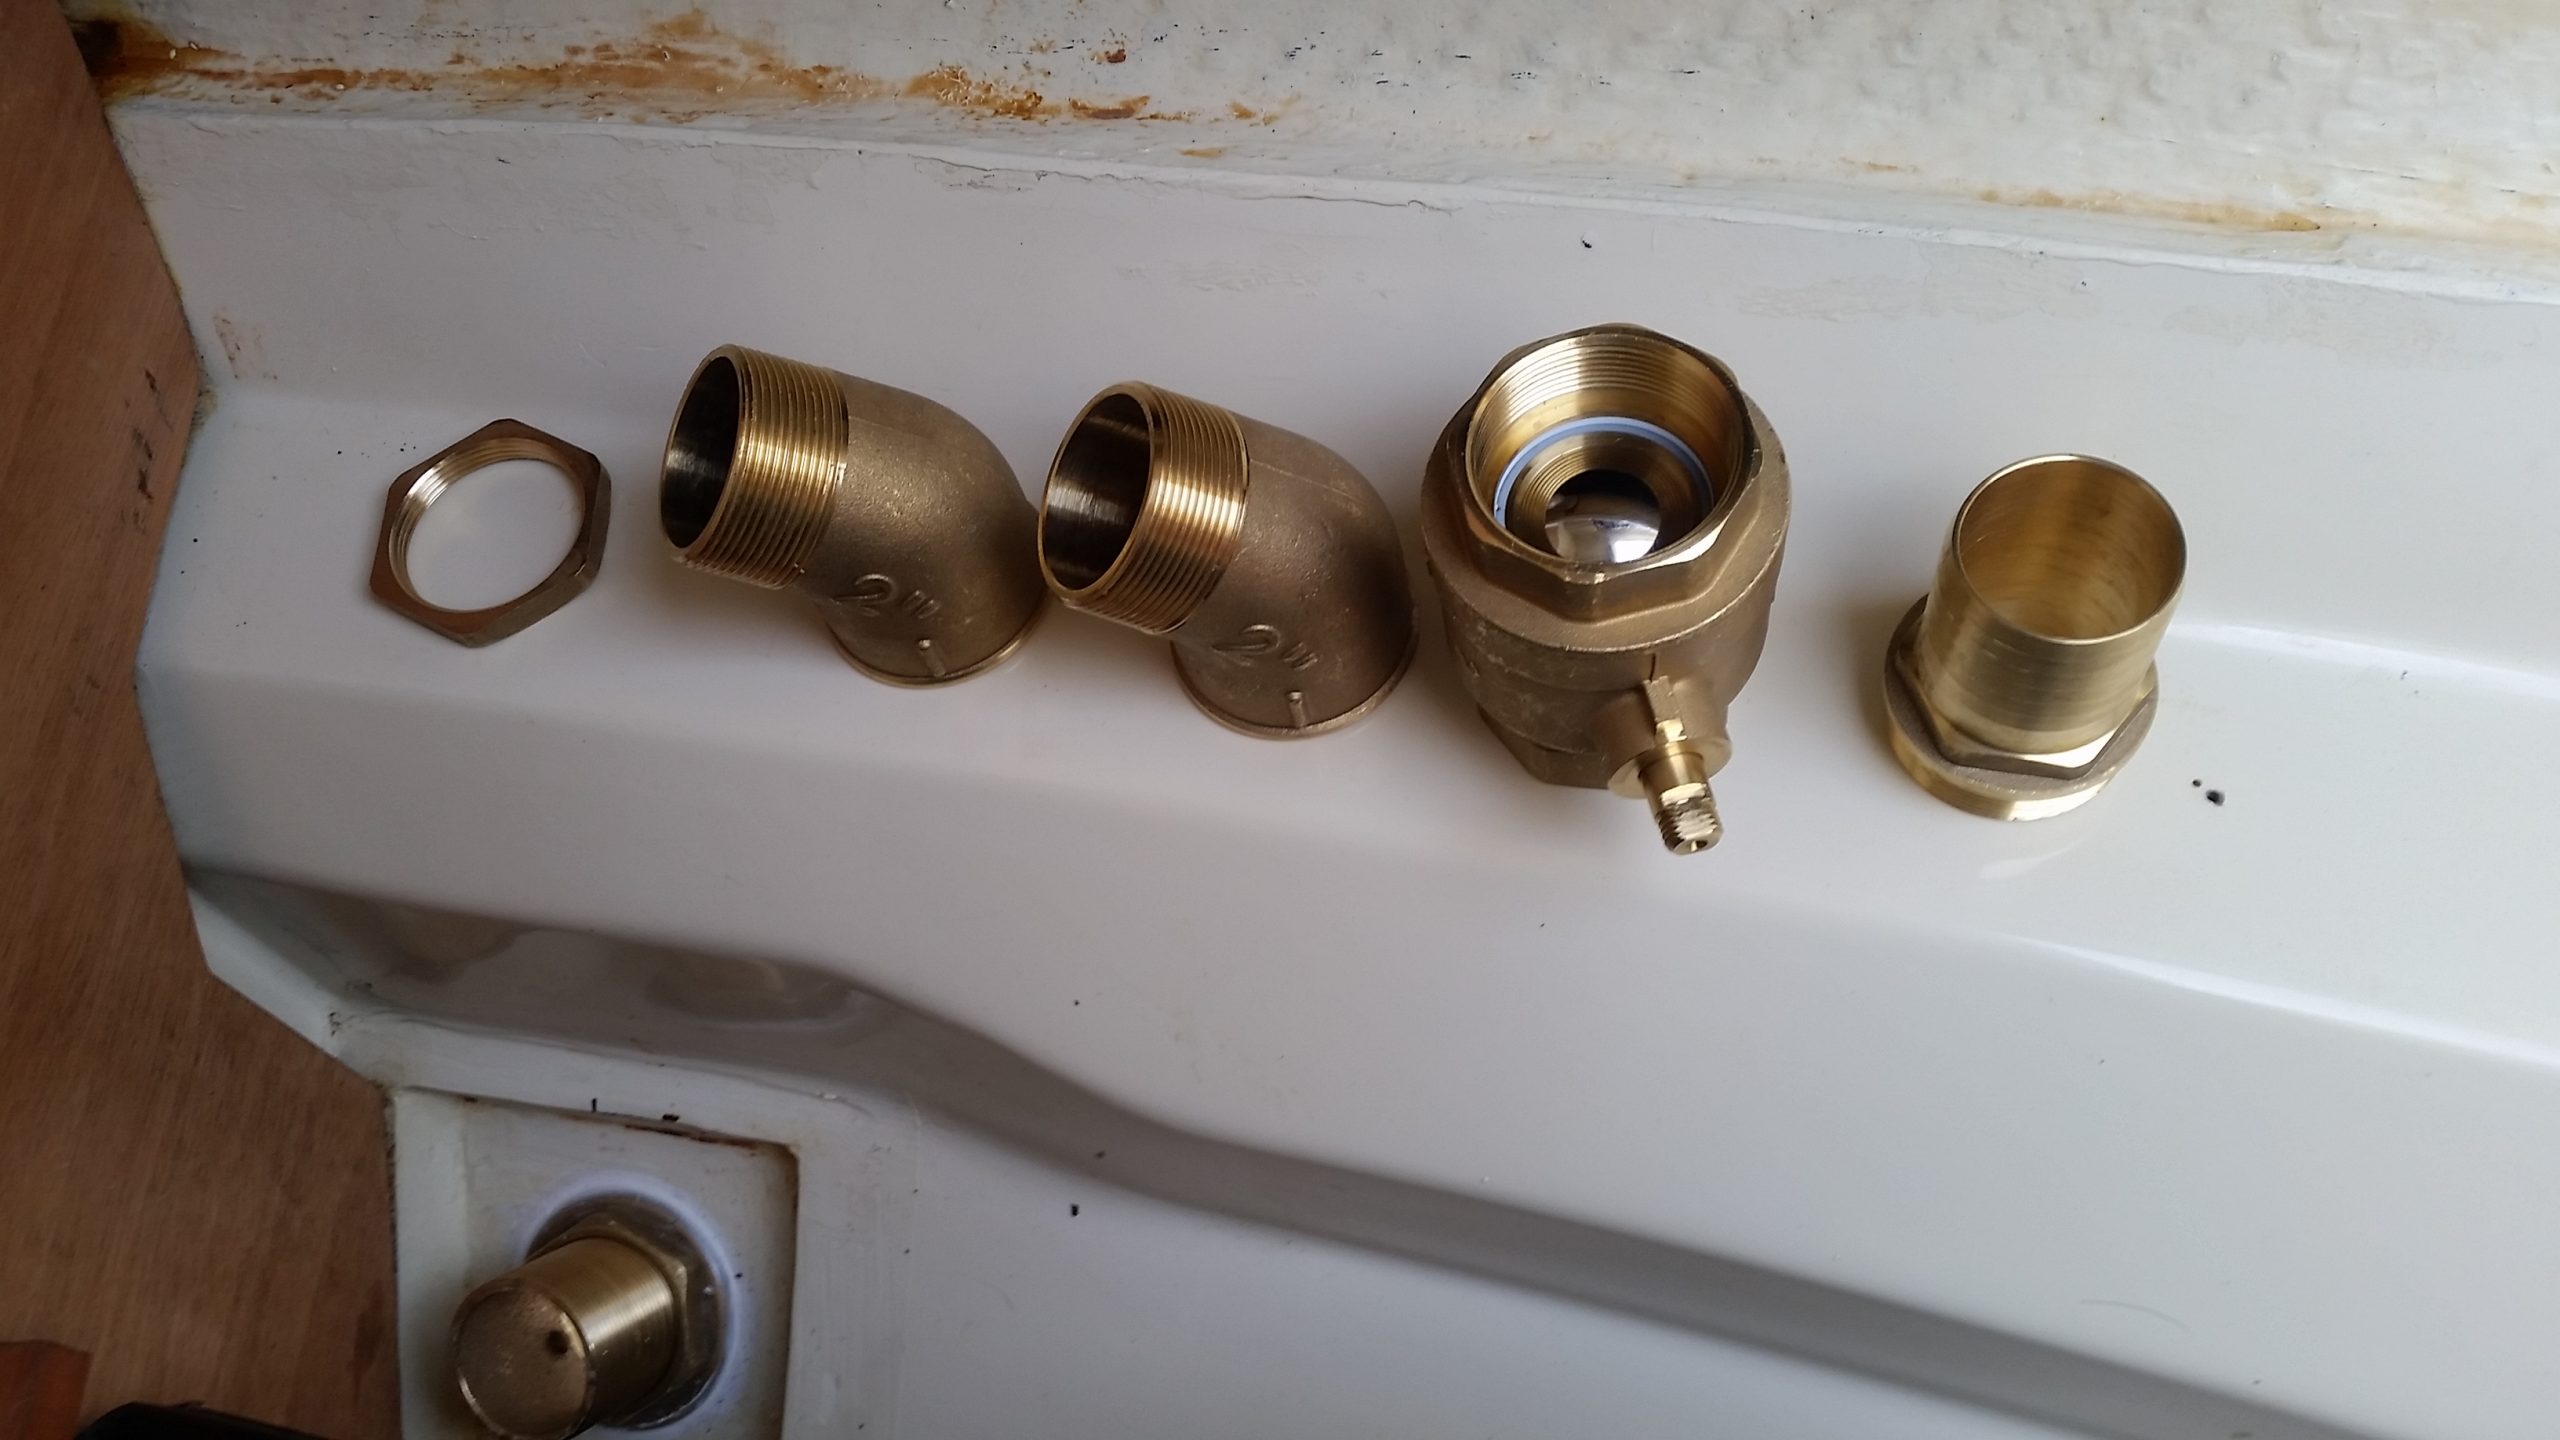
Once I had all the parts, I put them together one at a time with the Loctite 572 in the shape that I had practised during the dry assembly.
Feb 20, 2021
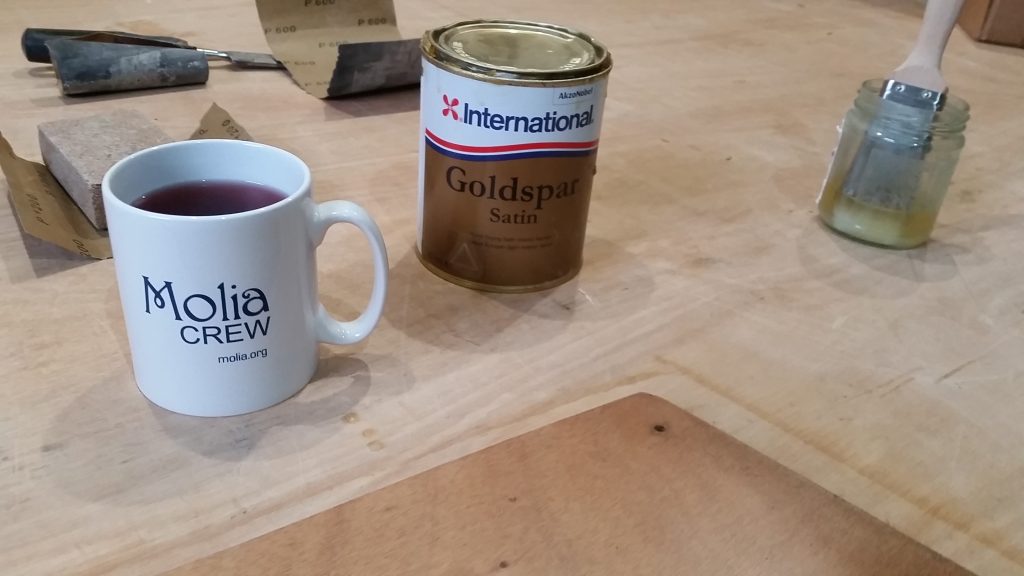
I did also take the opportunity, while the locker woodwork was removed, to give it all a new coat of varnish back at the workshop.
Feb 25, 2021
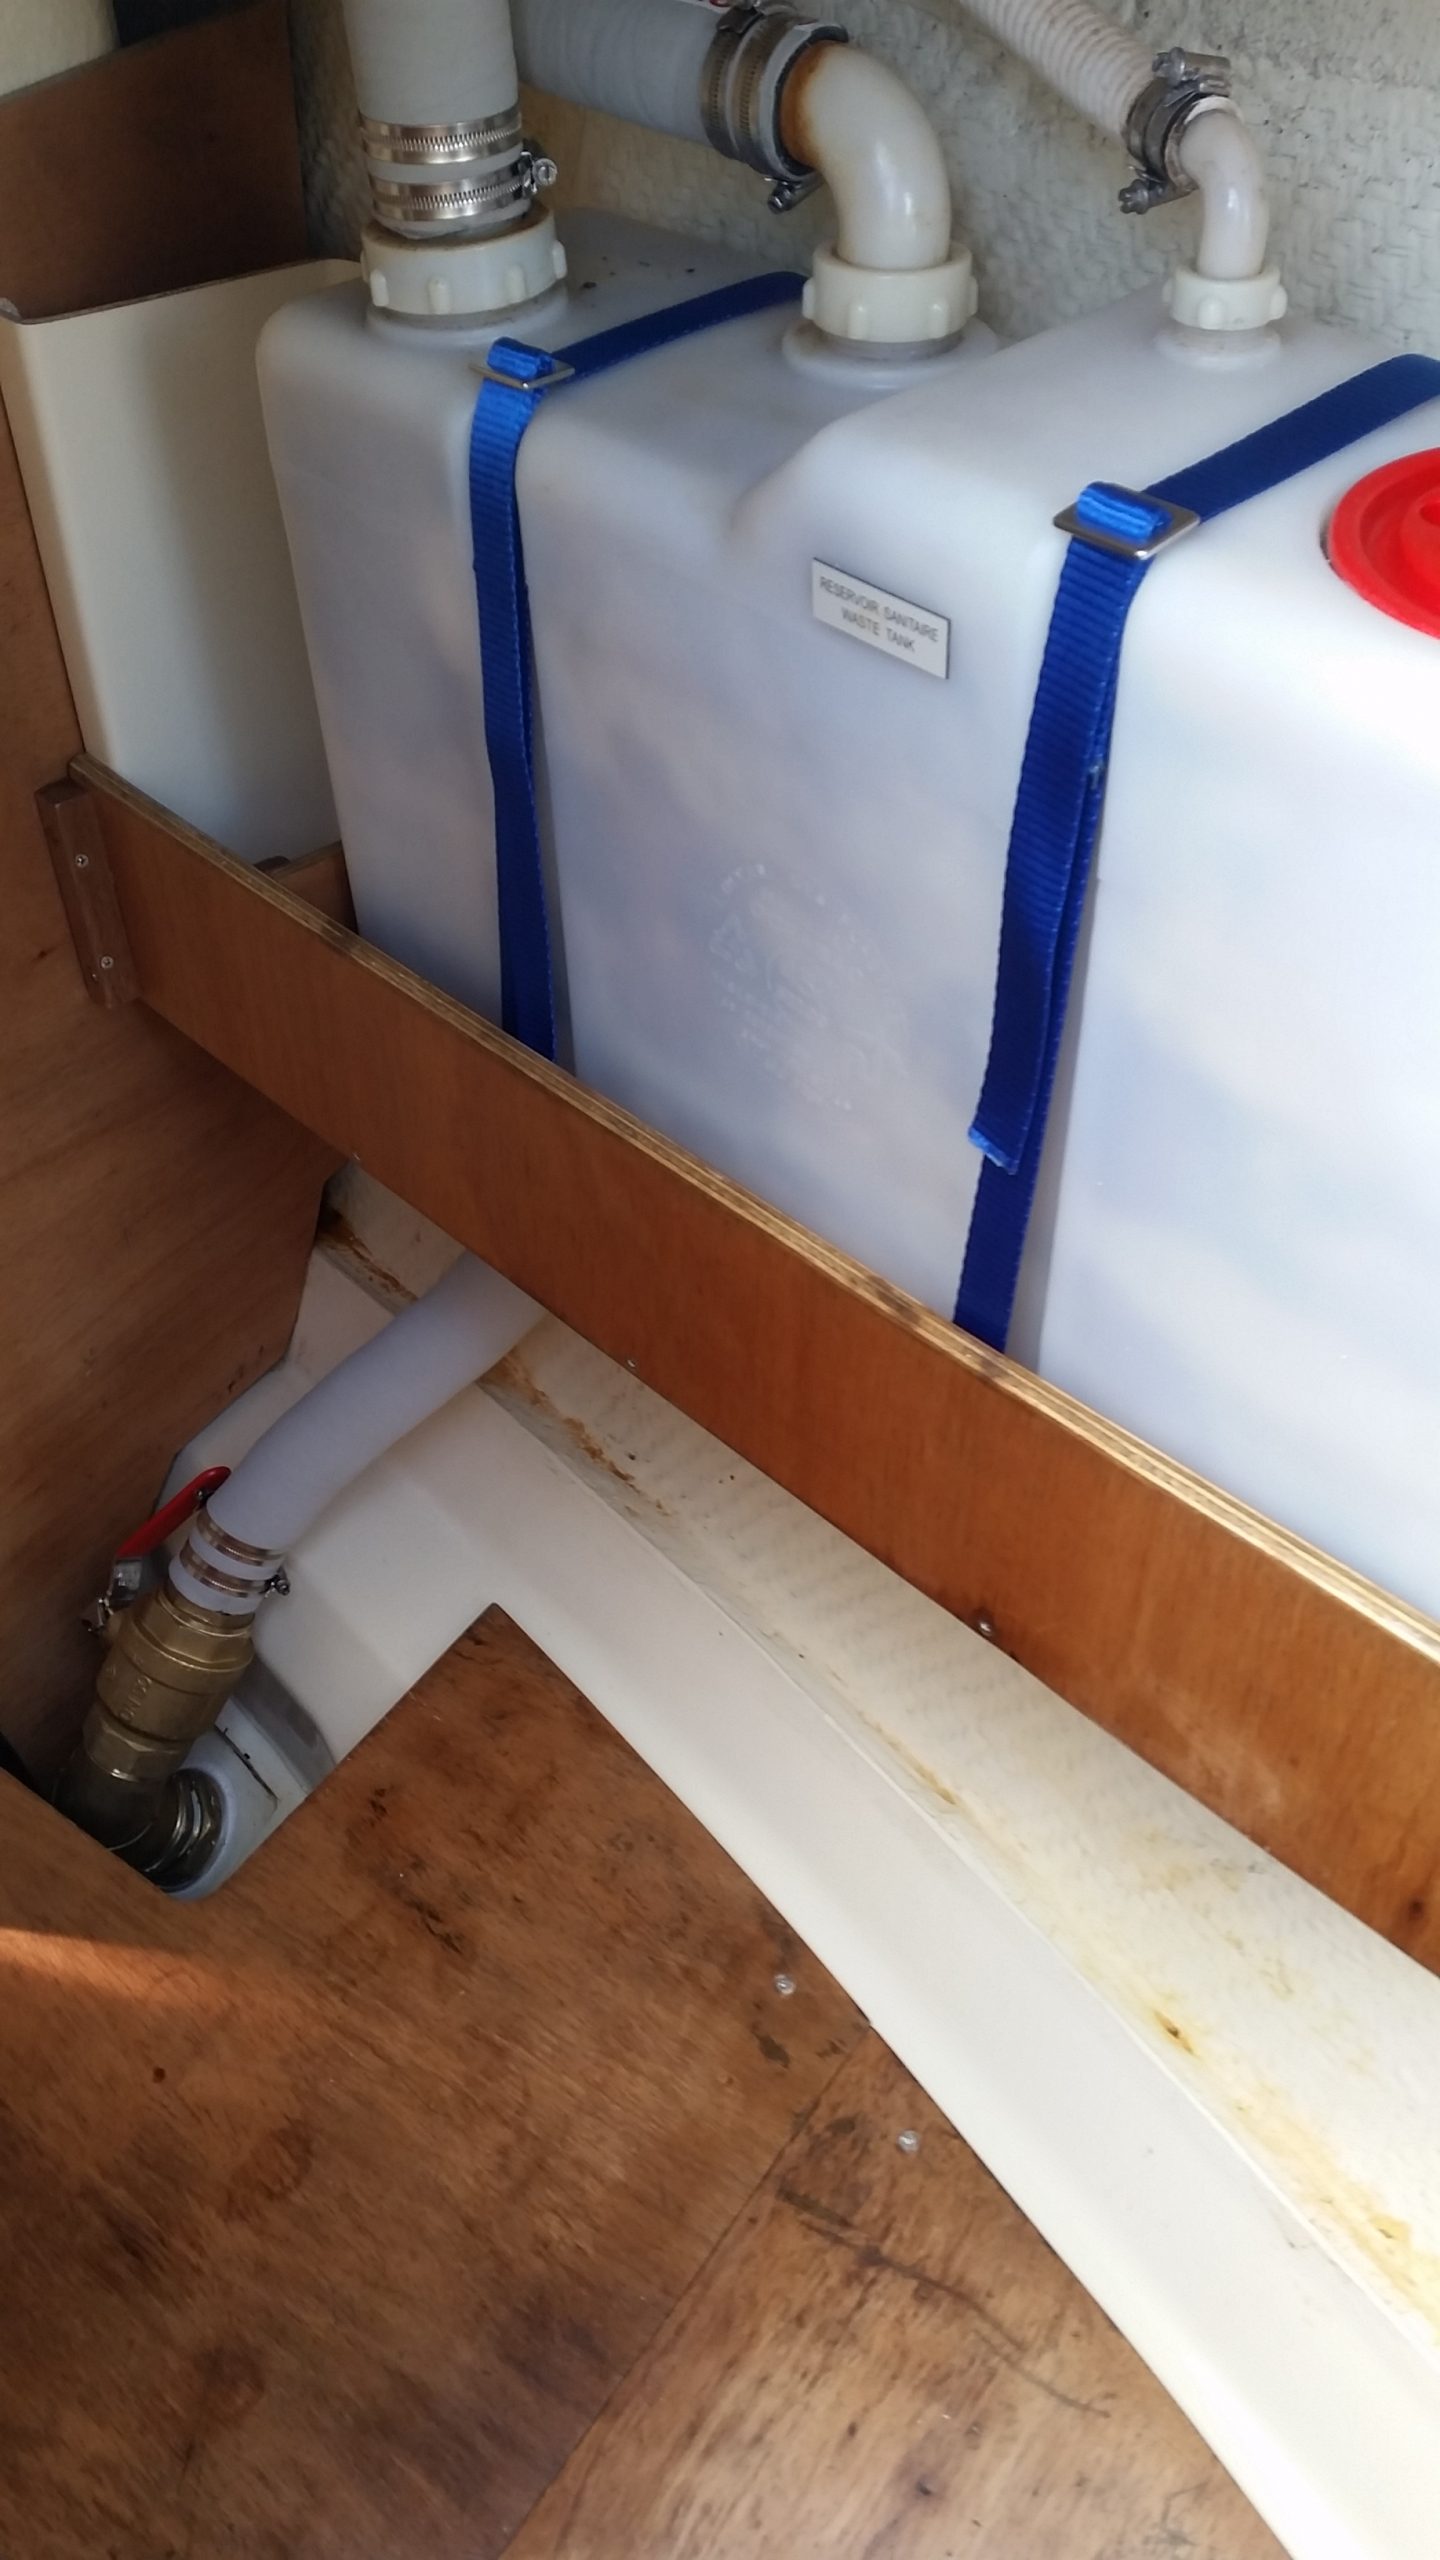
With the new seacock assembled, the next step was to fit the new hoses to the top and bottom of the holding tank. This is not an easy job! The 2 inch hose is very stiff and fits tightly between the deck, tank and the new seacock.
I replaced the old webbing strap (which had rust stains) and its plastic buckles and bridges with stainless steel.
The new fittings are from GS Products, and are really smart – although in the end you cannot see the bridges as they end up behind the tank and also behind the plywood front panel.

Lastly, a shout out to Chris of the ‘Sailing Britaly’ blog on YouTube for his excellent recommendations and guidance on this task. This video teaches you everything I have mentioned above, and includes lots more good advice as well.